Oatmeal Chocolate Cookie PMS Bars

IMG_0281.JPG

These really should be called PMS Bars. Seriously. And I almost named this post that, but since this is not my recipe, I did not go there.

But then I did.

‘Cause I am a walking contradiction.

Who also happens to be a chocolate monster.

IMG_0289.JPG

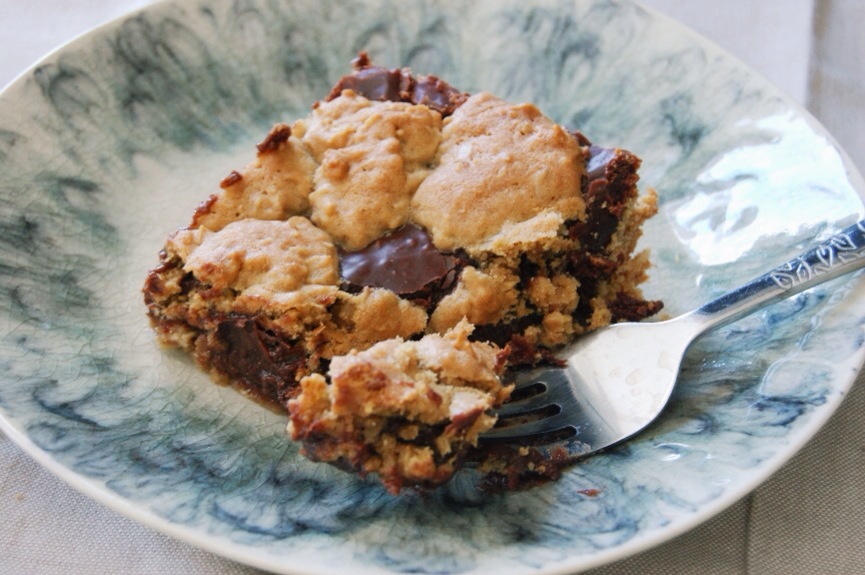
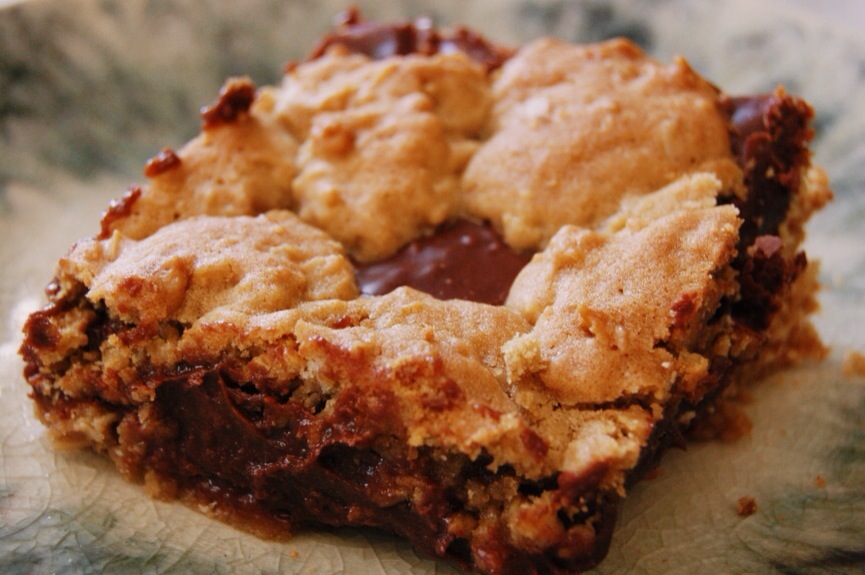
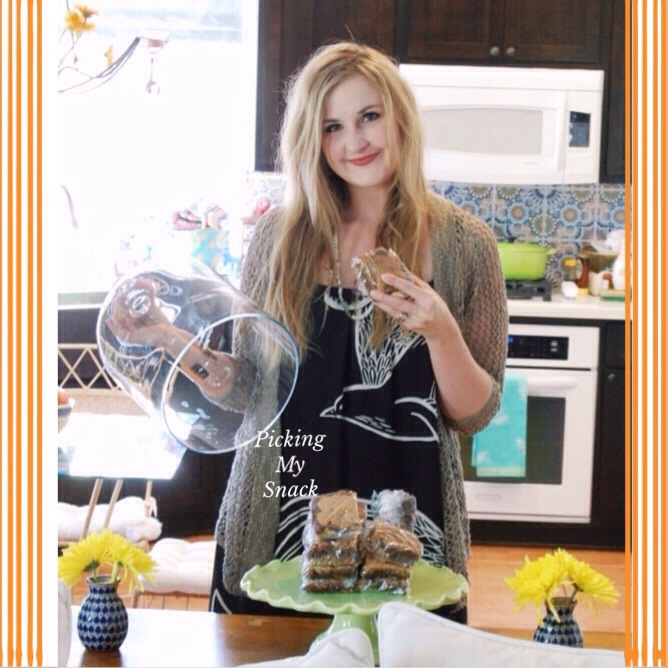
Besides we all know PMS just just stands for Pass Me Some. And I definitely want someone to pass me some of these chocolate oatmeal bars. They are gooey. Super easy to make and oh, so, delicious. I can say that because this is not my recipe. I did change a few things so I am going to post the ingredients and directions, however, I barely touched the recipe so the credit for this scrumptiousness goes completely to the blog Megan and Claudy. And if you want the original recipe minus talks of “Pinch My Skittles!”, I recommend heading over there. If you want to see how I made them, here it is:

But first, did ya know that Permanent Markers Stain? Seriously, I can’t stop. It’s a problem.

Ingredients:

3 1/4 cup Wondra flour (original recipe calls for 2 1/2 cups reg. flour and that would be fine. I was out of regular flour when I made these. I am a bad food hoarder)
2 1/2 cups regular oats
2 sticks of softened salted butter
2 eggs
1 tsp. baking soda
1/2 tsp. salt
2 cups brown sugar (I always bake with organic brown sugar. It does make a difference)
2 tsp. vanilla
1/3 cup milk

Chocolate Filling:

1 14 oz. can Eagle’s Brand Sweetened Condensed Milk
1/3 cup butter
2 cups semi-sweet chocolate chips (a 12 oz. bag)
1 tsp. vanilla

IMG_0294.JPG

Directions:

I used a stand mixer, but a hand mixer would be just fine, too.

Preheat oven to 350 degrees F.

Grease a 9 X 13 pan and set aside.

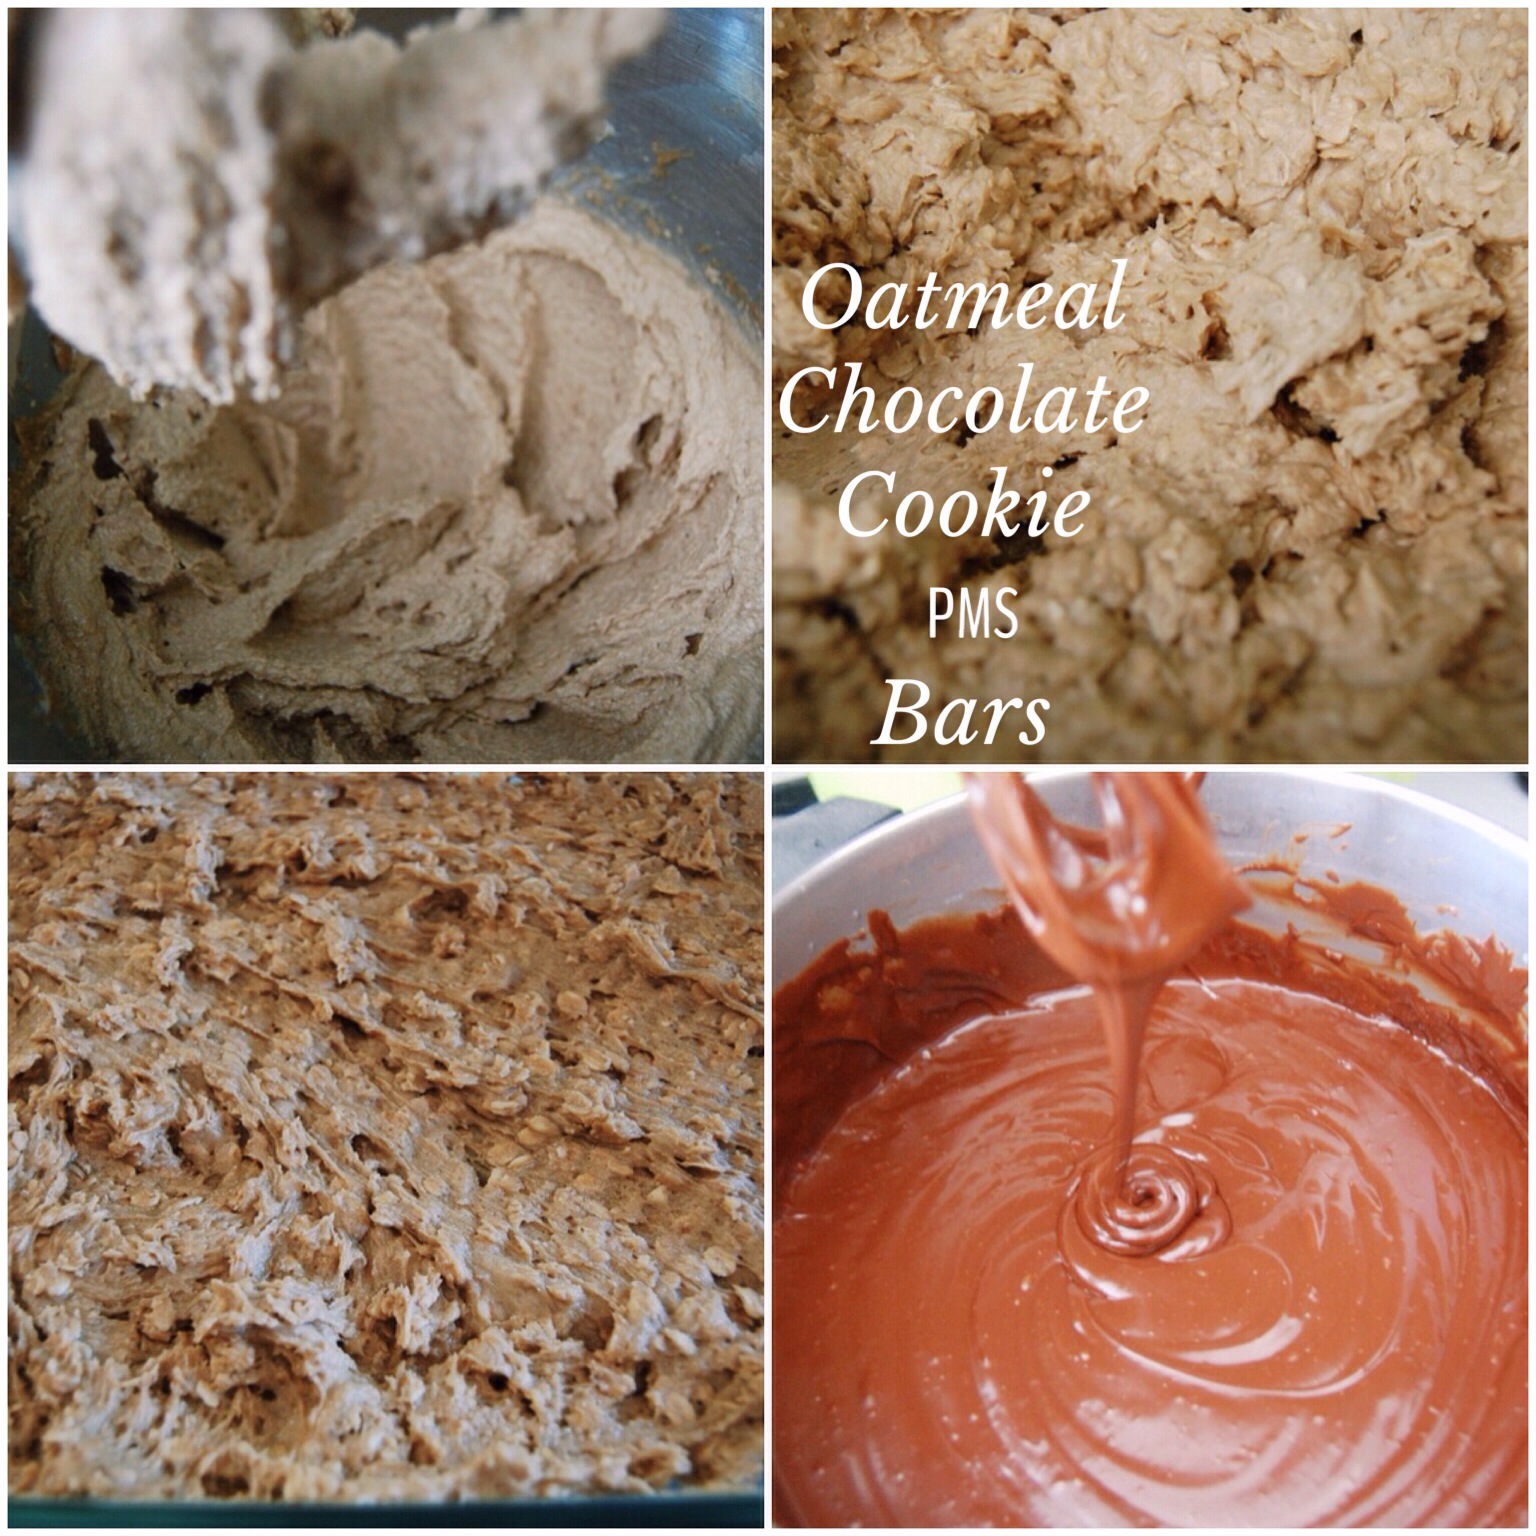
Beat together butter and brown sugar until light (about 1 1/2 min.). Add vanilla and milk. Beat together until mixed. Add eggs one at a time. Beat the first one for about twenty seconds before adding the next one. Beat the second egg in the mixture until mixture fluffs up about thirty seconds. Add salt and baking soda and mix. Add flour and mix. Add oats and mix.

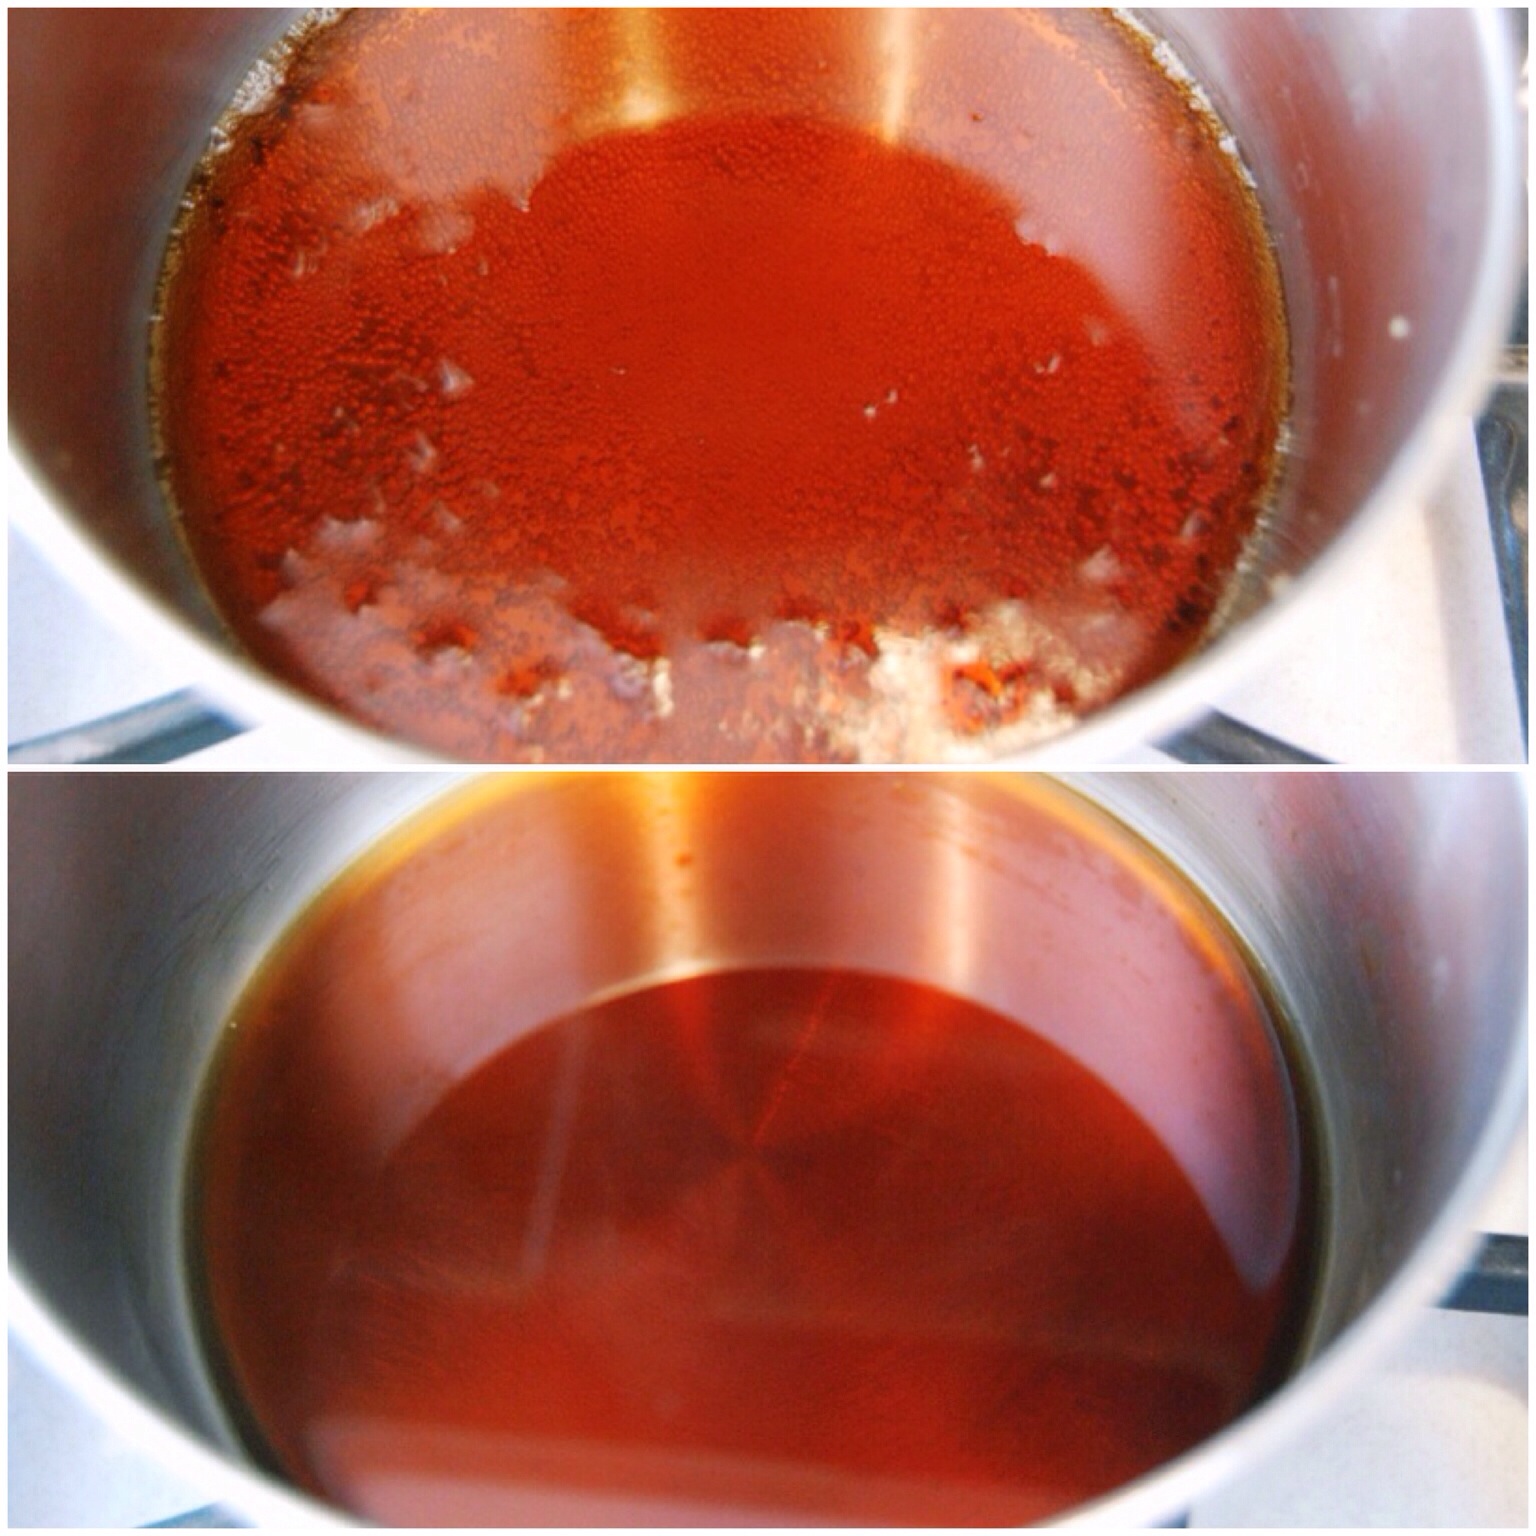
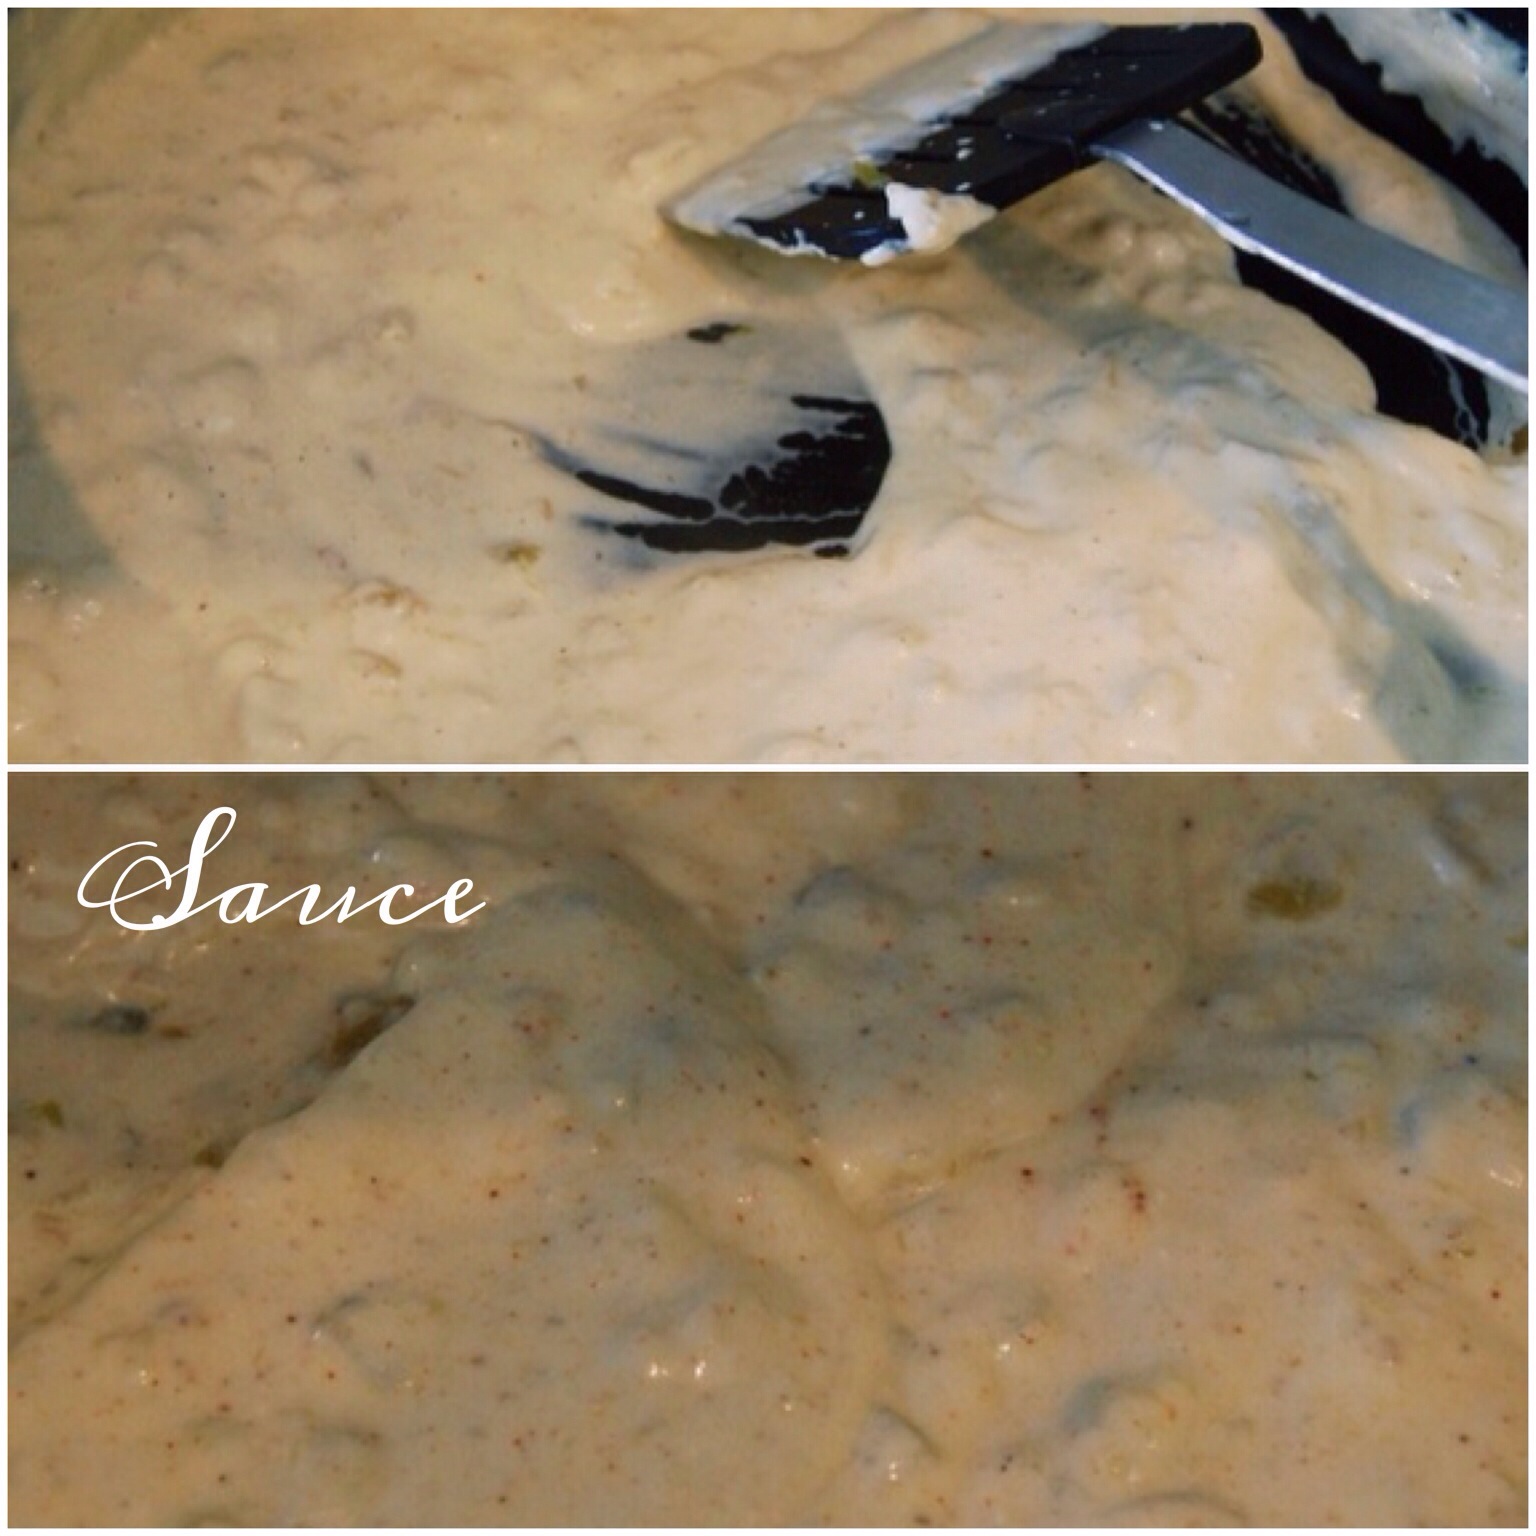
Add the chocolate filling ingredients into a sauce pan over medium heat and whisk until melted together. Turn off heat.

IMG_0295.JPG

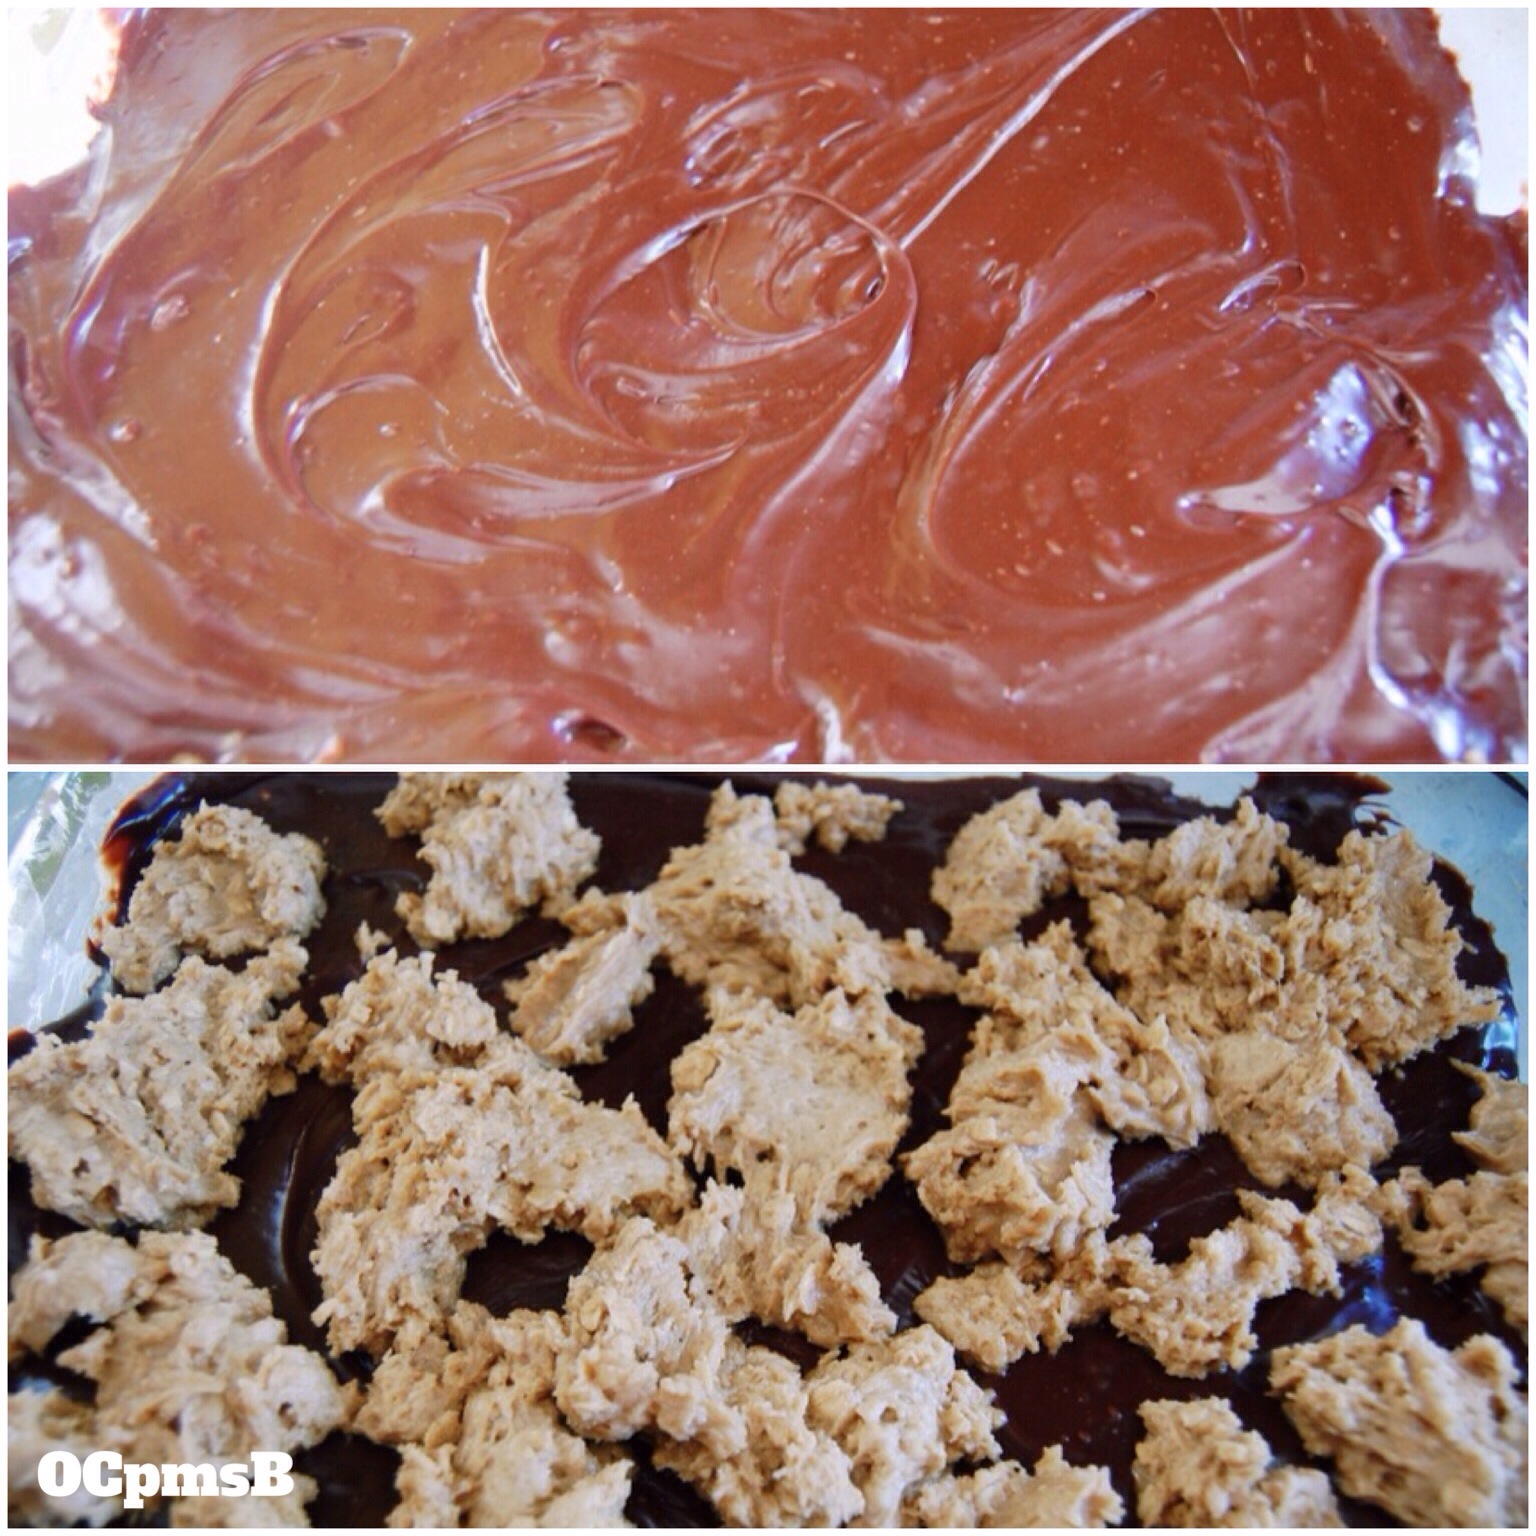
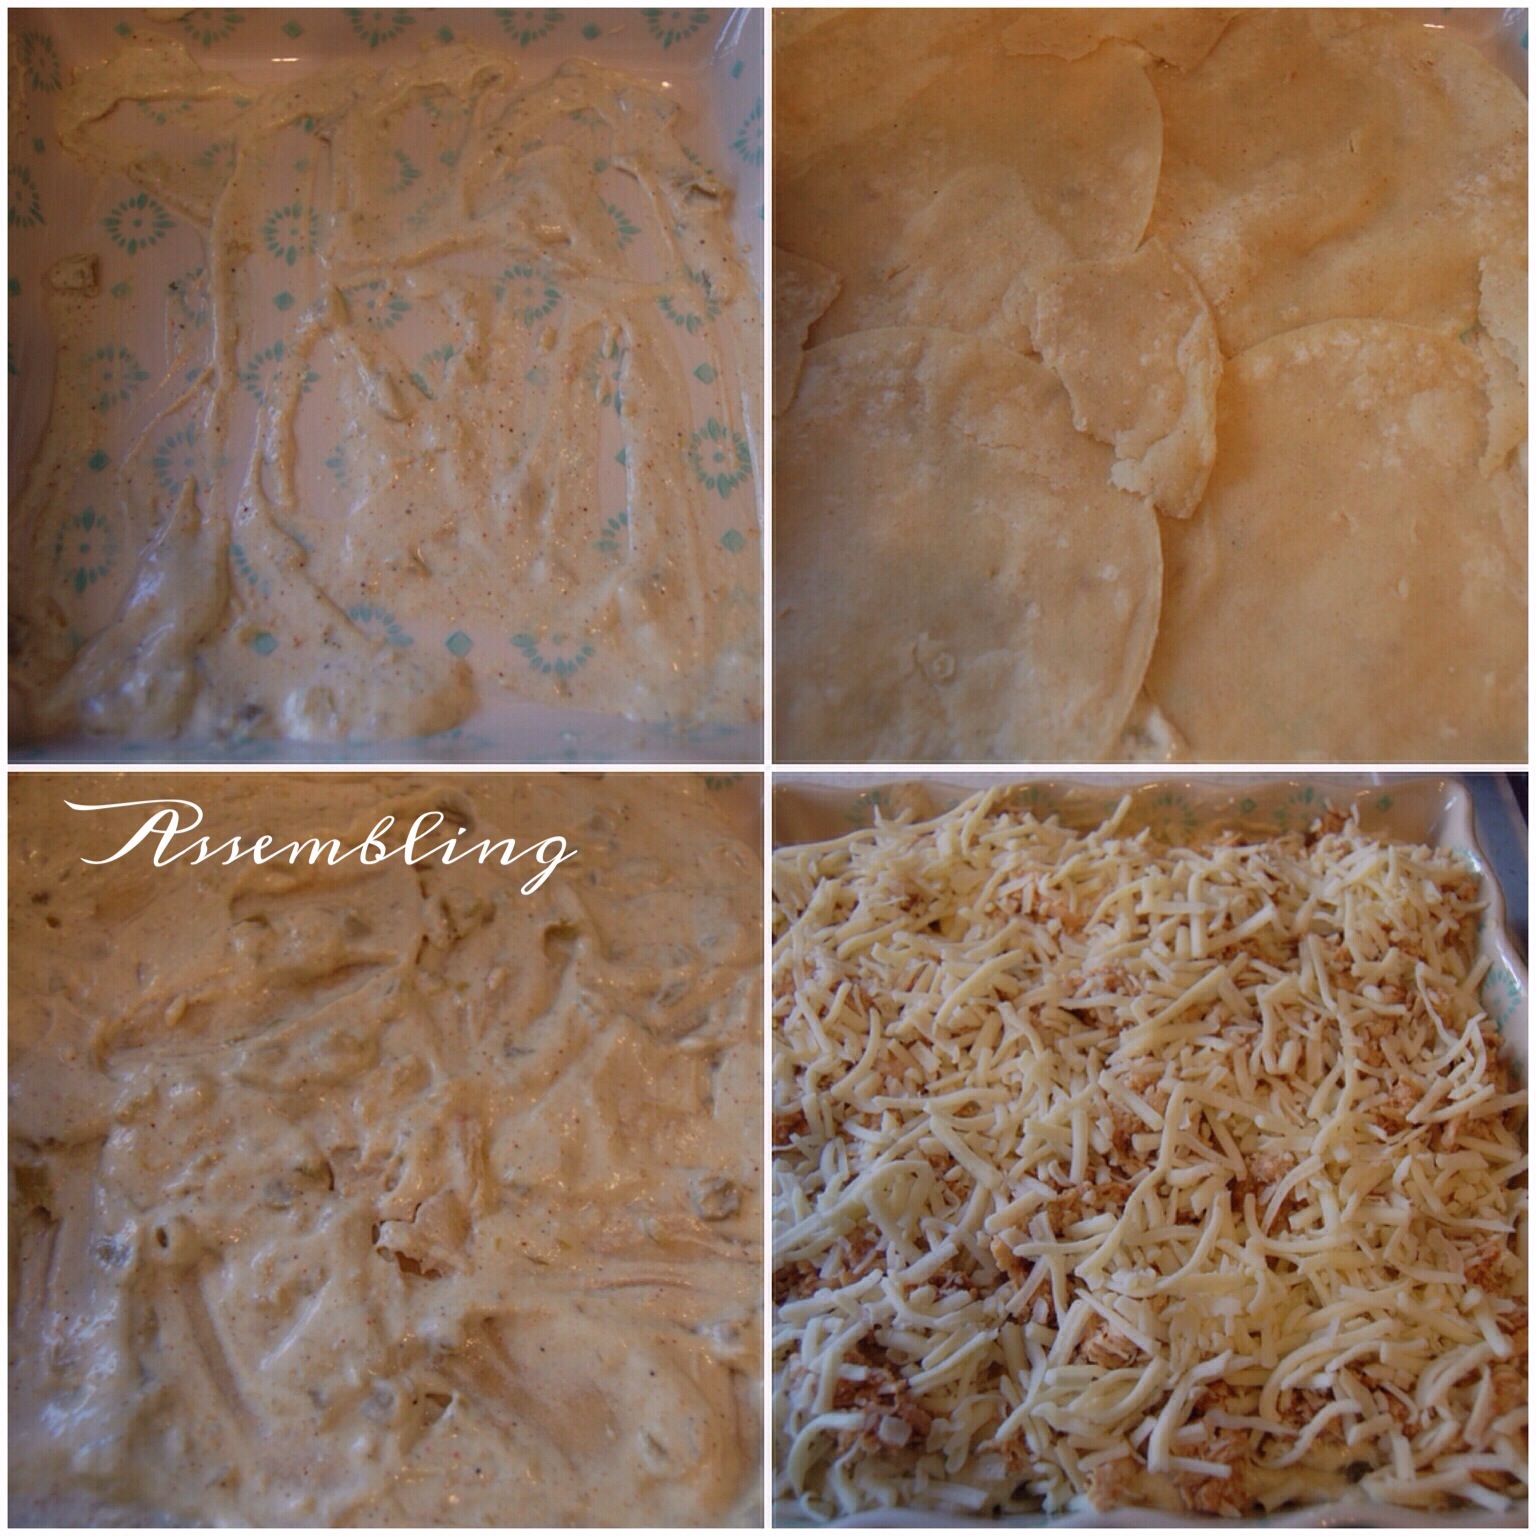
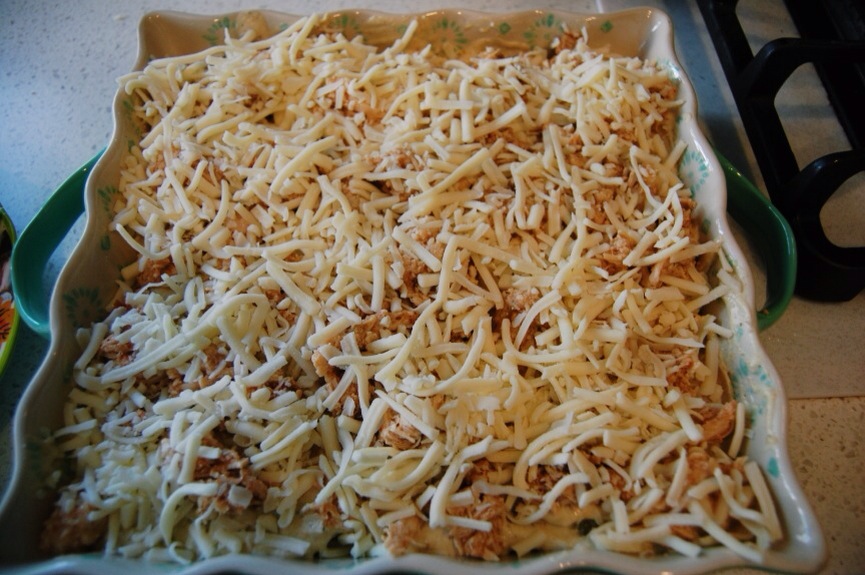
Place 2/3 of your cookie mixture into the bottom of your greased 9 X 13 pan. Pour chocolate filling mixture over top. Pause to lick spatula. Place now-contaminated spatula in sink. Praise yourself for being sneaky and clean. With the remainder of the cookie dough, grab pieces and just place over the top of the chocolate filling, trying to cover the top. The top will not be completely covered and that is okay. You want to see the oooeey gooey sinfulness peeking through the cookie dough.

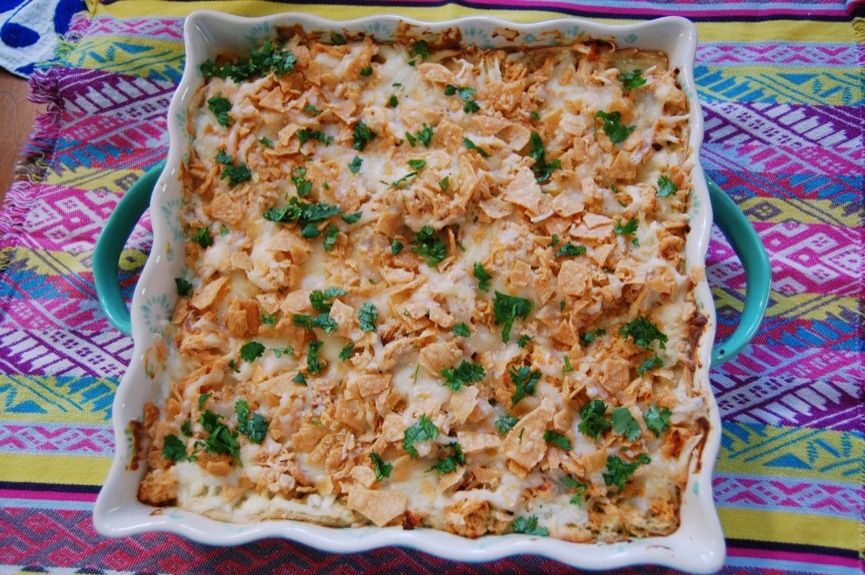
Place the pan into the oven and bake for 45 minutes (depending on if you like gooey cookies or more sturdy ones. The actual recipe called for twenty five minutes, and that would be good if you like very, very gooey bars). If top starts to get too brown, you can cover it with foil. My bars were still moist after forty five minutes.

IMG_0282.JPG

IMG_0277.JPG

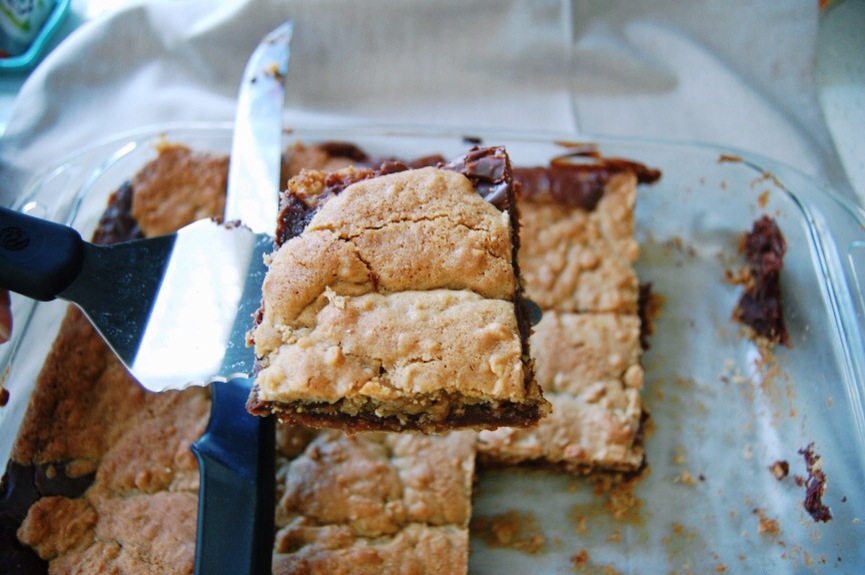
Remove the pan and let cool for an hour before cutting into the bars. Samurai Sword optional not recommended. Do you think I could have picked a bigger knife?

IMG_0296.JPG

After you make these, you might exclaim “Pickle My Stars!” and then “Pleasure My Sneakers!” If I am around I will know exactly what you mean. And be happy. ‘Cause I know you will give me some. If I’m not around, you might want to whisper your exclamations. Some People Might Sneer. And that would be bad.

Period.

Root Beer Chocolate Cake

IMG_9702.JPG

Mmmmm. Hmmmmm. Ohhhhhh. Yeeeeeaaaaaaa. That is what I thought to myself when I watched Carla from The Chew (I love that show. And I love her. Anthropologie lovers, Carla wears a lot of clothes from there, on the show) make her chocolate root beer cake. I went online to get the recipe and I was disappointed to see that the recipe for the cake part differed from the one she made on t.v. I gave it up until I saw that someone in the comments had geniusly used a boxed cake mix and substituted the water it called for for root beer.

I can do that, I thought.

But then I didn’t.

I drank the root beer and ate some chocolate cookies and considered the flavor craving dealt with.

I had forgotten that I know myself well enough to have purchased two bottles of root beer. So when I came across the other bottle sitting unsuspecting on the shelf. Minding its own business. Not knowing that soon it would be meeting its soul mate, chocolate. No need to tell it about the part involving the oven. And then my mouth. Let’s be kind… I had to make the cake.

IMG_9694.JPG

This is my new favorite cake. I am so excited to share this recipe. The best part about it is that it is incredibly easy to make. Well, and it tastes good. Our cake was gone in two days. We are a family of four. Two days. The math adds up to gluttony deliciousness.

Time to unite the star-crossed lovers…

Cake Ingredients:

1 devil’s food boxed cake mix
3 eggs
1/3 cup melted butter
1 cup root beer plus 3 Tbsp. root beer reserved for cooled cake rounds

Frosting ingredients:

1 cup root beer
1 1/2 cups powdered sugar
1 cup white chocolate melted (I used Merckens melting chocolates because I had it but she said to use white chocolate chips. Either will work)
A pinch of salt (I just added three shakes of my salt shaker)
1/2 cup (1stick) softened salted butter
1 tsp. vanilla extract

Directions:

Preheat oven to 350 degrees F. If you have a convection oven, preheat at 325 degrees F convect bake. Generously spray two nine inch round cake pans with nonstick cooking spray.

IMG_9695.JPG

In your mixer or with a hand mixer in a bowl, beat together melted butter, eggs, cake mix, and one cup of root beer until mixed together. This is about one minute.

Pour cake mix evenly into the two cake pans. Give them each a gentle tap on the countertop to rid them of extra air bubbles. Put the cake pans in the oven and bake cake according to directions on box. Because of the fluffy mix produced from the root beer, my cakes needed two minutes longer than the longest baking time on the package (I baked mine thirty one minutes on convect bake).

Remove cake rounds from the oven. Let cool for five minutes in cake pans.

IMG_9704.JPG

After five minutes, run a butter knife gently around the edge of the cake and the cake pan. Flip cake over onto cooling rack. Repeat with other layer. Allow to completely cool.

In the meantime, pour the one cup of root beer for the frosting into a small saucepan. On medium low heat simmer the root beer until it reduces to a third of a cup. I actually was overzealous with my simmer and reduced it to a quarter cup. This still worked out fine. This should be about five to seven minutes to reduce.

IMG_9708.JPG

It will look like this. Turn off burner. Allow to cool.

IMG_9699.JPG

Now that the cakes are cool, you are going to brush the cake layers evenly with the 3 Tbsp. of reserved root beer (not the reduced stovetop product! That is for the frosting) with a basting brush. Yep. Give the two lovers a wet root beer kiss.

Melt white chocolate (I put mine in a bowl and microwave for thirty second intervals, stirring each time. Usually takes 90 seconds to melt).

In your stand mixer or with your hand mixer in a bowl, beat together softened butter and powdered sugar until fluffy about two minutes. Add salt and mix. Add white chocolate and beat for a few seconds until incorporated. Add reduced stovetop root beer, and vanilla extract and blend until smooth.

I, very helpfully, do not have a picture of this part. I do, however, have a picture of me posing with the frosting. Which I have been told has nothing to do with is very important when baking a cake.

IMG_9705.JPG

Place one cake round with basted root beer side up on a cake stand. Spread one third of the frosting on the layer towards the middle, leaving a little room at the edges because when you put the other cake layer on top, it will push the frosting further out.

IMG_9696.JPG

Place the other cake layer on top of the frosted bottom layer. Frost top with remaining frosting. I like to place it in the middle and then gently ease it towards the edge until it barely goes over.

Cover or immediately serve.

Now eat the mingled lovers. Why does something that sounds so wrong taste so right? Don’t try to analyze it, just enjoy.

IMG_9703.JPG

My daughter has requested this cake as her birthday cake coming up in October. She doesn’t even usually like cake. My husband woke me up the day after I had made this at 9:00 in the morning holding a plate with a half eaten large slice of the cake that he could not resist for breakfast (this is not a breakfast cake. He just has as much self control as his wife). Maybe he was feeling the ingredient love.

IMG_9678.JPG

I promise, a bite of this cake , and you will feel the romance, too.

P.S. My Giveaway ends tonight at 9:00 PST. Please do not forget to enter.

An Easy And Decent Chicken Enchilada Casserole

IMG_9512.JPG

Remember when we made that crockpot salsa chicken? That was a great night. It was so amazing that we ended up having a bunch of leftovers. As only the greatest of nights will produce.

Leftover salsa chicken has pretty endless possibilities.

As endless as the storyline for this post.

I was actually squabbling with my husband when I served this casserole. I cannot remember what the argument was about. I am sure it was not my fault. It always never is. I loved the casserole. His sole comment at dinner was, “It’s decent.”

My reply was not.

Before I posted this recipe, I made it again. I wanted to be sure it was good. It is. I like it. I really like it. It has a wonderful crunchy top. Good creamy flavor.

It is decent.

Ingredients:

2-3 cups leftover salsa chicken (recipe here) or diced rot. chicken
2 cups plus 1/2 cup (set aside) shredded monterey jack cheese
1 10 oz. can green enchilada sauce
4 oz. softened cream cheese
1/2 cup sour cream
1 4 oz. can of green chiles
1/2 tsp. salt
1/8 tsp. ground black pepper
1/4 tsp. ground cumin
1/4 tsp. ground chili powder
1/4 tsp. garlic powder
1/4-1/2 cup low sodium chicken stock (I have used water and it was fine)
9 corn tortillas
3/4 cup vegetable oil
1/2 cup crumbled tortilla chips
2 Tbsp. Chopped cilantro
Pinch of paprika

Directions:

Preheat oven to 350 degrees F.

Pour your vegetable oil in a small skillet and heat to hot enough to fry tortillas. With tongs, lay each tortilla in oil for about five seconds on each side. Keep tortilla flat. Remove to a paper towel lined plate. Repeat with remaining tortillas.

IMG_9517.JPG

In a skillet over medium heat, combine cream cheese, chiles, enchilada sauce, salt, pepper, cumin, chili powder, and garlic powder until well-combined. Add sour cream and mix until incorporated. Add chicken stock until it is a looser consistency. Turn off heat.

IMG_9518.JPG

In a 9 X 9 casserole dish, pour a little of the sauce in the bottom of the pan. Lay four tortillas in the bottom of the pan until it is covered. Tear one tortilla and fit into remaining holes. Pour 1/2 of the sauce over the tortilla. Layer half of the chicken on top of the sauce. Layer one cup of monterey jack cheese. Place four tortillas over the cheese. With the remaining pieces from the previously torn tortilla, fill in any gaps. Layer the remaining sauce over the tortilla. Layer the remaining chicken. Spread one cup of monterey jack cheese over top.

IMG_9513.JPG

Place casserole in the oven and bake for twenty five minutes.

IMG_9503.JPG

In a bowl combine tortilla chips, paprika and the remaining 1/2 cup shredded monterey jack cheese.

IMG_9511.JPG

When casserole has baked for twenty five minutes, remove from oven and sprinkle tortilla chip cheese mixture over the top. Place back in oven for five minutes.

IMG_9508.JPG

Sprinkle chopped cilantro on top.

IMG_9507.JPG

IMG_9510.JPG

I served mine with Mexican rice.

To a grumbling husband.

It did not, miraculously, descend into his lap*.

I, and this dish, are of the decent sort, after all.

*Plus, I happen to really love the guy. I would hate to waste a serving of casserole ruin his lap. ; )

A Better Crockpot Salsa Chicken

20140827-115052-42652377.jpg

Most of us have done it. Thrown chicken breasts into a crockpot and tossed in a jar of salsa with it. It is easy. It tastes good. And there are so many fantastic ways to use the chicken once it is cooked.

Chicken Tacos. Chicken enchiladas. Chicken salad. Chicken tostadas. Chicken quesadillas. Chicken empanadas. Chicken burritos. Chicken casseroles. Chicken and rice. Chicken…

“That-that’s about it.”

For the last few months, I have been adding a few items to my crockpot salsa chicken to give it a greater depth of flavor. It is still easy. It makes your mouth water. And the best part about it is, it just does not taste like crockpot chicken. And that is…

“All I have to say about that.”

Ingredients:

3-4 pounds of boneless skinless chicken breasts or tenders (Tip: do not ever crockpot chicken breasts with salt water added to them. Those are fine for grilling, but if you put them in a crockpot, the salt water will seep out and create a very salty, watery product)
1 1/2 cups of medium salsa (I used Pace)
1 four oz. can of diced green chiles
1 bay leaf
1/2 tsp. ground cumin
1/2 tsp. ground mexican oregano
1 tsp. garlic powder
3/4 tsp. salt
1 Tbsp. Knorr’s chicken seasoning
1/8 tsp. ground black pepper

Directions:

Put chicken breasts in crockpot. Place all other ingredients on top of chicken. Cover and cook on high for four hours or low for six. I was preparing for company coming over that morning so I forgot to take a picture of the chicken in the crockpot. Trust me, it was there. Unlike my brain in my head that day.

20140827-114856-42536325.jpg

Remove bay leaf and throw it away. Take chicken out of the crockpot.

20140827-114935-42575128.jpg

Shred the chicken. Ladle some of the liquid from the crockpot over the shredded chicken until it is moist. This is usually three-four ladlefuls for me. Taste. Add salt as needed.

20140827-114959-42599294.jpg

Serve however you would like.

20140827-115030-42630223.jpg

I make such a big batch because for my family I can eke out three meals from this one batch. With this batch: The first day I always make chicken tacos (fry white corn tortillas in vegetable oil, allow to cool in layers on paper towels. Add shredded chicken, taco veggies, shredded monterey jack cheese, cilantro. Serve with sour cream and taco sauce on the side). The second day we had tacos again and the third day I made my chicken enchilada casserole (post to come next week).

20140827-120634-43594745.jpg

This chicken is so good. It is great to feed a crowd. It goes with everything.

Or as Forrest Gump would say, Me and Jenny crockpots and chicken goes together like peas and carrots.”