Easy Lasagna

IMG_2150.JPG

Lasagna.

My mother makes the best lasagna in the world. Happy Birthday Mom! I love you! I ask for it for my own birthday. This is not her recipe. But I still think it is really good. I have made lasagna for years. In fact, it was the first “complicated” meal I ever attempted.

It’s is one of those dishes that looks hard to make, but is incredibly easy to execute. I find it calming to make the layers. I also feel like a superhero when I view the final completed project. And who doesn’t want to feel like a superhero? Well, unless it is The Hulk. Nobody wants to feel like The Hulk. Unless you are a ten year old boy. Or me, apparently from all of the posts I have done on it. But even then, you gotta admit the name leaves much to be desired.

Remember my new favorite spaghetti recipe that uses coffee grounds and is made in the crockpot? Well, I usually have three quarts of sauce left after the first dinner that I separate into three individual quart containers and freeze for use at a later date. I have friends with three sons. Actually, when I think about it, I have a lot of friends with three sons. I have heard that with that many boys they do not get as many leftovers as I do with a recipe. In fact, the exact words were, “What are leftovers?” I think with the crockpot spaghetti recipe, they would probably only have one to two quarts left after the initial dinner. There should still be enough to freeze at least one additional meal, so if you have a larger family, do not be discouraged. Make it. Save the rest. Then make a giant lasagna that will appease all. Even three growing boys.

The other day I took one quart out of the freezer. This is completely off topic, but make sure you defrost any sauces appropriately before you reheat them. I thought it would be a great idea to just throw the frozen sauce into a pan and bring it to heat. The sauce broke up into nuclear hot parts and frozen chunks. It splattered out and hit my arm where it made a small hole. I eventually had to see a doctor for it. I will definitely have a scar from it, so please be careful in reheating.

So, I defrosted the sauce first and then reheated the sauce and added an additional jar of pasta sauce to make it stretch further.

Then I just layered it into a lasagna. It was so good.

Okay. Finally. On to the recipe:

IMG_2142.JPG

Ingredients:

1 quart of prepared spaghetti sauce (I use this recipe, but you could use your favorite)
1 jar of your favorite pasta sauce
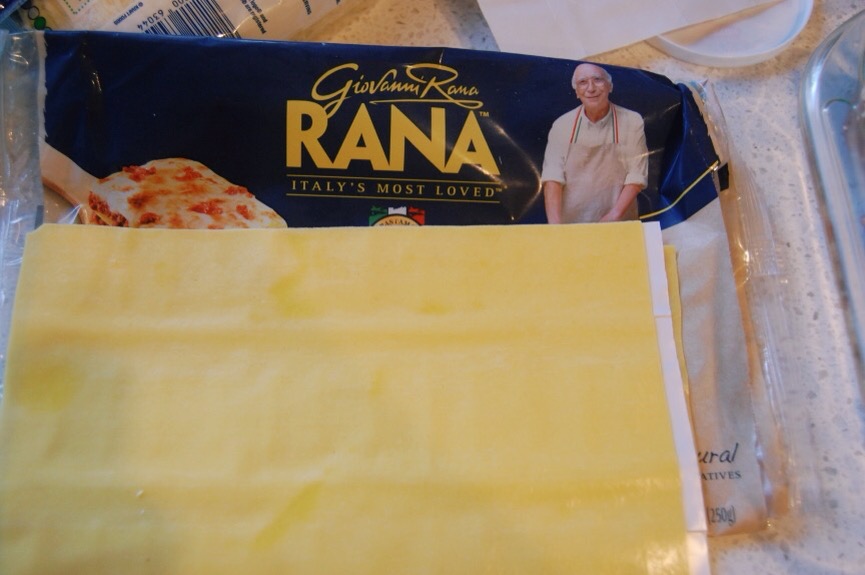
One package of lasagna noodles (you can use no-boil ones or the fresh ones above. I highly recommend the fresh ones above, found in the refrigerated section of the grocery store near the ricotta. Do not use regular lasagna noodles unless you boil them first. I have attempted to use them without boiling. They are not as good. They are about one minute before al dente tasting)
2 cups grated mozarella cheese
1 cup grated parmesan cheese
15-16 oz. of ricotta cheese

Directions:

Preheat oven to 350 degrees F.

Yell, “You’re making me hungry! You won’t like me when I’m hungry!” If your family stares at you during this time, stare back, unwavering in your lasagna conviction.

Defrost spaghetti sauce for two-three hours and then reheat in a large pot over low heat with additional jar of pasta sauce until hot. Turn off heat.

IMG_2143.JPG

IMG_2153.JPG

IMG_2156.JPG

IMG_2148.JPG

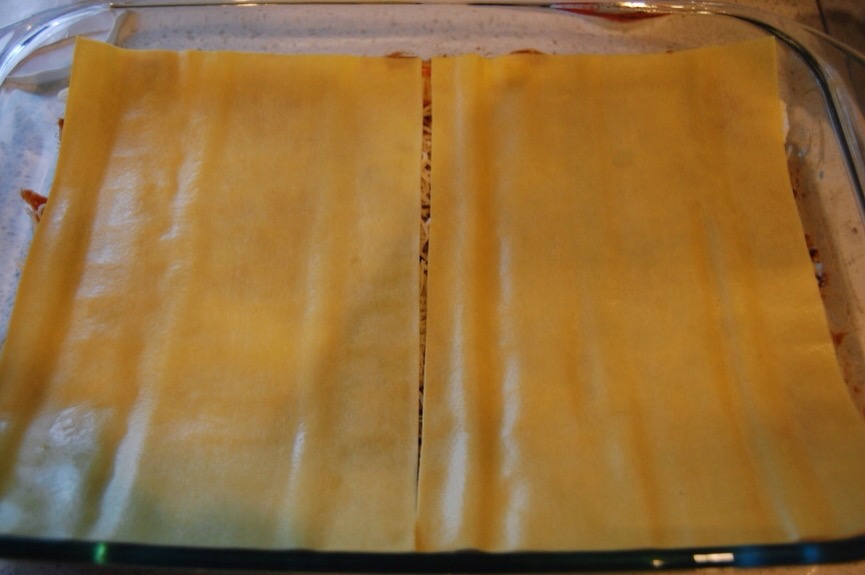
Take a 9 X 13 pan and ladle in some spaghetti sauce into the bottom of the pan until the bottom is just coated. About 2/3 cup.

Take lasagna noodles and lay on top of sauce. This is two of the fresh ones above.

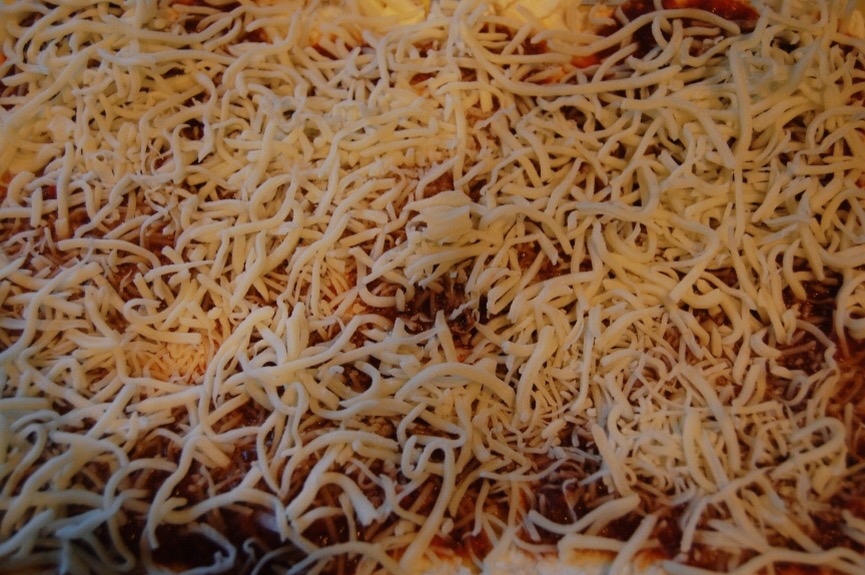
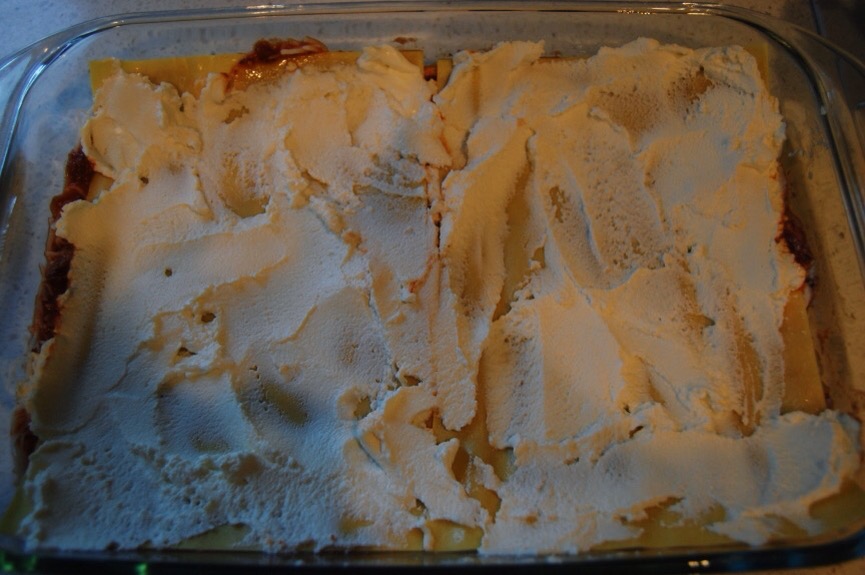
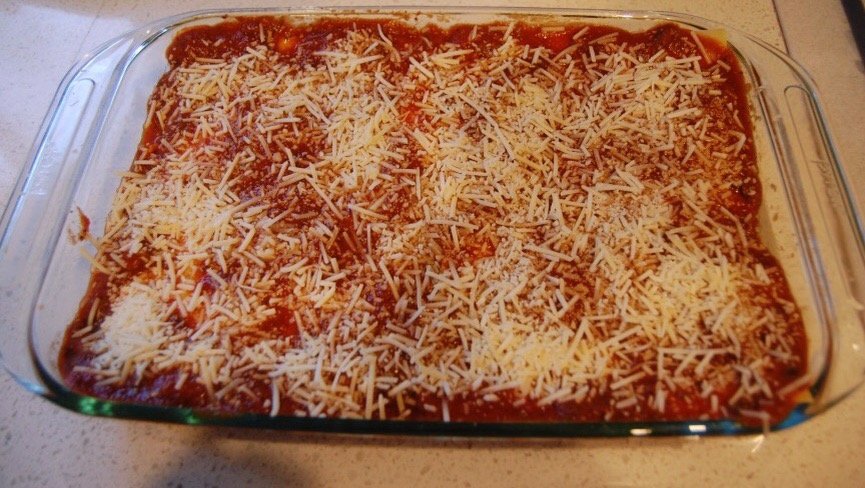
Take half of your ricotta and smear over lasagna noodles. Ladle one third of your sauce over the top, sprinkle one cup of mozzarella cheese. Place noodles over cheese. Spread the remaining ricotta over the noodles. Ladle one third of your sauce over the top. Sprinkle one cup of mozzarella. Lay noodles over cheese. Ladle the remaining sauce over noodles. Sprinkle one cup of Parmesan cheese over the top.

Cover with foil and bake for thirty minutes. After thirty minutes, uncover and bake for an additional fifteen minutes.

Remove from oven and let rest for five to ten minutes.
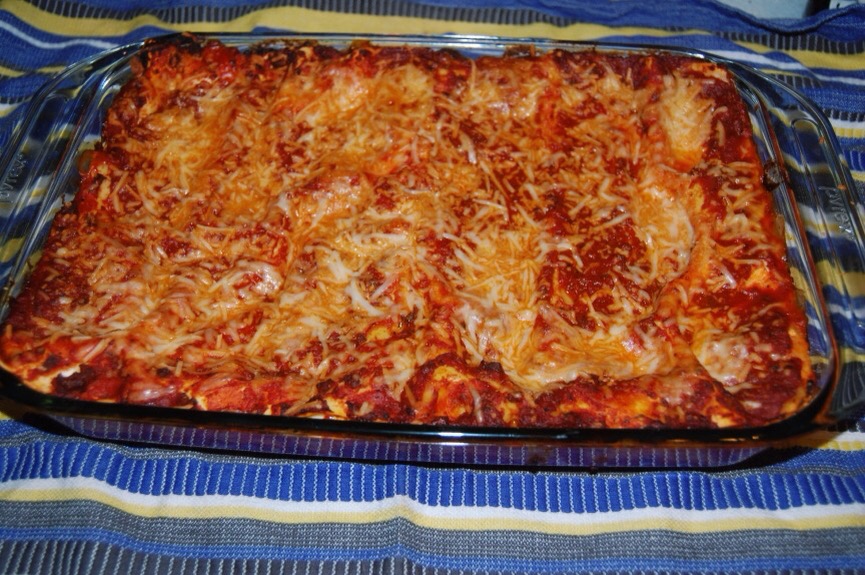
IMG_2146.JPG

And serve.

IMG_2147.JPG

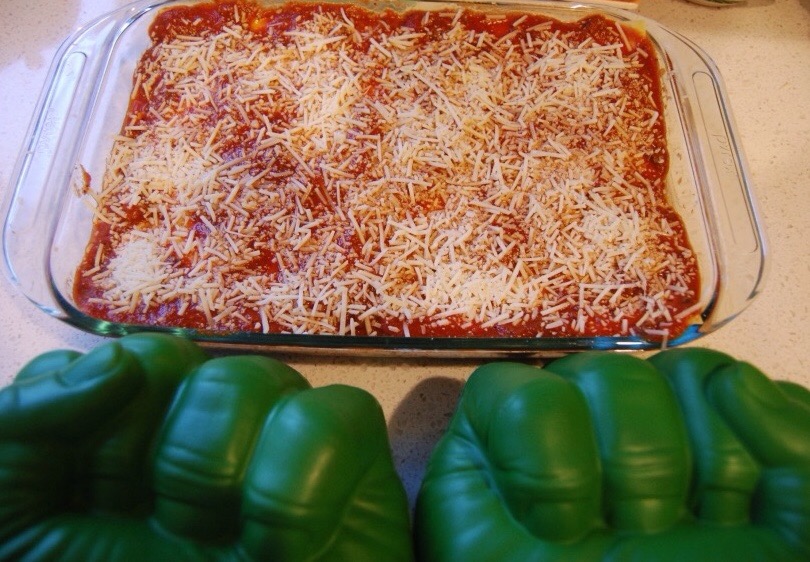
Hulk Hands not optional.

The Easiest Salted Caramel Cookie Bars

IMG_1878.JPG

Come here.

Closer.

Closer.

There.

That should be close enough. I have a secret I want to share with you. It involves zero guilt and tons more time on your hands. The secret is this, “There ain’t no shame in the faking it game.”

I read a food blog I adore recently that condemned store bought pie crust. I love that blog. This ain’t that blog. I like homemade pie crust. I like homemade cookie dough. I like my house vacuumed frequently. I like to read after dinner. But we all know there simply isn’t enough time in the day for all of our “likes” and “wants.” Heck. There is barely enough time for the “needs.”

So let’s fake us some homemade cookie bars, shall we?

I won’t tell if you don’t.

I was so pleasantly surprised how well these cookie bars turned out. I do highly recommend using parchment paper, because the bars are too sticky to get out otherwise.

IMG_1875.JPG

Ingredients:

2 packages of sugar cookie dough logs or 1 package of the preflattened sugar cookie dough (I prefer the preflattened kind made by Nestle. It ends up being cheaper, but the logs make a prettier cookie bar)
1/3 cup caramel sauce
1/3 cup toffee bits
Sea salt
Parchment paper

Directions:

Preheat oven to 350 degrees F.

Place parchment paper in an 11 X 7 baking dish. Take a log of sugar cookie dough and press it into place over the parchment paper or lay one layer of your flat cookie dough and push it into the corners of the parchment paper (depending upon which premade sugar cookie dough you purchased). Put into the oven and bake for fifteen minutes.

IMG_1879.JPG

Remove from oven. Microwave caramel for 25 seconds to soften and make it easier to pour. Measure it out. Pour over slightly cooked cookie dough. Sprinkle the toffee bits on top. Now sprinkle sea salt over top. Just give it a nice dusting.

I have a hand-cranked dispenser from Costco, so I turn it seven to ten times over the caramel.

IMG_1877.JPG

Now break up your remaining cookie dough log over the top if you bought the logs or simply place the other cookie sheet over the top, if you bought the preflattened kind.

IMG_1876.JPG

Put the whole thing back into the oven and bake for twenty five minutes. Remove from the oven and let cool for one hour before cutting into bars. I lift the parchment paper with the cookie bar in place and then lay it on my counter before I cut this into bars with my pizza cutter.

IMG_1874.JPG

Now eat this sinfully simple (or would it be simply sinful dessert?). Either way, it is good. It is quick. It is easy. This is my husband’s favorite cookie lately. It is equally good served warm with vanilla ice cream on top drizzled with caramel sauce.

Just bake it. (I am pretty sure Nike did not mean bake a million calories into a dessert when they made that slogan, but I will oblige them by running to the stove the moment these babies are done. That’s gotta burn a zillion calories, right?).

Jamie Oliver’s Milk Chicken

IMG_1434.JPG

I realize it is odd to write about roasting a chicken when everyone is talking about roasting turkeys. Well, I will not be doing a turkey post, because Ina Garten has the best roasted turkey recipe. I have used it every single year, varying the ingredients slightly or not at all, and it is always excellent. I do take additional herbed butter and massage it under the skin. Anyway, that is what I recommend, maybe I will do a post about it one day, probably around The Fourth of July, because that is how organized I am. But let’s talk about chickens for today…

Pinterest is killing me.

I want to make all of the goodies. I want my house magically cleaned. Organized. And I want to do it all whilst wearing a caftan and simultaneously beading an area rug. Has anyone ever beaded a rug? Could you walk on it? Would it roll? Is it slippery? These are all the questions that Pinterest brings to mind. What does this have to do with chicken? Nothing. Except, I found Jamie Oliver’s Milk Chicken Recipe on Pinterest and I was intrigued.

I did not do Pinterest proud here.

My pictures are bad.
This made my heart sad.
I am not a type A.
Is there a type Z?
It’s a good thing…
I am not Martha Stewart.
Amen.

I have made roasted chickens before, but I don’t like having to deal with the roasting pan. It cannot be put in the dishwasher. Everything I use must be able to be put in the dishwasher. I wanted something easy. Something perfect for my lazy heart.

This chicken is it.

I do need to say that this chicken is cooked in milk. The milk becomes curd in the pan. This does not bother me. It does bother some people. Some people being my husband. My husband hates cottage cheese. So looking into the pan and seeing that I pretty much made my own cottage cheese chicken for dinner was basically his worst nightmare. And my perfect tear-laughing moment. But he did like the chicken. He agreed it had great flavor. He just would not touch the marvelous sauce the chicken cooked in because of this.

His loss.

This recipe is relatively inexpensive, especially since I made enough to have leftovers. There are not a lot of leftovers. However I can stretch them enough for one more dish the next night. I turned the leftovers into chicken noodle soup, chicken spaghetti and even just throwing it into a store-bought curry sauce. You can usually find a whole chicken on sale for around $1 a pound. This recipe called for a three pound bird. Dude. If I am going to be roasting a whole chicken and using up ingredients, I am going to make a bigger bird than that. I have used anywhere from a 4 pound bird to a 6 pound bird. I increased the cooking time around ten minutes per additional pound for the recipe (a la Julia Child but factoring in a lower cooking temperature than she uses). When I made the four pound bird, I just followed Jamie Oliver’s cooking time exactly.

Because this is not my recipe, I usually would not the write ingredients and directions, but according to the comments on The Kitchn (where I also learned to cover the chicken resulting in a more braising than roasting technique), Jamie Oliver made this chicken differently on his show. I tried to piece together the best way people said to make this and combined the advice here:

Ingredients:

1 whole chicken (4-6 pounds)
2 lemons
1/2 stick cinnamon
2 1/3 cup whole milk
7-10 cloves of unpeeled garlic (the recipe calls for ten. I am cheap. I am not spending fifty cents for an additional head of garlic, so cut out as many cloves as you can from one head and use it. A great tutorial for removing the garlic cloves can be viewed here)
A handful of fresh sage
1 tsp salt + some sprinkled on chicken
1/4 tsp. ground pepper + some sprinkled on chicken
1/2 stick salted butter
3 Tbsp. Clarified butter (I buy mine in a jar at Trader Joe’s. Or you can use half butter and half olive oil)

Directions:

IMG_1432.JPG

Preheat oven to 375 degrees F.

You can, if you are of the mind to, truss your chicken if you would like. I do not. Type Z, and all of that. But you can if you choose. Type Z doesn’t judge.

In a large pot (one that comes with a lid), heat clarified butter (or 1 1/2 Tbsp. Butter and 1 1/2 Tbsp. Olive oil) on medium high heat.

Remove giblets from the cavity of the chicken with tongs. Throw them away. Don’t gag.

Season one side of the chicken. Add seasoned side of chicken down into the pot and sear for three to five minutes until it has a nice golden color to it. Season other side and and very carefully rotate the chicken to the other side (I use two pairs of cooking tongs). Sear for three to five minutes. Remove chicken to a plate and carefully discard cooking oil.

Zest the lemons.

Place the chicken back into the pan. Cut the lemons in quarters and push them up into the chicken’s cavity. Place the garlic cloves around the pan. I really want to say, “riddle the garlic cloves around the pot,” but I feared it would not make sense. Plus every time I say the word, “riddle,” I think of Tom Riddle and then I get sidetracked daydreaming about Harry Potter.

Mix the milk and salt and pepper with a fork. ‘Cause you’re fancy. Pour in pan around chicken. Add cinnamon stick. Riddle the sage around the pan. Sprinkle the lemon zest over everything. Add 1/2 stick of butter into the pot.

Cover the pot and place into the oven for forty five minutes for a three-four pound bird. Increase cooking time ten minutes per pound for a larger bird.

After your cooking time has passed, remove lid. Cook an additional forty five minutes. And as Jamie Oliver says, “baste when you remember.”

IMG_1433.JPG

Remove pot from oven. Check your chicken to make sure it is cooked thoroughly.

Remove chicken to a plate to rest for five minutes. Carve chicken. Serve. I serve a little bowl of the delicious sauce to dip it in. I serve my chicken with either baked potatoes, mashed potatoes or rice depending upon the laziness of the cook that day.

Pinterest, you win this round.

Because this chicken recipe was amazing. Of course, I made this in my pajamas, in a messy house, whilst browsing the Internet. But Pinterest doesn’t need to know that. Besides It’s too busy researching the next new thing… I’ve heard it’s beaded rugs. Be careful. I’ve also heard they’re slippery.

It’s Marvolo-us!

Meatloaf Muffins

IMG_0957.JPG

I feel the same way about meatloaf that I do about meatballs. Ugh! The name! It really is gag inducing. I will eat a bite of it and be enjoying it, but then it always happens… I start to think, “I am eating a loaf of meat.” A shaped form of meat. M. E. A. T. And then I will push it to the side and eat my mashed potatoes. Which, really isn’t winning any name contests of its own anytime soon.

I sure know how to sell a recipe, don’t I?

Well, this is all to say my husband LOVES meatloaf.

Loves.

And I like to make him happy. Making him happy makes me happy. I am hoping when he reads this he will remember this meal and my sentiments and not the dress that came in the mail today.

So, sometimes I form a mashed-together-pile-of-meat into a loaf. Just for him. I’m a keeper.

Still selling this recipe, aren’t I? Bear with me.

A few years ago, I made a batch of spicy meatloaf muffins (that recipe is not the one featured here). The kids liked the meatloaf made in muffin tins. I liked not having to cut a loaf of meat. Swallow. Breathe. And the other day I decided to make meatloaf muffins again using a variation of my meatball recipe. Would that make these meat muffins? There has to be a better name!

I served the meat muffins over mashed potatoes and it was so good. My husband actually groaned. And in a good way, not in a, “these recipe names are disgusting,” way that you are doing now.

I will absolutely keep making these little round suns of meaty happiness over clouds of potatoes. They are easy. They are fun. And everyone liked them.

Ingredients:

1/2 pound ground pork
1/2 pound of ground beef (I like 96/4 so that there is not a huge layer of fat on top of the meat at the end. I hate that!)
1/2 tsp. salt
1/4 cup dried Italian bread crumbs
1 egg
1/4 cup diced Onions cooked sautéed in 2 Tbsp. butter
Pinch chili flakes
2 Tablespoons of Dalmatia My Mom’s Red Pepper Spread (any kind of red pepper spread is good. I also really like the one Trader Joe’s carries)
1 tsp. worcestershire sauce
1 clove or 1/2 tsp. of minced garlic (sautéed at the last minute with the onions)
1/4-1/2 cup ketchup

Directions:

Preheat oven to 400 degrees F.

Grease muffin pans. This will yield eight meatloaf muffins.

Your package of meats are probably about one pound each. If that is true, split each package in half and save the remainder of the meats for another meal. I used mine as a substitute for the whole pound of meat in the coffee ground spaghetti recipe that I love. It was delicious.

IMG_0973.JPG

In a small pan, sauté onions in the butter for 7 minutes. Add garlic and sauté for an additional one minute.

IMG_0974.JPG

Add butter, garlic and onions to a large mixing bowl. Allow to cool for five minutes.

IMG_0975.JPG

Add all remaining ingredients except ketchup and mix with hands until incorporated. You do not want to over mix. Just make sure everything is together.

IMG_0954.JPG

Now with an ice cream scoop, scoop meat into muffin pan.

Repeat until all meat is in the pans. Now layer ketchup over each muffin so that no meat pokes through.

IMG_0976.JPG

Place in oven and bake for twenty-twenty five minutes. I removed mine at twenty two minutes and cut open one to make sure it was done inside. I know this goes against every culinary rule (but, I mean really, we’re making meatloaf muffins here. How technically accurate do I need to be?), but I rest my meatloaf muffins on a paper towel for two minutes because I do not like the excess fat.

IMG_0964.JPG

I served mine on top of mashed potatoes.

And it was good, despite the flaw of its name. It had a perfect blend of flavors and the creamy mashed potatoes brought it all together. I am actually craving them as I write this. I am a meatloaf convert. Let’s just keep this between us.

Shakespeare once wrote,

“A rose by any other name would smell as sweet.”

Well…

“Meatloaf by any other name will still taste of meat.”

Hmmmm… still not sure I’m sellin’ these right.