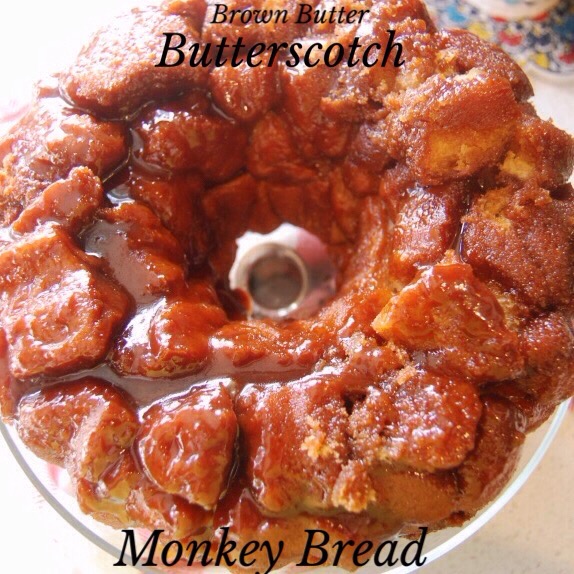
Brown Butter Butterscotch Monkey Bread

That’s a mouthful!

IMG_3380-0.JPG

My kids love monkey bread. They love when I buy it at the local bakery. I knew they would get a kick out of this easy make-at-home recipe.

This was the first thing I ever made in the kitchen. My grandma and I would make it all of the time. Then we moved on to a children’s cookbook. We rarely made monkey bread after that. This recipe brings back such memories of nostalgia, as only the tantalizing scents of cinnamon and sugar together can evoke. Has there ever been a more perfect pairing?

This recipe is fantastic to bake with kids. They love cutting up the biscuits and shaking the dough in the sugar. It is a quick and easy treat. Perfect for those of us who need immediate gratification.

This recipe was adapted from The Pioneer Woman and the butterscotch pudding part was courtesy of my good friend, Kerri. She once made the stuff and I dreamed about it for weeks. The brown butter part is strictly from my gluttonous imagination.

Need:

Bundt Pan

Ingredients:

3 large cans of refrigerated biscuits (I use 2 regular and one buttermilk)
1 cup sugar
1/2 cup brown sugar
1 Tablespoon ground cinnamon
1 cup salted butter (2 sticks)
1 3.4 oz. package of regular (not instant) butterscotch pudding

You can get crazy with this treat! Dare I say, if you monkey around with this recipe in the kitchen, the possibilities might be endless.

Groan.

Let me hang and scratch my embarrassed head.

On to the baking:

Preheat oven to 350 degrees F.

Generously grease bundt pan.

IMG_3277.JPG

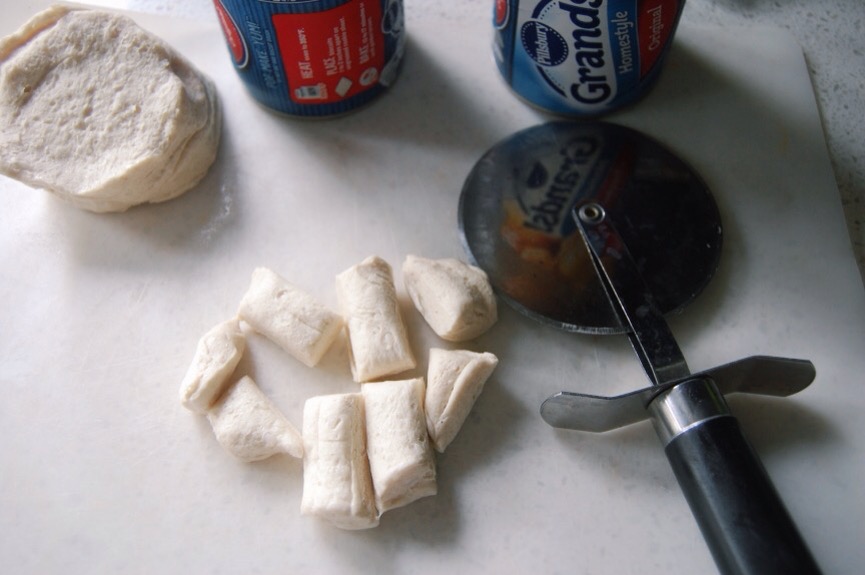
Cut biscuits into small pieces with a pizza cutter. I cut one can of biscuits into shapes of four, one can in shapes of six, one can in shapes of eight. I like a variety of sizes in my monkey bread. Let’s call them squirrel monkey, chimpanzee, and gorilla sizes. Because we can? We’re quite passed the point of should. We’re using two sticks of butter and over a cup of sugar here, peeps. Crazy names for biscuits are the least of our worries.

IMG_3267-0.JPG

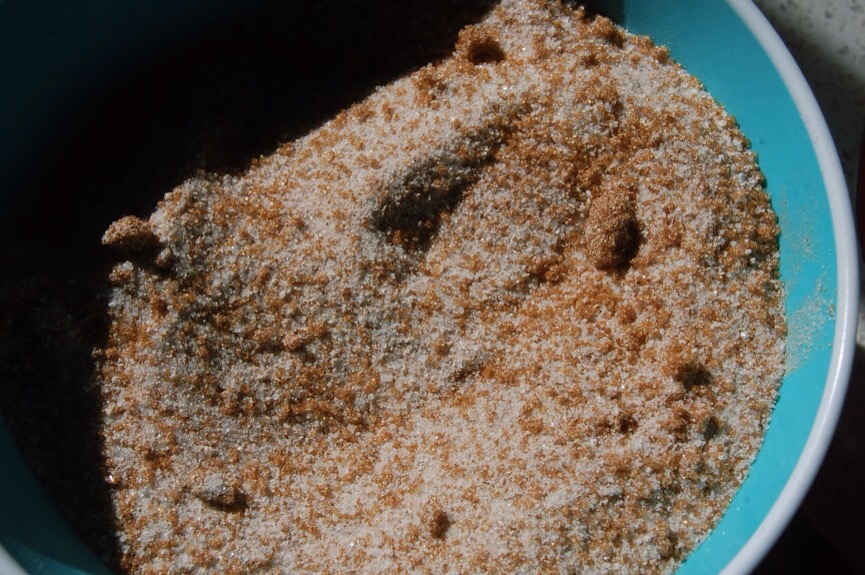
Combine the regular sugar and cinnamon. Add the brown sugar and mix. Place in a gallon sized bag. Or if you reach this step and realize you are completely out of gallon sized bags, call yourself a monkey’s uncle and mix the ingredients in a large mixing bowl. Primitive times are these, my friend.

Add cut biscuits in the bag of sugar mixture and shake. If you added it to the bowl, please do not shake, just mix. Of course, you knew that. But if a monkey child is reading this, I want to be specific.

IMG_3273.JPG

In a small saucepan on the lowest heat on your largest burner on your stovetop melt the butter. Stir every minute or so. When the foam starts to turn a caramel brown (usually about ten to twelve minutes) turn off the heat. Your nose will be able to tell you when the butter is brown because it will smell like the most glorious nutty caramel. The foam will start to bubble up in a gluttonous display of brown surrender. This means it is done. Remove from heat.

Now pour the sugar-coated biscuit dough and all of that glorious sugar mixture evenly into the bundt pan (I have a vintage yellow one from Etsy. You can find them there for around $15. It won’t make your monkey bread taste better but it will make you feel better).

IMG_3375.JPG

Mix the pudding mix into the brown butter. Edited to add: I do this with a fork. Beat it for just thirty seconds or so like you would an egg. It does not have to dissolve all of the way. It will do that when baking. If there is any bigger bits, just put it on the money bread. It will bubble up in the oven and become one gooey mixture. Oh, take a moment, if you must. This is the part where I get teary eyed. Pour brown butter pudding mixture over the top of all of the biscuit dough. Try to do this as evenly as possible.

IMG_3376.JPG

And scrape up all of the decadent brown bits at the bottom of the pan and put on top of the dessert.

Place in the oven and bake for 60 minutes. Cover the top with foil after it has been baking for twenty five minutes so that it does not get too crunchy and brown on top.

IMG_3274.JPG

Remove from the oven. Allow to cool for 20 minutes. Turn over on serving plate. It is easiest to hold the hot pan with a cloth kitchen towel versus the bulk of oven mitts. Say a quick prayer to the monkey Gods. Offer up a banana sacrifice, if you must. This part is tricky. The caramel in the pan will be hot, be careful not to burn yourself. Gently pull up on the bundt pan. If there is any caramel mixture on the bottom, scrape it up and put it on the monkey bread.

IMG_3372.JPG

Whoooo! Whoooo! Heeee! Heeee! Haaaa!

IMG_3377.JPG

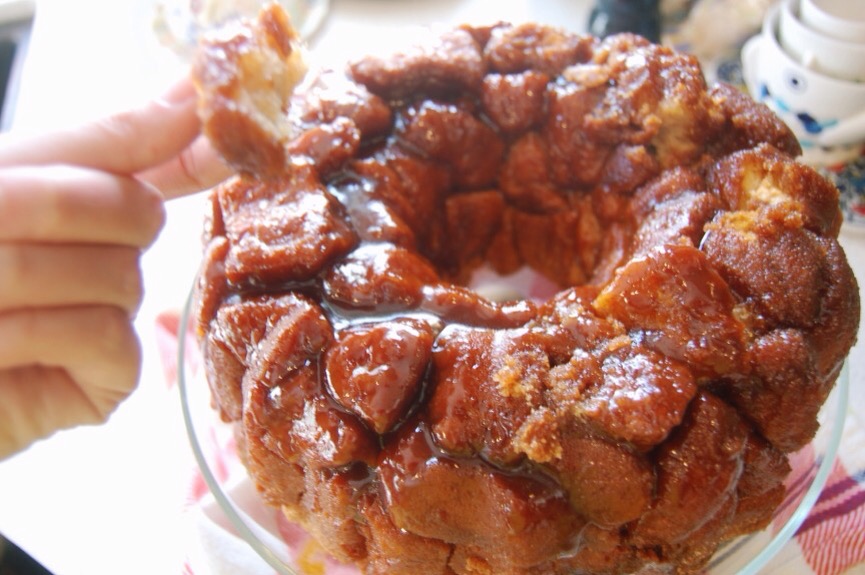
The monkey bread will pull apart in yummy gooeyiness.

Scratch your underarms and scream in triumph at the magnificent success. And if some of the monkey bread sticks to your pan just place it back on the dessert. Or if it completely falls apart (happens to the best of us, rearrange the pieces in two loaf pans. No one will be the wiser. Besides it will be gone before anyone, or any primate for that matter, would ever notice, anyway.

IMG_3371.JPG

Enjoy! I don’t mean to brag, but my brain thighs are entirely made of this stuff.

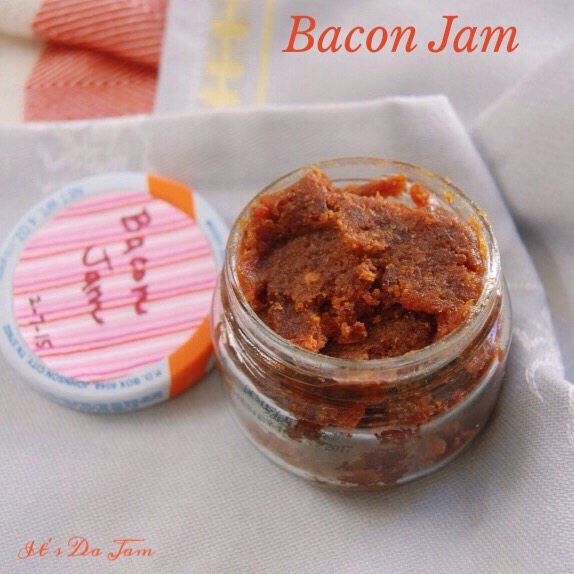
It’s Da Jam – Bacon Jam To Be Precise

IMG_3321.JPG

I know.

I know.

Oh. I know.

Have you ever had bacon jam? I had had it two times in the last ten years before I decided to make my own. I just kept waiting for a restaurant near me to have it on the menu or wait to stumble upon it in a store. But it never happened. And my soul was sad from the wanting of it. It tastes like a sweet and smoky intense bacon spread. It is slap-your-own face-as-you-drool good.

So, the other day I decided to just google a recipe. It turns out that bacon jam is a snap to make. If you can manage to not eat all of the bacon before putting it into your crock pot. I do believe that is why this recipe calls for one and a half pounds of bacon. We all know bacon comes in one pound packages. So, you will need to buy two packages. Little Miss Martha Stewart (from whom this recipe is from, I just changed a few ingredients and altered a few steps) must have not been able to resist that other half a pound of bacon, either. And who can blame her?

The best part about this recipe, besides the heavenly taste, is that it is made in the crockpot. Can I hear a hallelujah? Or is your throat still sore from the delightful screams of the very idea of bacon jam? I hear ya. It is pretty darn wonderful.

Ingredients:

1 1/2 pounds of bacon
1 diced onion
1 minced clove of garlic (or 1 of those frozen packets)
2 Tbsp. of red pepper spread (Trader Joe’s carries one and most grocery stores carry a version)
1 tsp. red pepper flakes
1/2 cup organic brown sugar
1/2 cup apple cider vinegar
3/4 cup brewed coffee
1 Tbsp. Brandy
1/4 cup good maple syrup

Directions:

This recipe is going to take about six hours to make. It is definitely not hard. Basically, you just need to be able to stir it every so often in the crockpot. But plan to be home during the time of its creation. You cannot leave it and go.

Line a baking sheet with foil and line the foil with one layer of bacon closely touching each other but not overlapping. Place in a cold oven. Turn oven to 375 degrees F. Bake the bacon for 20-23 minutes. You want it crunchy but not burnt. Once the bacon is done, remove to a paper towel-lined towel. Repeat until all of the bacon is cooked.

IMG_3306.JPG

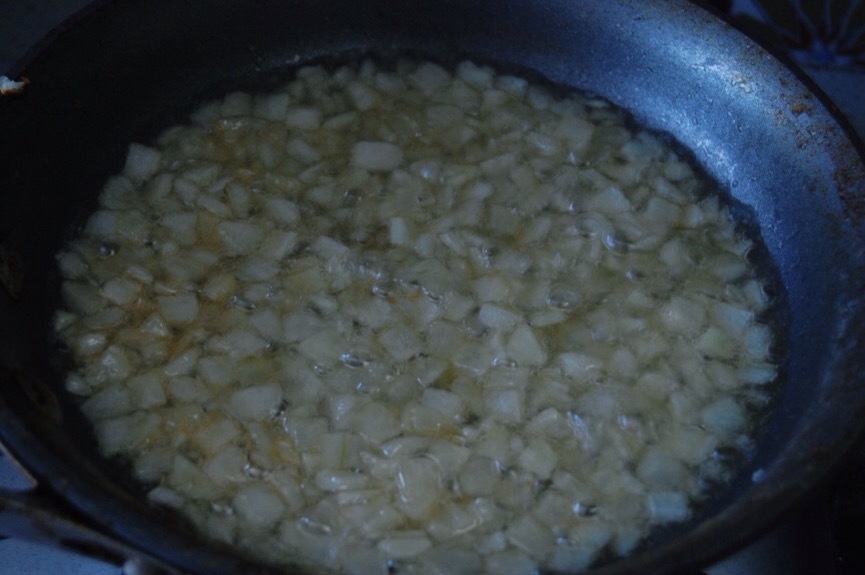
In a small skillet add three tablespoons of the bacon grease. Turn stovetop burner to medium heat. Add diced onion. Sauté for seven minutes. Add garlic. Cook an additional minute. Drain bacon fat from cooked onions and garlic. Add onions and garlic to the crockpot.

IMG_3315.JPG

Add coffee, brown sugar, vinegar, maple syrup, brandy, and red pepper spread to the crockpot. Crumble bacon pieces into the crockpot. Add red pepper flakes. Stir.

IMG_3312.JPG

Cover crockpot and cook mixture for two hours on high (stirring every thirty to forty five minutes).

IMG_3310.JPG

Uncover and cook an additional two and a half hours uncovered (stirring every thirty minutes) until thick.

IMG_3313.JPG

Turn off the crockpot. Skim any fat off of the top of the bacon jam. I just take a spoon and quickly go over it. At this point you can add the jam to your food processor to blend it or just use a handy dandy immersion blender like me. I just pulse it directly in the crockpot with my immersion blender for about a minute. Stir. If there is more grease on top, skim it off. Let jam cool. And now put it in an air tight container.

IMG_3320.JPG

It fits perfectly in a 16 oz. container or you can put it in cute little glass jars. I reuse my pimento jars, starbucks frappucino jugs, and sundried tomato jars for such purposes. I like to quickly make a label with old scrap paper and mark it with a sharpie when I start the jam with the date on it so I know when I need to use it by. These would make great little gifts. Put the jar of jam in the refrigerator until ready to use. I use mine within two weeks stored in the refrigerator (although Martha Stewart suggests it might keep for four weeks, I worry about food safety).

IMG_3307.JPG

This is amazing on crostini, turkey sandwiches (my favorite thing in the world, recipe below), hamburgers, as a pizza sauce, with brie on crackers, on steaks, eggs, biscuits, fingers… You name it. It is delicious on it. I just reheat a little of it in the microwave for twenty to thirty seconds when I am ready to use it.

IMG_3308.JPG

IMG_3304.JPG

IMG_3305.JPG

IMG_3316.JPG

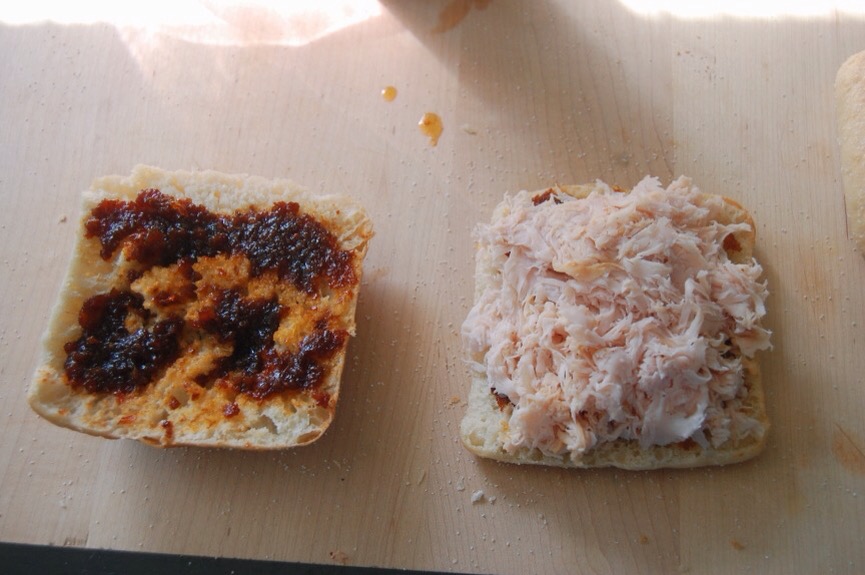
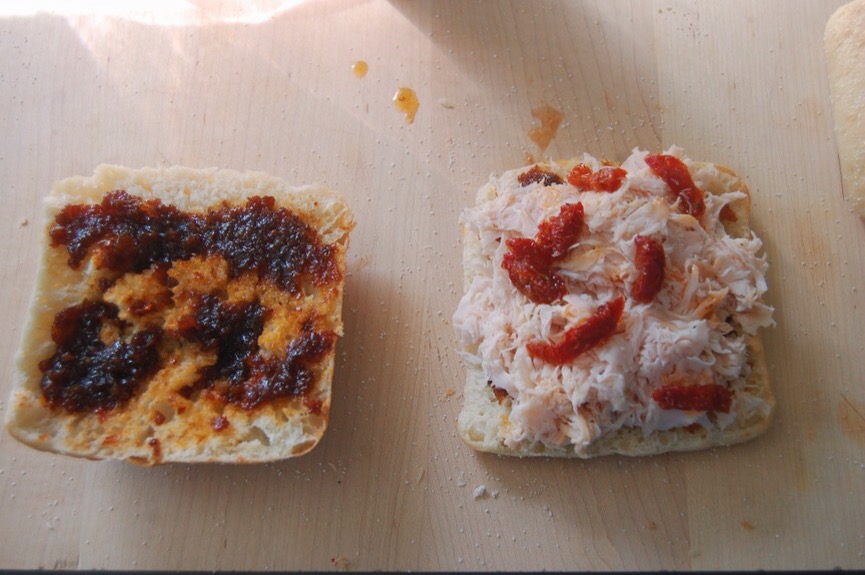
For the turkey sandwich that I love, I heat up the amount of bacon jam I want for fifteen to thirty seconds depending upon how many sandwiches I am making. I layer bacon jam on both sides of a Chibatta roll I have cut in half. Layer a good amount of good quality turkey on the bottom part of the roll (I use shaved honey turkey from the deli). Place a scattering of sundried tomatoes that were in oil on the turkey. Lay one slice of havarti cheese on top. Close up that baby and enjoy! If your throat is still raw from the screams, bacon jam will soothe it. It is kind of miraculous stuff. At least that’s what I keep telling myself.
Hallelujah!

It’s The Little Things: The Best Of The Pre-Prepared Meals

IMG_3084.JPG

My husband’s shifts at work vary. I usually make a meal when he is home about five times a week. There are those nights though when I just don’t want to cook. Either it is just me and the kids and I don’t want to make a huge meal for just the three of us or my kitchen might be clean and I don’t want to mess it up. I can’t be the only one who feels that way about a clean kitchen, right? Please tell me I’m not alone.. Or maybe I am just plain ol’ tired. Whatever the case may be, I have tried many a prepared meal from the grocery store. Here are some that I go to again and again that I felt were worthy enough of sharing:

IMG_3080.JPG

Raviolis by Rana. I think these are the most authentic tasting Italian items at the grocery store.

I love their lasagna noodles. I use them exclusively for my lasagna. A few months ago I was at the grocery store and a woman was blocking my access to the noodles.

I waited and waited for her to move but she kept studying the packaging.

Finally, I decided to intervene. I assumed she was undecided upon the product.

“They’re really good,” I said.

She looked up at me in surprise.

“Oh! Yes! This is my brother’s company,” she proudly proclaimed. “I didn’t know it was in stores yet.”

We chatted some more and she recommended the pesto product which she used to help sell at the farmer’s market. I am so glad I ran into her because I loved the pesto she recommended and now I purchase it whenever I need it for a recipe.

Isn’t it a small and funny world?

I buy the family ravioli version which is around $8 a package. I add a can of marinara sauce that I have heated on the stove to the drained ravioli. Easy peasy.

IMG_3083.JPG

Indian food.

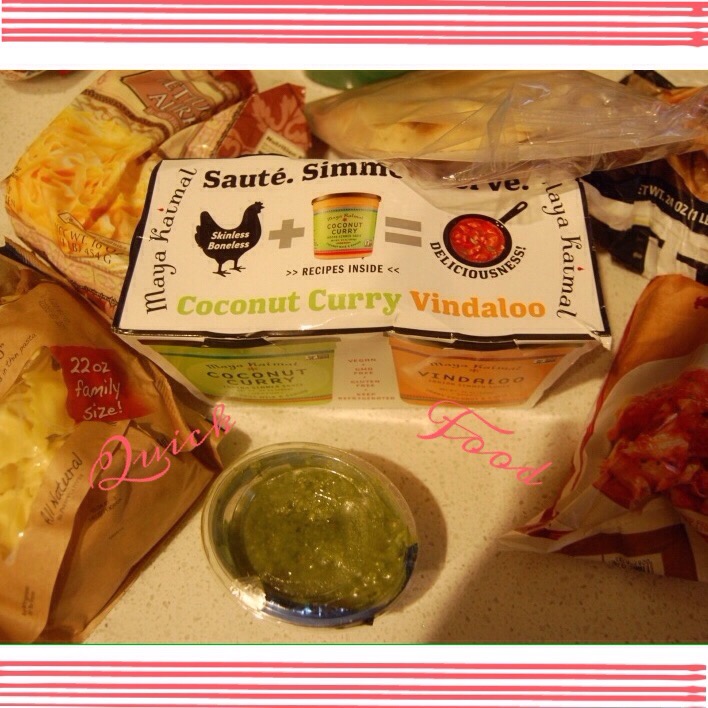
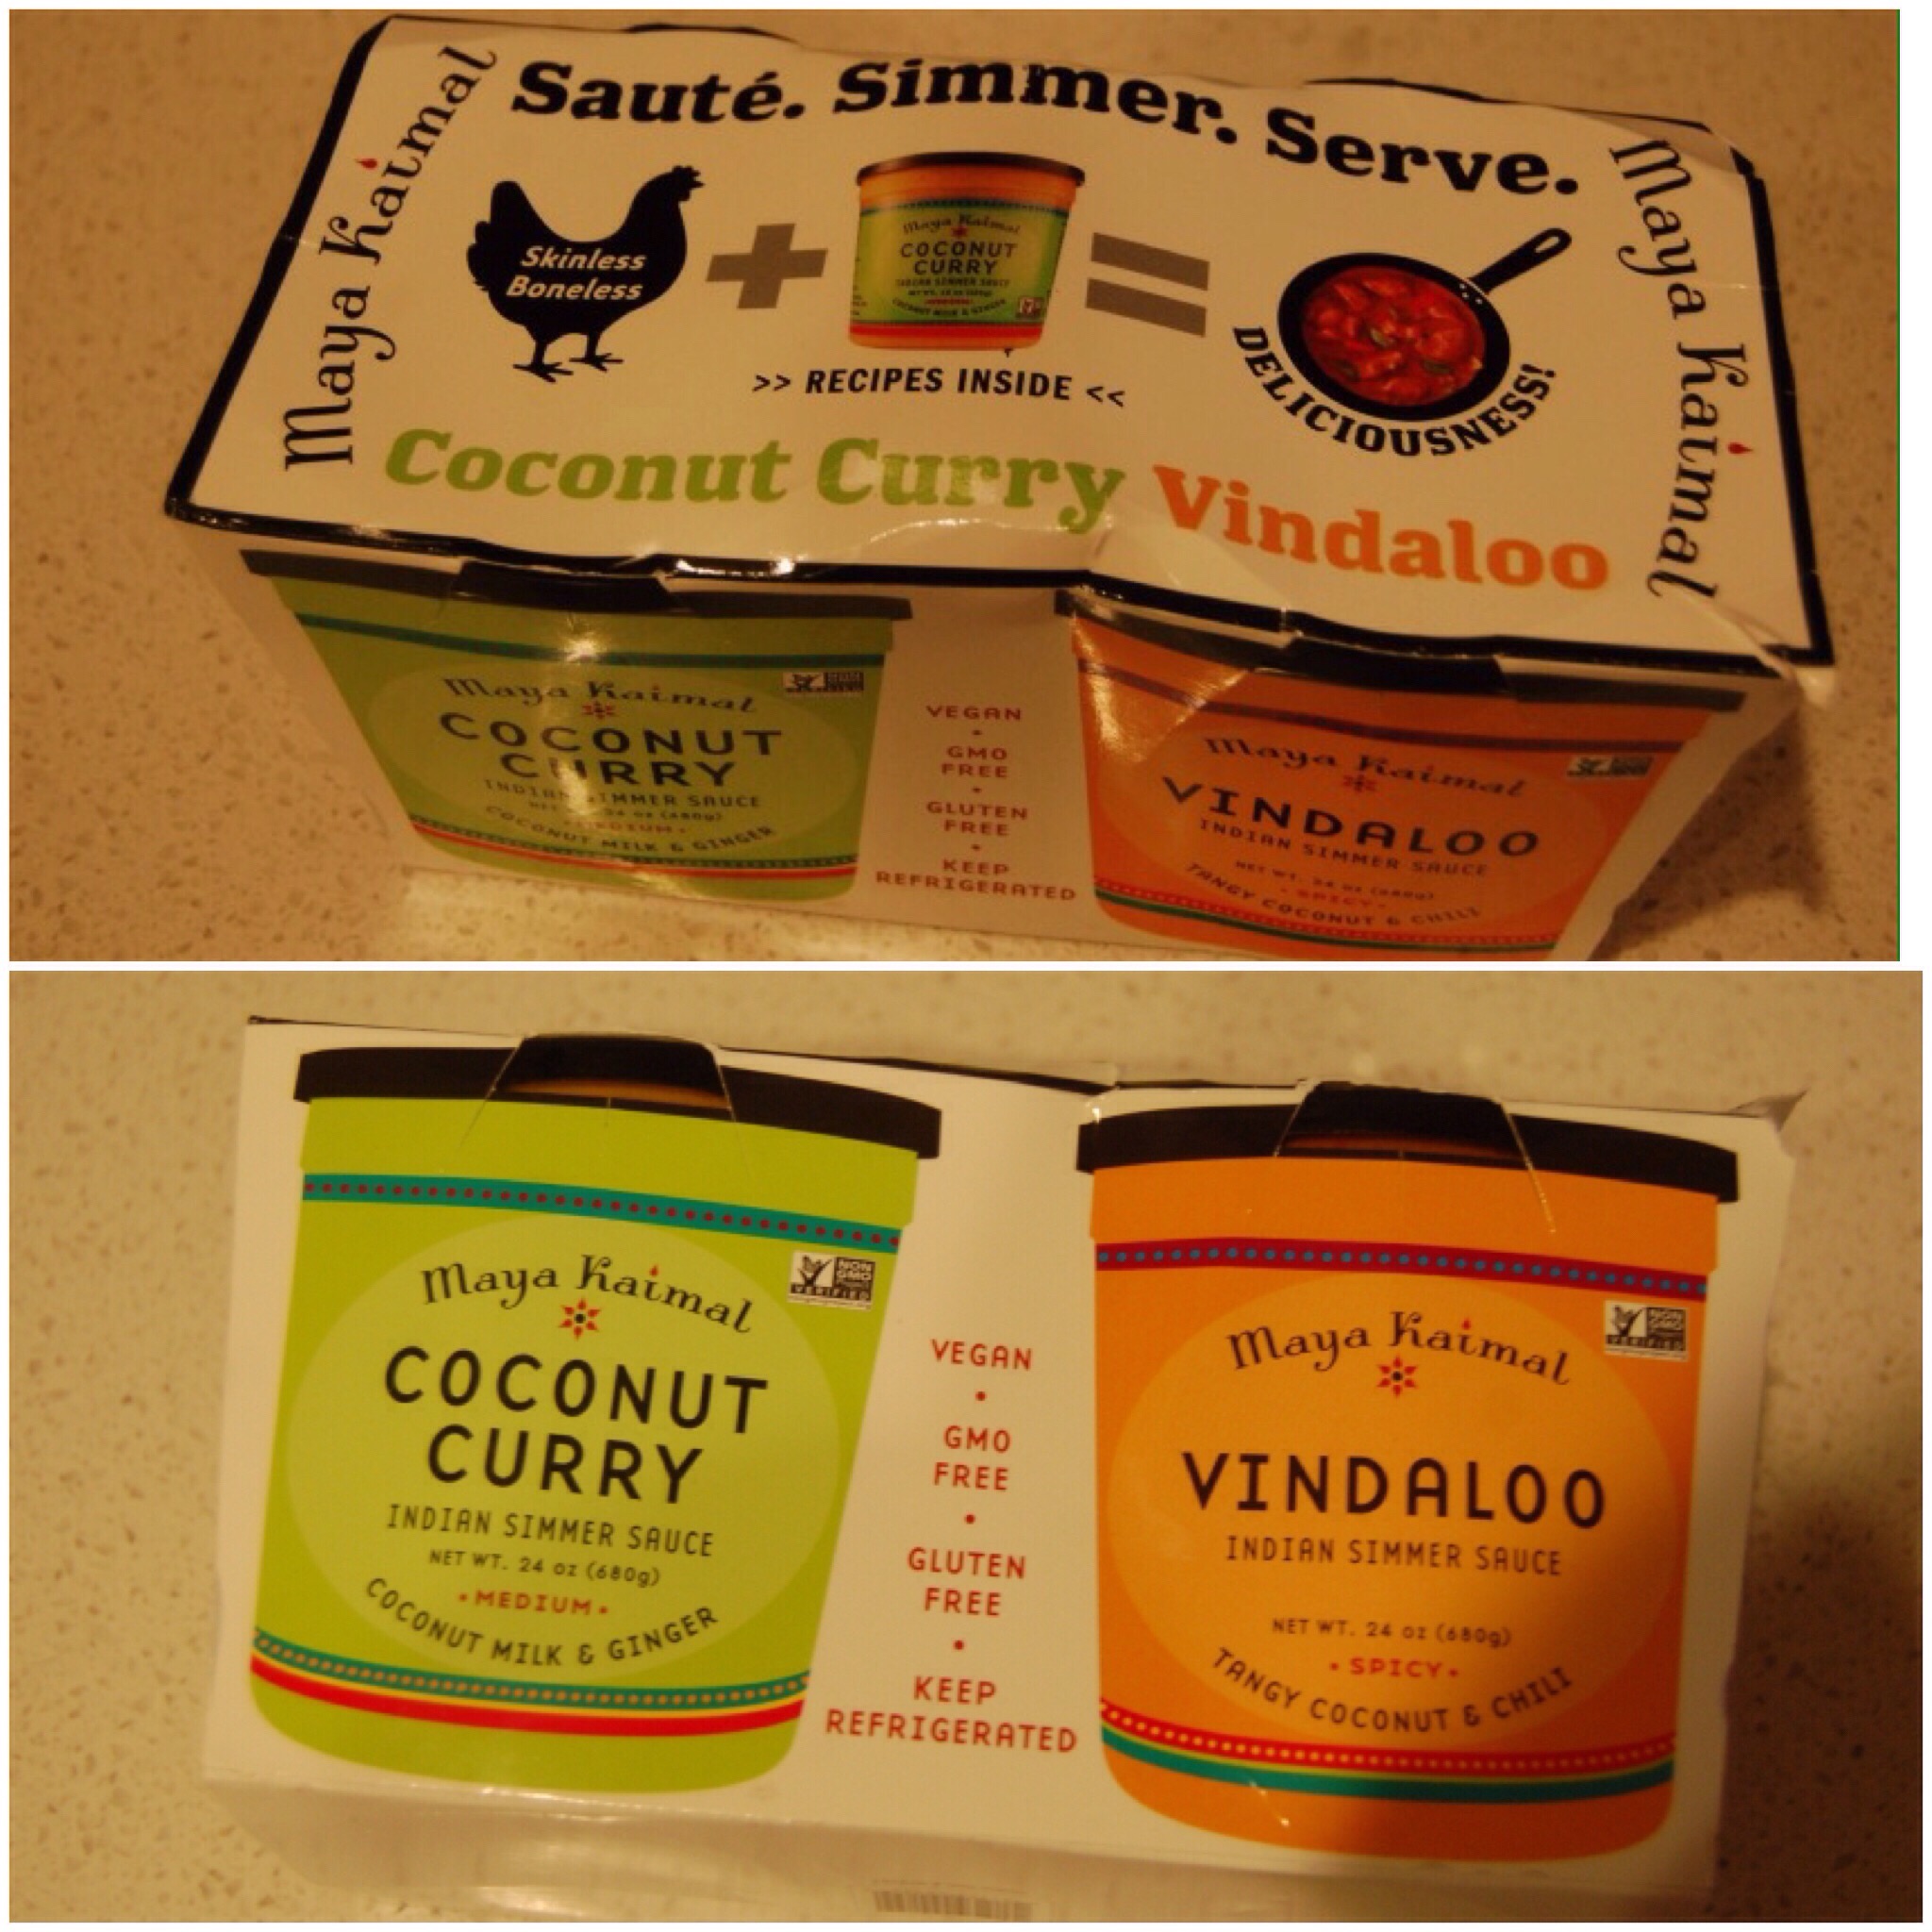
Hands down. Feet down. Any old body part you want to throw in right now would be down. Whatever that means. Down is good here. Maya Kaimal’s Indian sauces in a two pack from Costco are the very best preprepared dish I can find. The flavors are so intense and wonderful. I love Indian food and these little containers of curry taste like sauces I would find in a restaurant.

I shred up a rotisserie chicken and add it to the simmering sauce. I also add a half of a stick of butter to it. Because why wouldn’t I? One container serves my whole family of four with no leftovers. I always have these in my refrigerator. I serve them over steamed white rice (perfect white rice is double the water to your amount of rice- I do 2 1/2 cups of rice and 5 cups of water, 2 Tbsp. Butter. Bring to a boil. Reduce to simmer and cover with a lid for twenty five minutes. Turn off heat and allow to rest for five minutes before removing lid).

I also serve it with naan bread that I always have in my freezer. And I also chop up some cilantro (another refrigerator staple) and sprinkle it over the top.

My family loves everything about both of these sauces. We cannot decide which flavor is our favorite. They are both amazing. Very spicy but good.

IMG_3075.JPG

Trader Joe’s Pastas

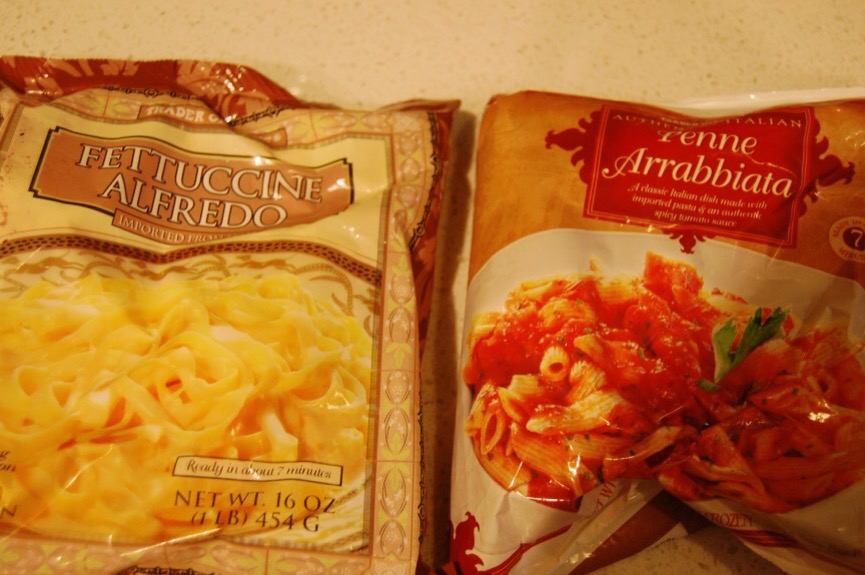
My family and I actually find Trader Joe’s dry pastas gummy and feel they have an odd off-putting flavor (if I were to guess, I would guess cinnamon). However, their frozen pastas are actually pretty good.

They are not amazing but they are good for a frozen pasta. I am not a fan of frozen pastas with meat in them. I like that these are exclusively noodles and sauce. That is surprisingly hard to find. I buy two and serve them to my children. My daughter likes the marinara version best. My son likes the Alfredo. As for me? I like to mix them.

IMG_4936.JPG

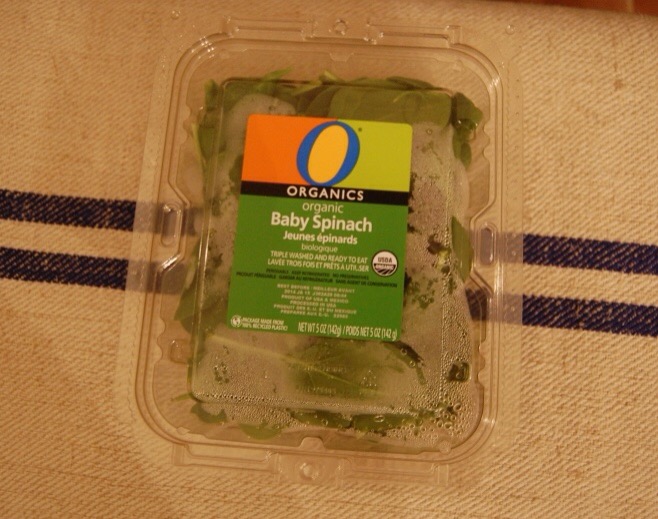
Of the five brands that I have tried numerous amounts of times, the best pre-packaged spinach is found at Von’s. I know that seems odd, but there it is. The flavor at Von’s is always mild and just fantastic. I use it in my favorite salad at least twice a week.

IMG_2601.JPG

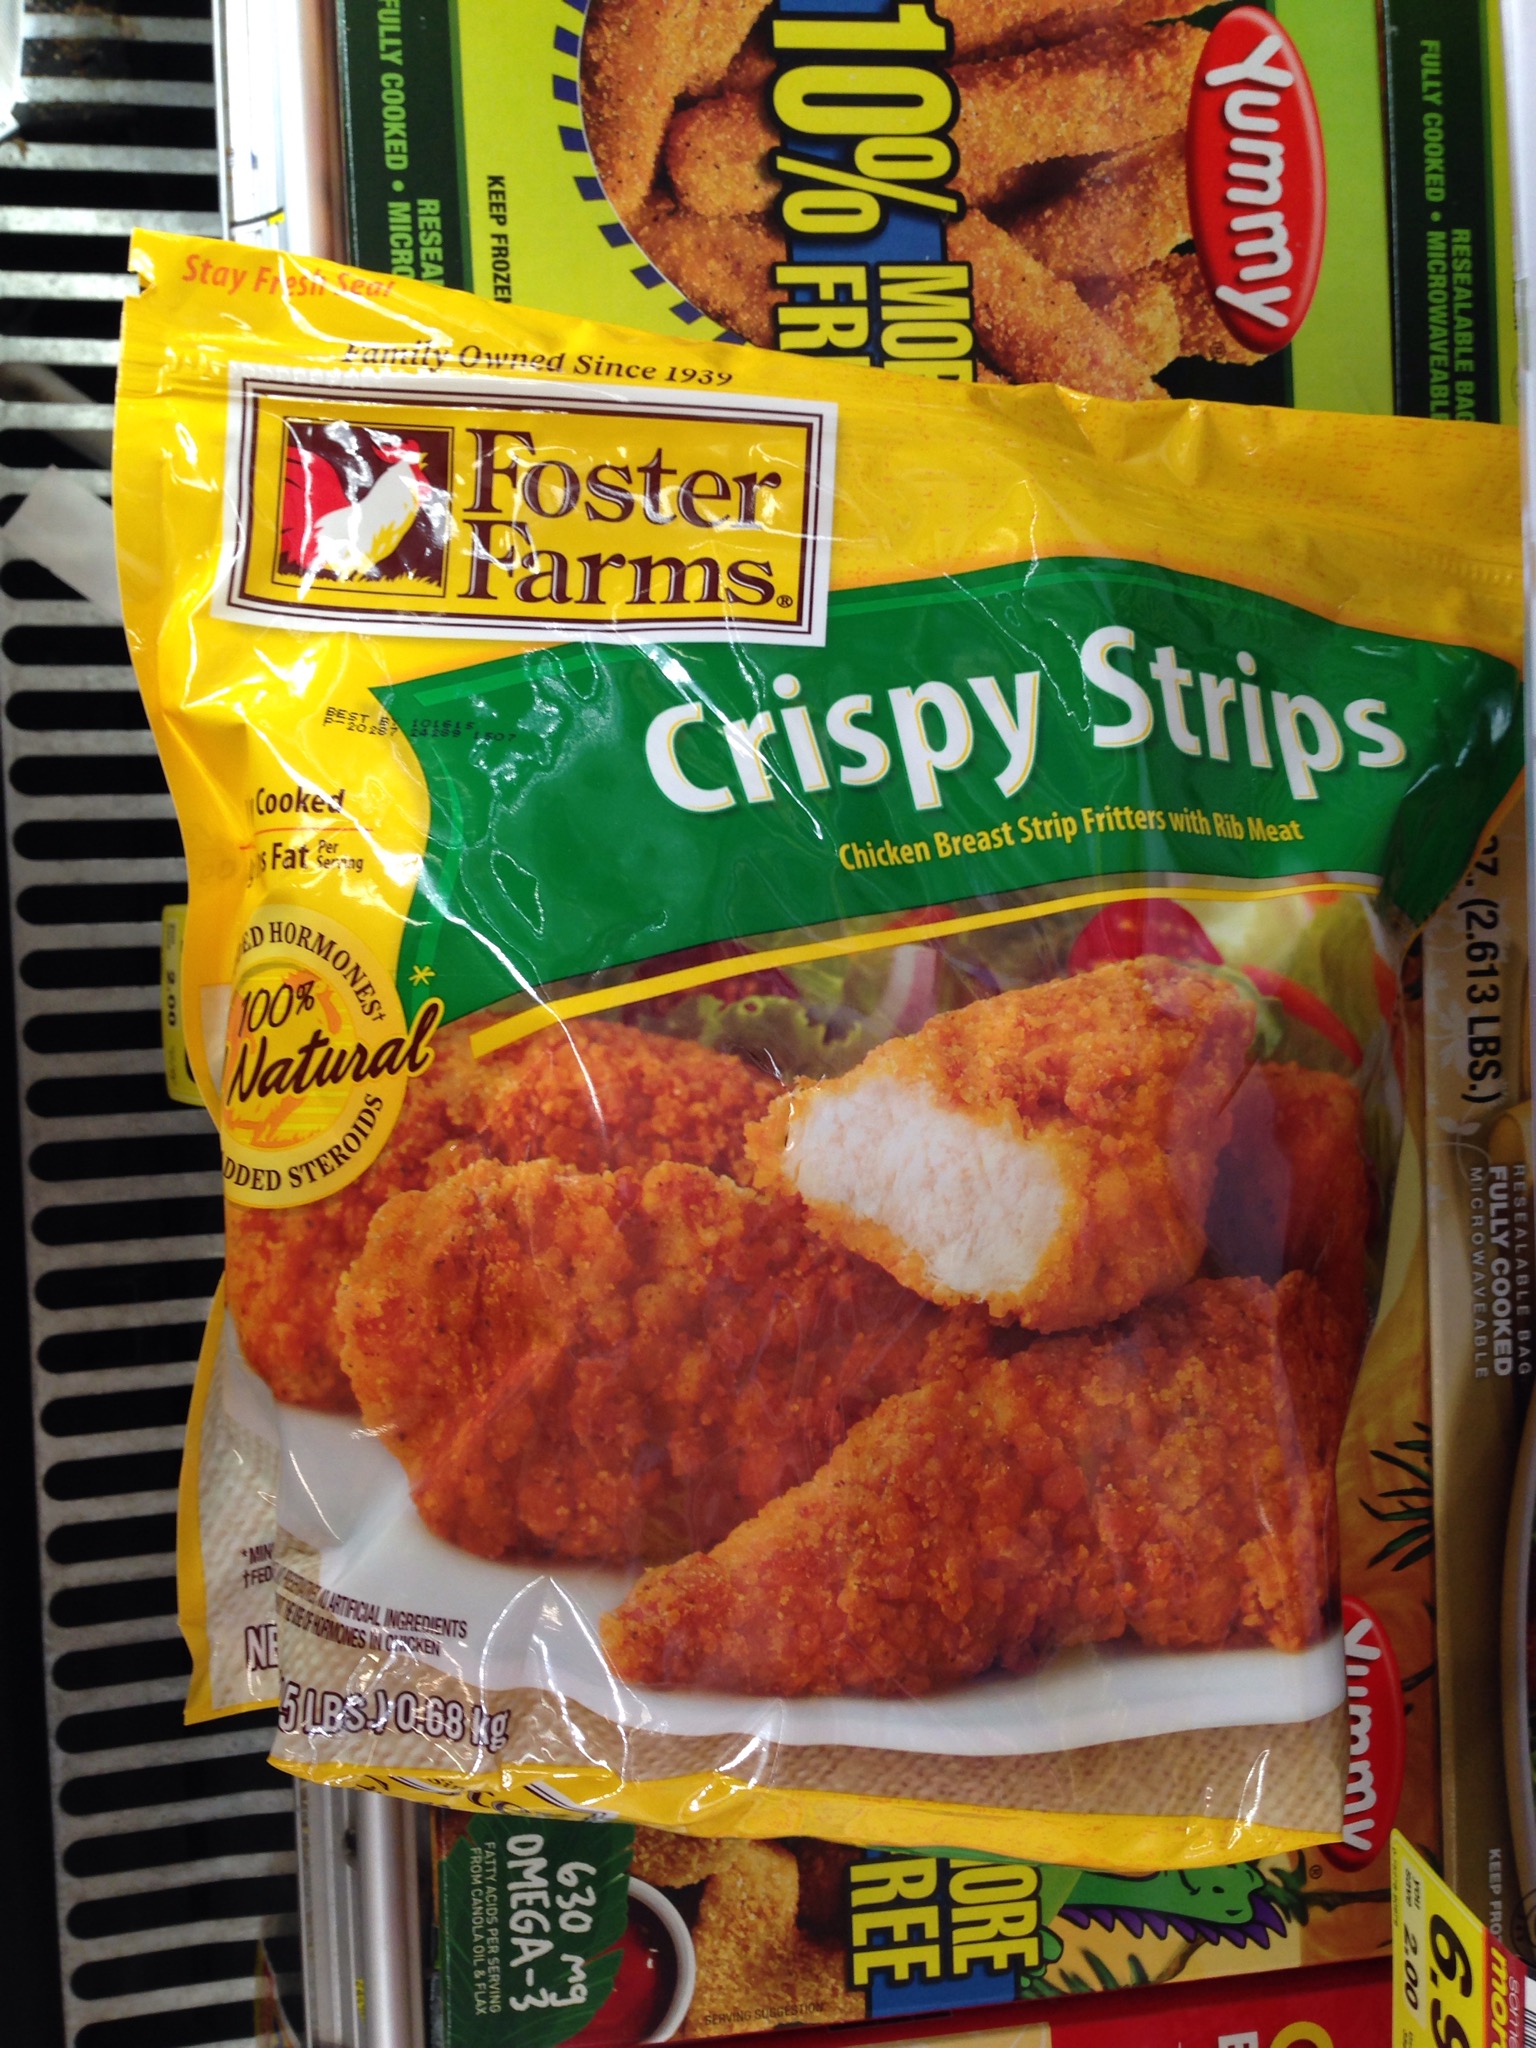
Foster Farm’s Chicken Tenders

I know. Frozen chicken strips? How original, Jenni. This is more of a comparison recommendation than something that is unique and special. This brand is my family’s favorite. I have tried many brands. In my opinion, these are simply the best. They stay crispy cooked in the oven. The calorie count is not bad compared to fried chicken strips in restaurants. They also make a glutten free version. I serve them with baked potatoes and salad. It does not get easier than that.

IMG_3079.JPG

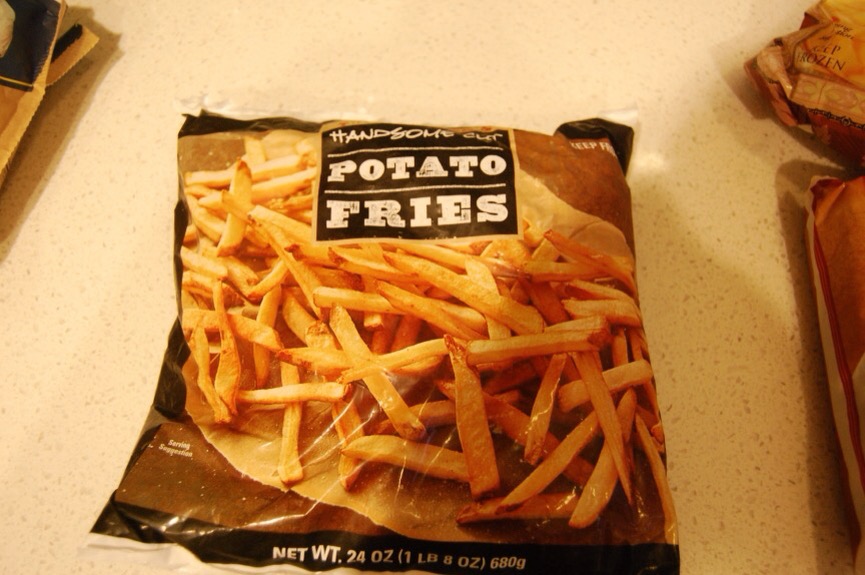
Last, these french fries from Trader Joes are amazing. They are oven baked so they are not as bad for you as other fast food fries. I used to grab bags of these from the San Diego Trader Joes because I had never seen them at my local store. The other day, my store had a few bags. I exclaimed to the man stacking them in the freezer section, “Yay! You finally got these fries in!”

He looked at me puzzled and said, “We’ve always carried these. They just sell out.”

So, if you don’t see them at your local store, now you know why. They go quickly!

What are your go-to pre-prepared meals? I am always looking for new ones to try. I was madly in love with Albertson’s frozen manicotti and they discontinued it a few months ago. Do you know any store that sells frozen manicotti with no sauce? Just stuffed shells or noodles? They are more expensive to make than I used to find frozen. Any leads would be very much appreciated. : )

More Sweet Margarita

recipe is for one drink

IMG_2808.JPG

Ingredients:

1/3 cup silver tequila
1 tablespoon triple sec
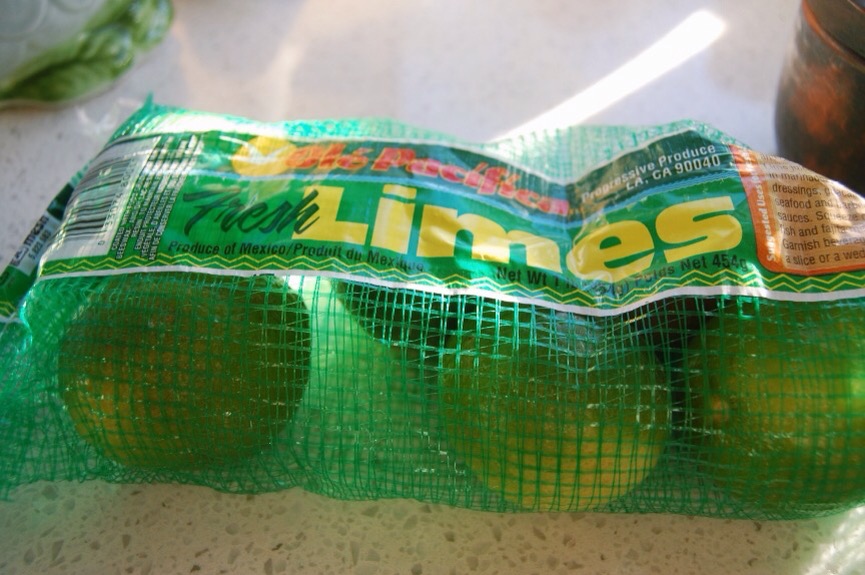
1/4 cup lime juice (about three limes per drink)
1/4 cup + 1 Tbsp. simple syrup

IMG_2809.JPG

Schlooppo. i made a margar-ita. Note to self. Do not type an alcohol lic recipe after consuming the alcoholic drink. Makes snese right?

You would think so.

But sense has never been my middle name.

I was making my chicken tacos (do you know that if you misspell tacos with a “c” for the “a” as tchos, autocorrect will not guess tacos? Nope. It suggests you must be thinking of “tc how.” Which makes as much sense as tchos. I decided to look up acronyms for “tc.” Spoiler: there are a lot of them. My favorite is “take care.” Which really makes total sense. Maybe autocorrect was looking out for me. But then I scrolled further down the list to “Tom Cruise” and then “top cat” and I realized autocorrect was just drunk on margaritas… too). Anyhoo, I decided what would make the meal perfect. Just perfect. Would be a margarita. So, I made two based on this recipe from The Food Network. But it was much too much too tart for the likes of me. If you like your margaritas more authentically tart, I definitely recommend using the original recipe in the link.

I changed it up just a bit and from now on, this is the only way I shall make my margaritas.

Or type a recipe.

Autocorrect never had it so good.

Directions:

IMG_2807.JPG

Make your simple syrup. In a small saucepan boil one cup of water and one cup of sugar until sugar dissolves. Whisk occasionally to make sure sugar does not stick to bottom of pan. Set aside. This would be better made in advance and chilled in the refrigerator. It keeps for one month in the refrigerator.

Squeeze limes into a clear 2 cup measuring glass until you have the appropriate measurements for the amount of drinks you are making.

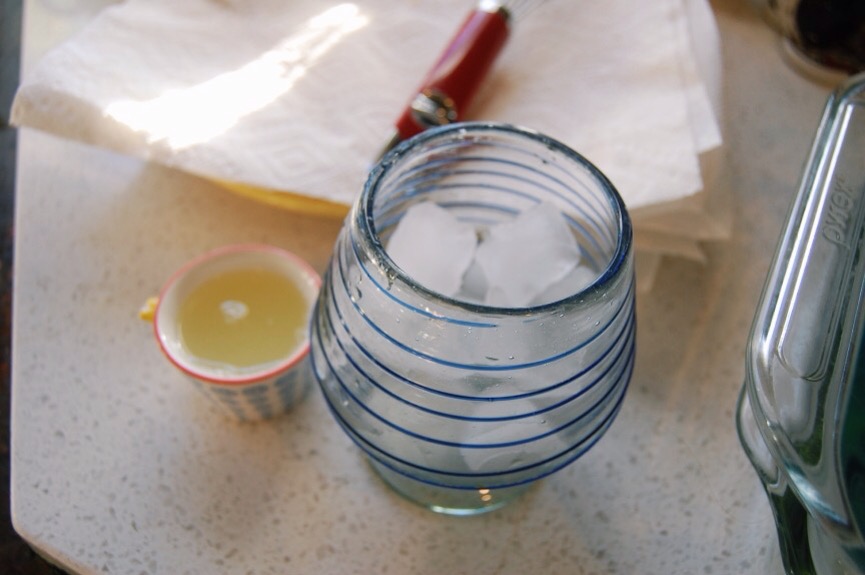
Fill a glass with ice.

You may brush the rim with simple syrup and stick it in sea salt or sugar if you like that sort of thing. I do not. Too Coarse.

Pour your tequila, triple sec, lime juice and simple syrup into the glass. Mix.

IMG_2815.JPG

Drink.

Try to type a coherent recipe.

I dare you…

Take Cover.

‘Cause

You’re Too Cool

To Calculate

The Charges.

Now Toast… and Cheers.

IMG_2810.JPG

“To Crazy.”