The Easiest Salted Caramel Cookie Bars

IMG_1878.JPG

Come here.

Closer.

Closer.

There.

That should be close enough. I have a secret I want to share with you. It involves zero guilt and tons more time on your hands. The secret is this, “There ain’t no shame in the faking it game.”

I read a food blog I adore recently that condemned store bought pie crust. I love that blog. This ain’t that blog. I like homemade pie crust. I like homemade cookie dough. I like my house vacuumed frequently. I like to read after dinner. But we all know there simply isn’t enough time in the day for all of our “likes” and “wants.” Heck. There is barely enough time for the “needs.”

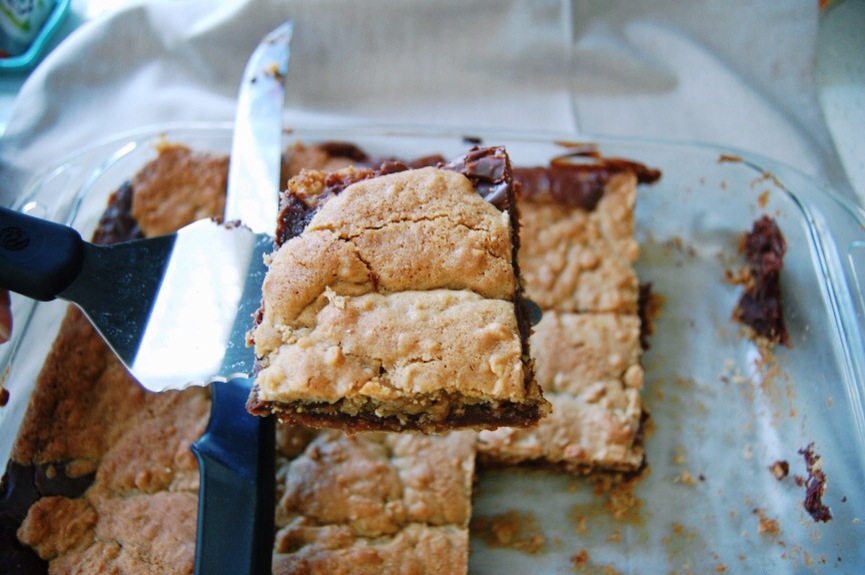
So let’s fake us some homemade cookie bars, shall we?

I won’t tell if you don’t.

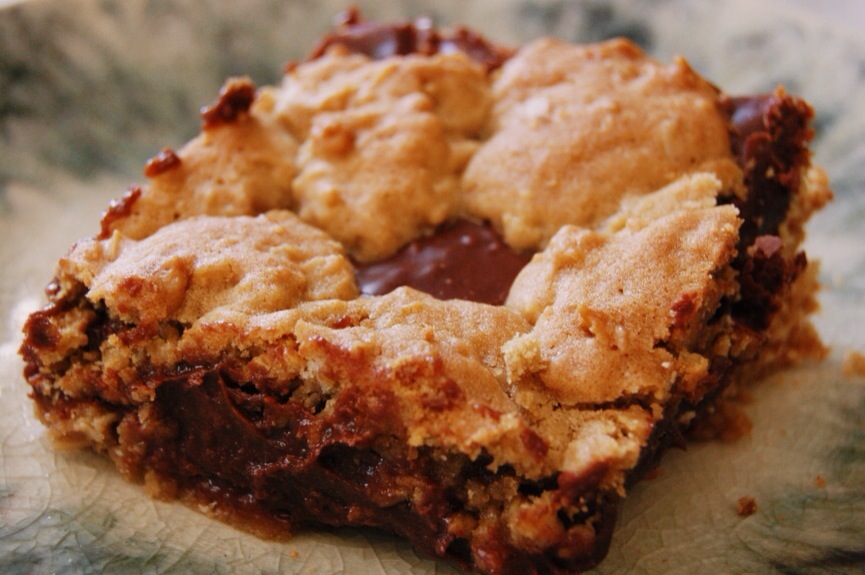
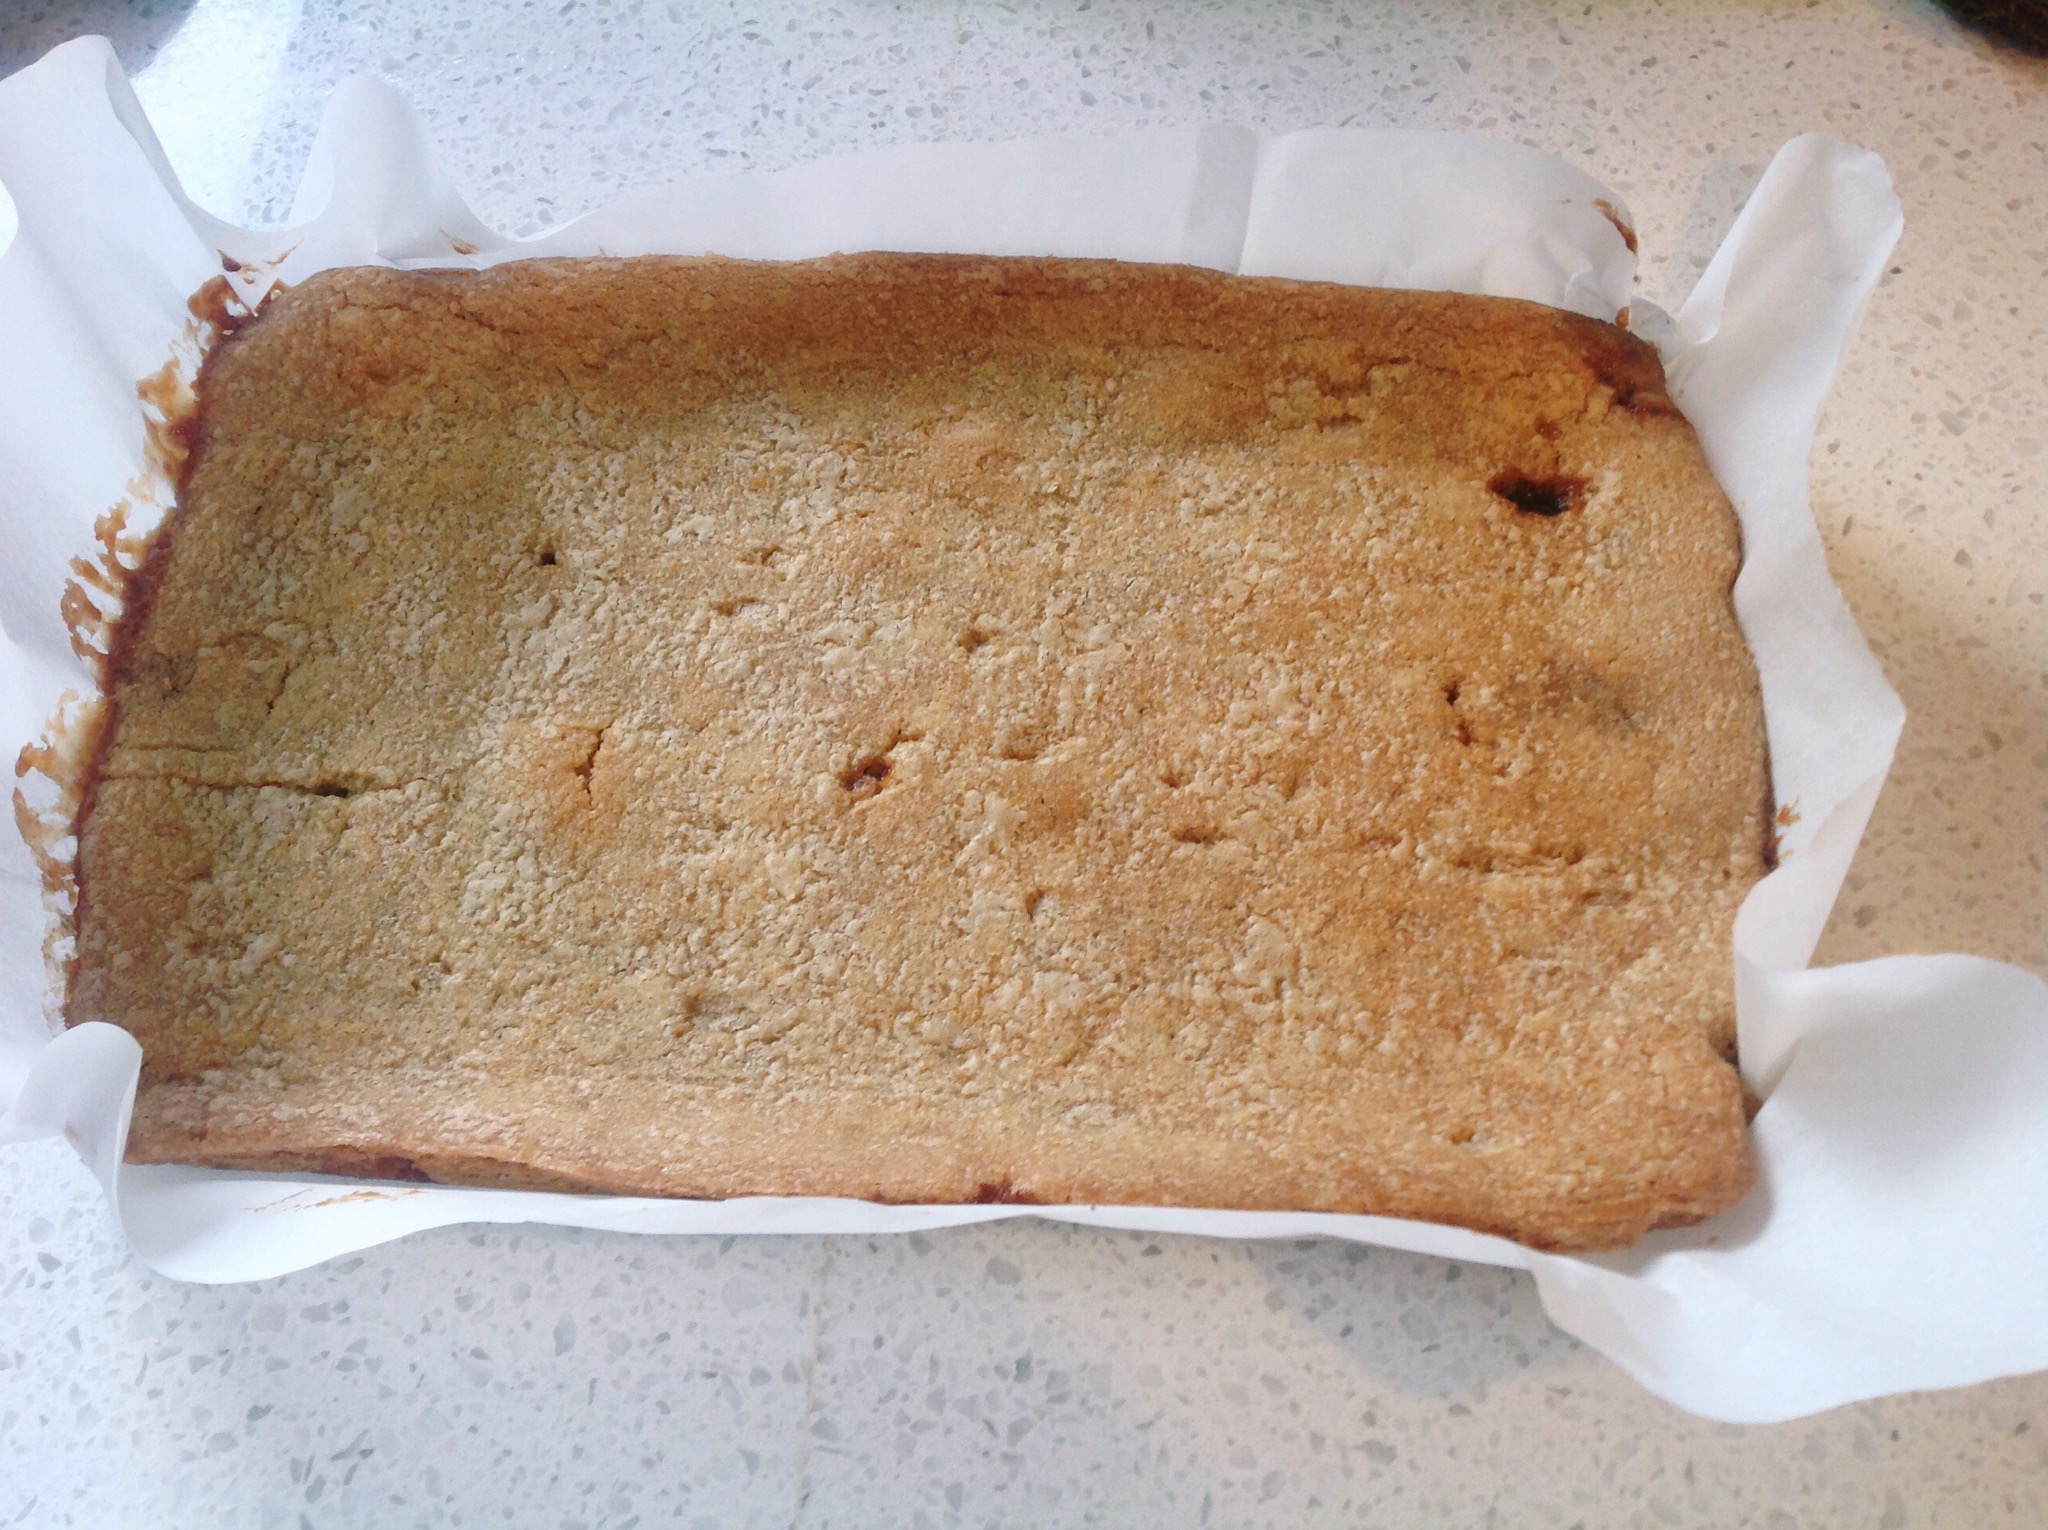
I was so pleasantly surprised how well these cookie bars turned out. I do highly recommend using parchment paper, because the bars are too sticky to get out otherwise.

IMG_1875.JPG

Ingredients:

2 packages of sugar cookie dough logs or 1 package of the preflattened sugar cookie dough (I prefer the preflattened kind made by Nestle. It ends up being cheaper, but the logs make a prettier cookie bar)
1/3 cup caramel sauce
1/3 cup toffee bits
Sea salt
Parchment paper

Directions:

Preheat oven to 350 degrees F.

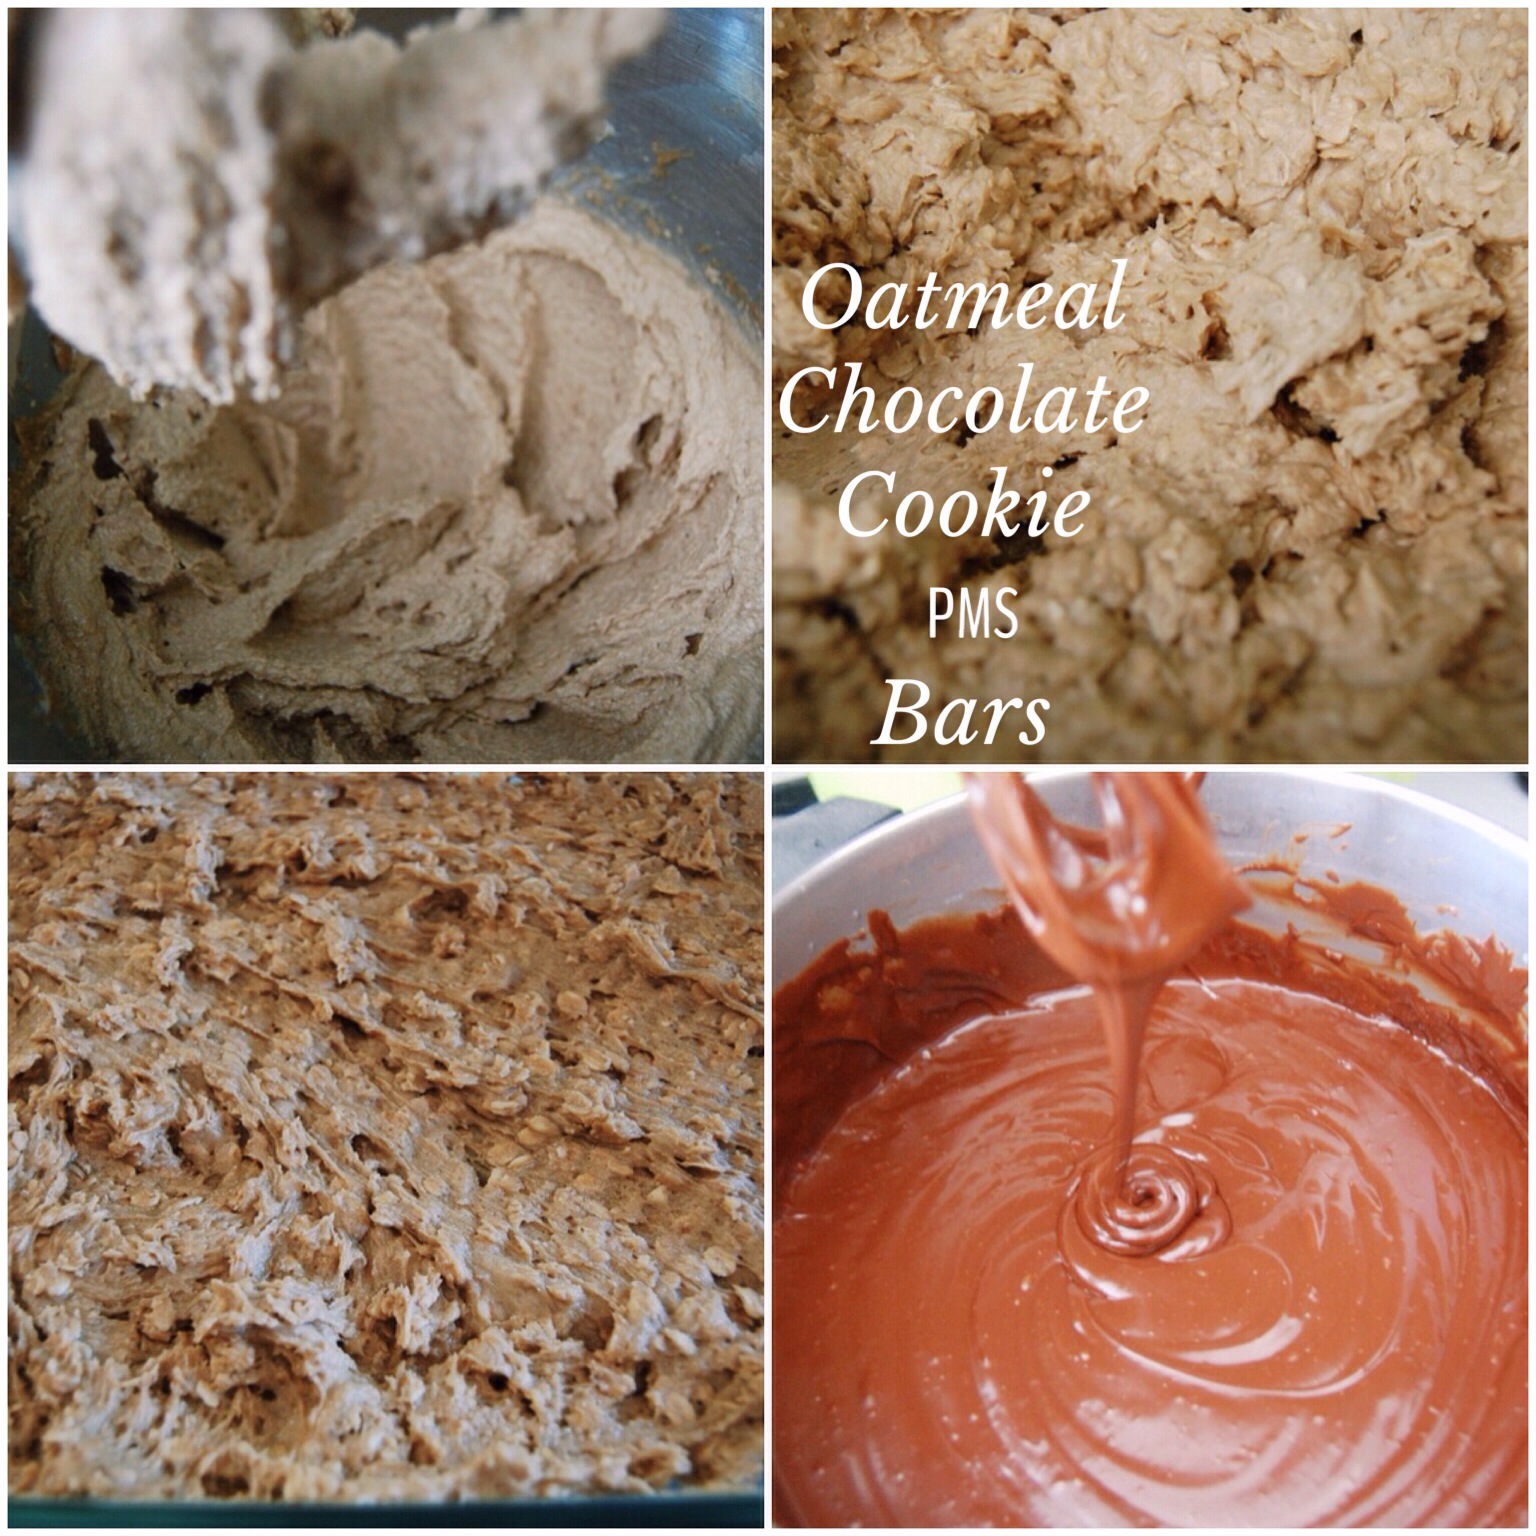
Place parchment paper in an 11 X 7 baking dish. Take a log of sugar cookie dough and press it into place over the parchment paper or lay one layer of your flat cookie dough and push it into the corners of the parchment paper (depending upon which premade sugar cookie dough you purchased). Put into the oven and bake for fifteen minutes.

IMG_1879.JPG

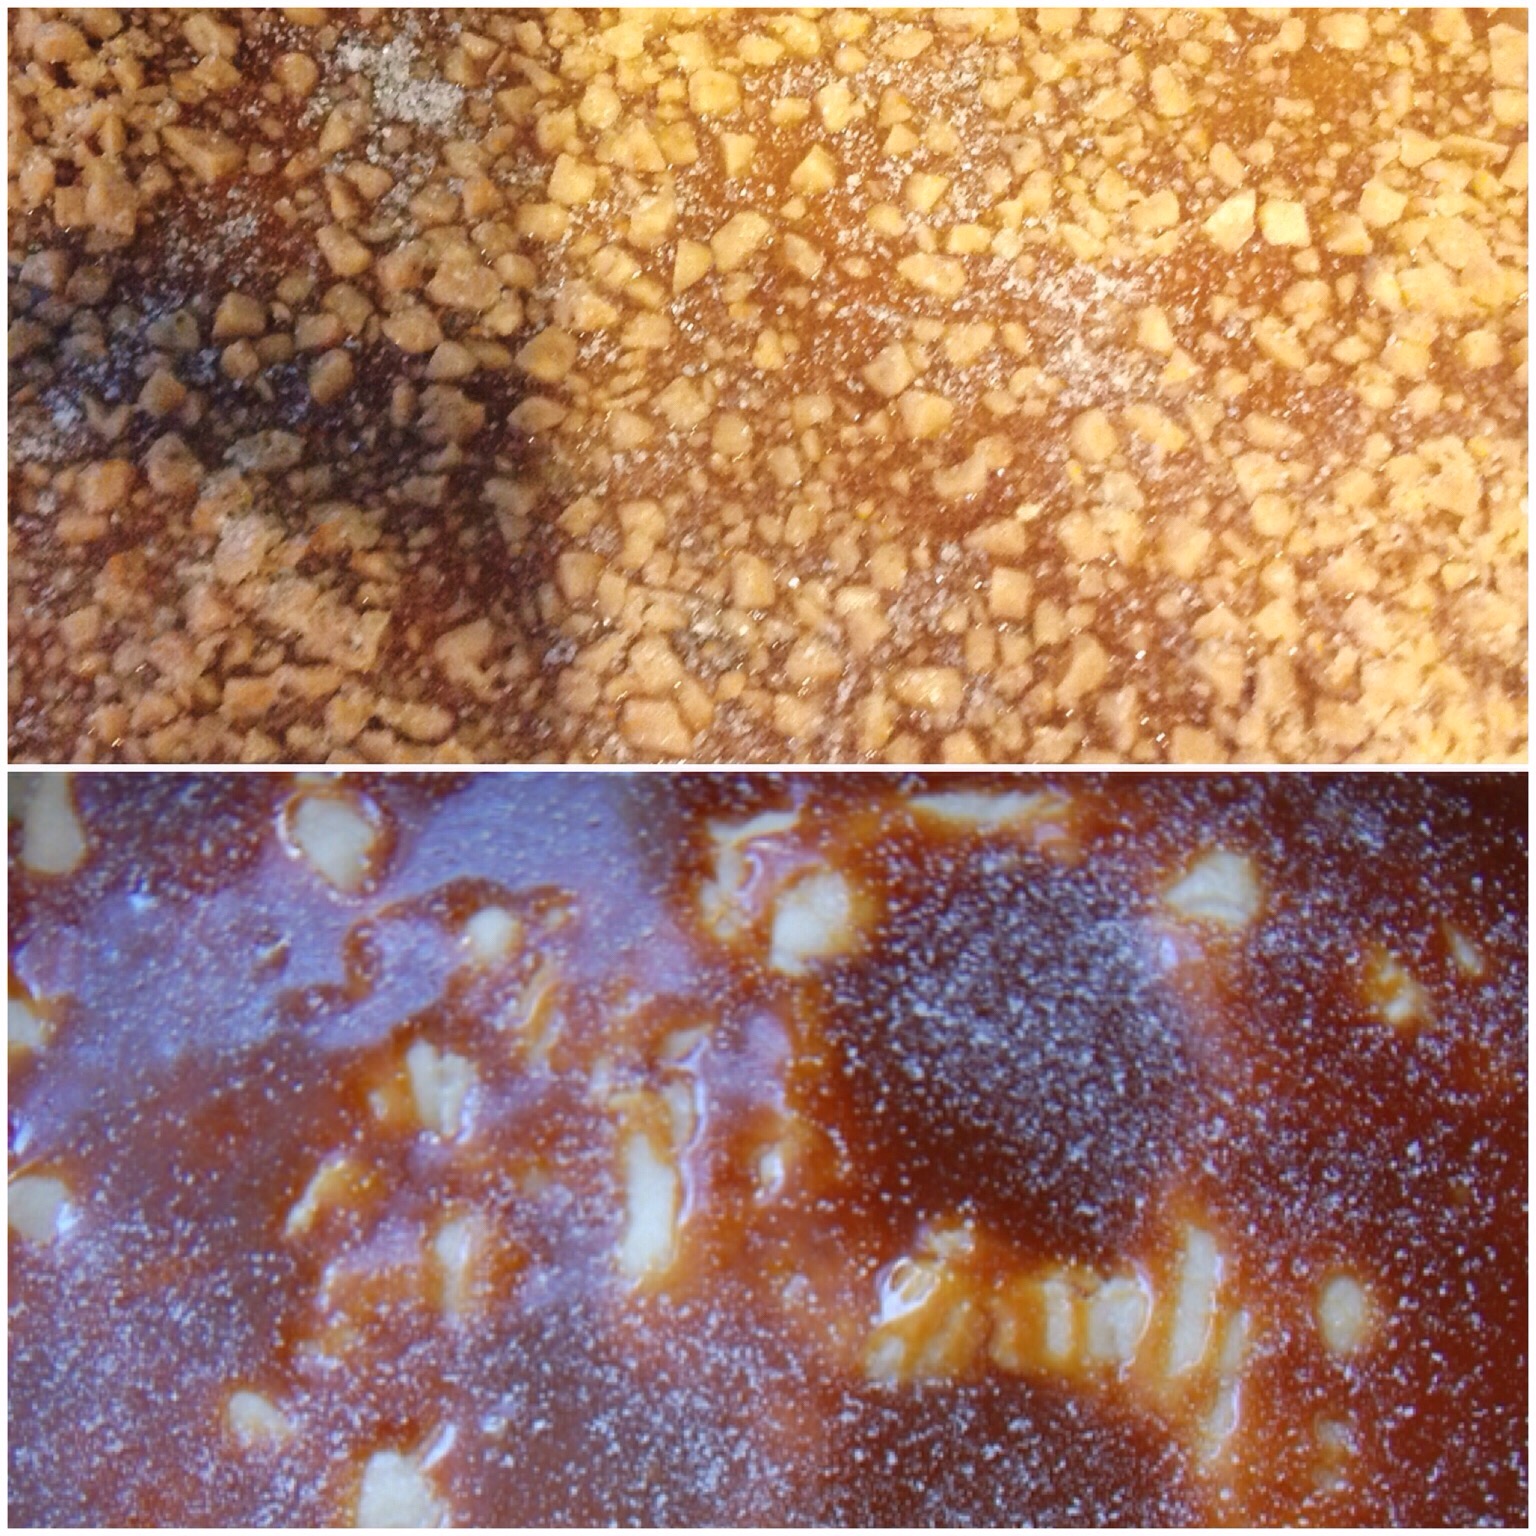
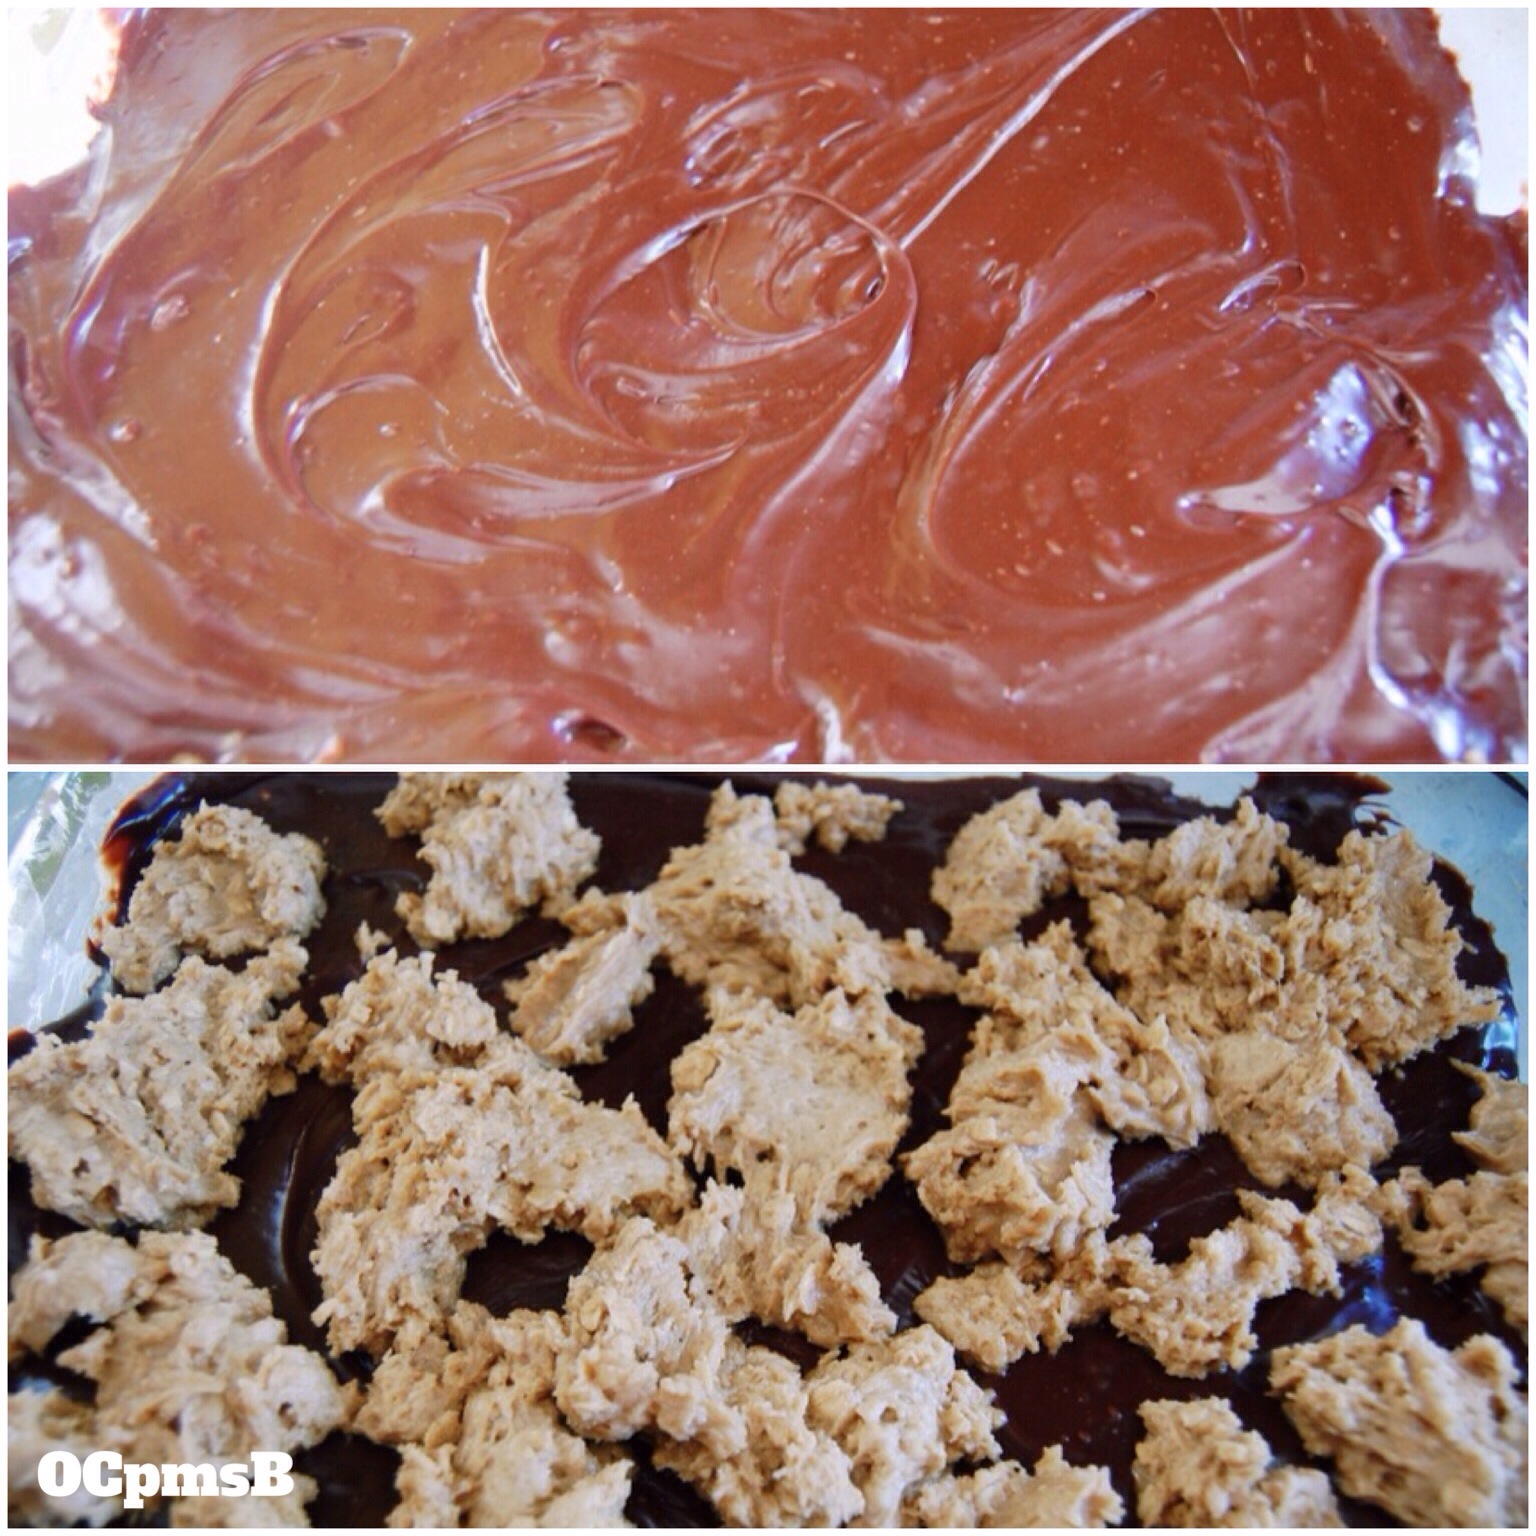
Remove from oven. Microwave caramel for 25 seconds to soften and make it easier to pour. Measure it out. Pour over slightly cooked cookie dough. Sprinkle the toffee bits on top. Now sprinkle sea salt over top. Just give it a nice dusting.

I have a hand-cranked dispenser from Costco, so I turn it seven to ten times over the caramel.

IMG_1877.JPG

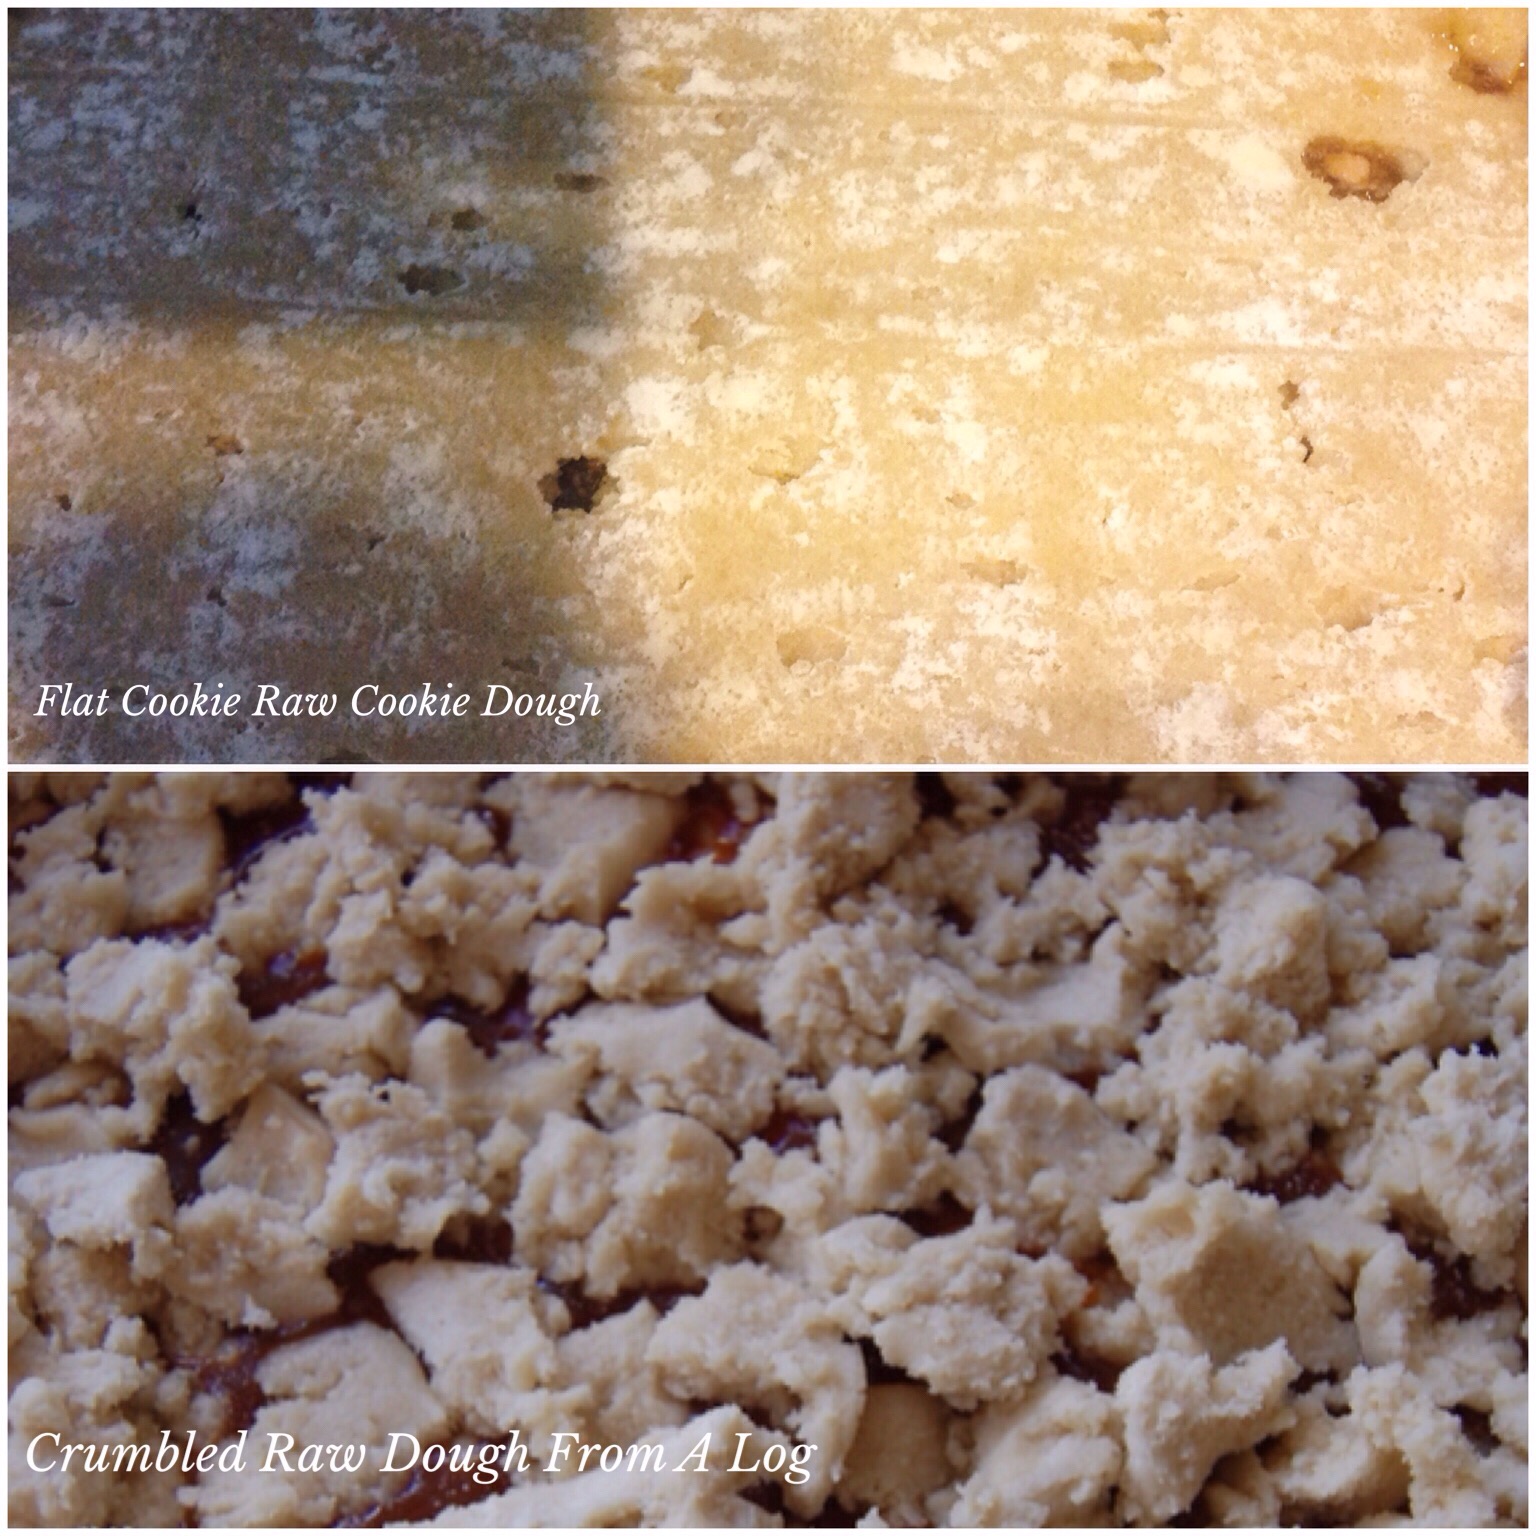
Now break up your remaining cookie dough log over the top if you bought the logs or simply place the other cookie sheet over the top, if you bought the preflattened kind.

IMG_1876.JPG

Put the whole thing back into the oven and bake for twenty five minutes. Remove from the oven and let cool for one hour before cutting into bars. I lift the parchment paper with the cookie bar in place and then lay it on my counter before I cut this into bars with my pizza cutter.

IMG_1874.JPG

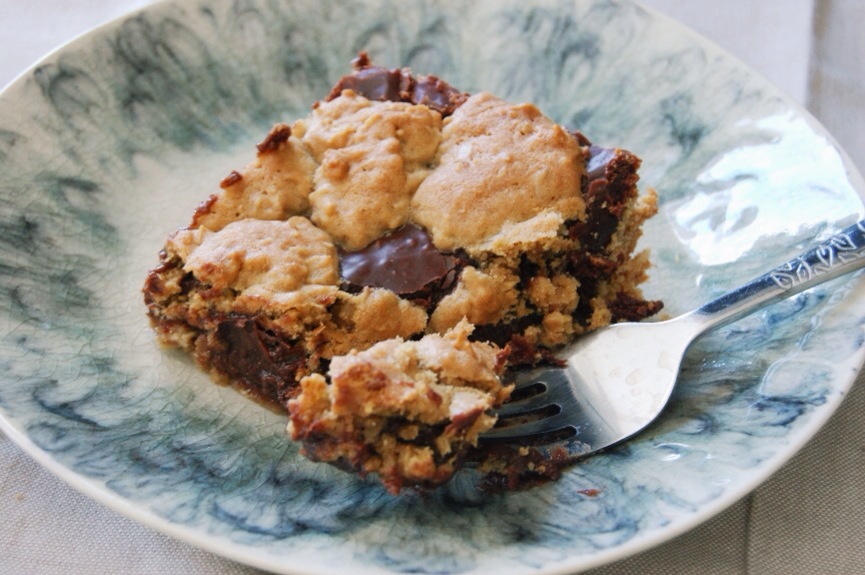
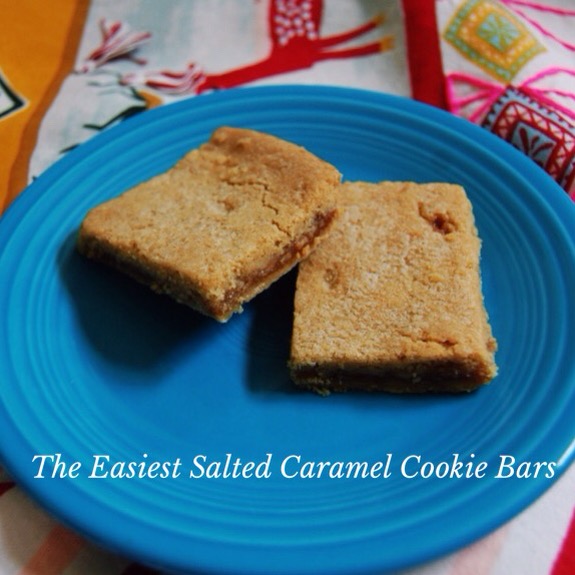
Now eat this sinfully simple (or would it be simply sinful dessert?). Either way, it is good. It is quick. It is easy. This is my husband’s favorite cookie lately. It is equally good served warm with vanilla ice cream on top drizzled with caramel sauce.

Just bake it. (I am pretty sure Nike did not mean bake a million calories into a dessert when they made that slogan, but I will oblige them by running to the stove the moment these babies are done. That’s gotta burn a zillion calories, right?).

Oatmeal Chocolate Cookie PMS Bars

IMG_0281.JPG

These really should be called PMS Bars. Seriously. And I almost named this post that, but since this is not my recipe, I did not go there.

But then I did.

‘Cause I am a walking contradiction.

Who also happens to be a chocolate monster.

IMG_0289.JPG

Besides we all know PMS just just stands for Pass Me Some. And I definitely want someone to pass me some of these chocolate oatmeal bars. They are gooey. Super easy to make and oh, so, delicious. I can say that because this is not my recipe. I did change a few things so I am going to post the ingredients and directions, however, I barely touched the recipe so the credit for this scrumptiousness goes completely to the blog Megan and Claudy. And if you want the original recipe minus talks of “Pinch My Skittles!”, I recommend heading over there. If you want to see how I made them, here it is:

But first, did ya know that Permanent Markers Stain? Seriously, I can’t stop. It’s a problem.

Ingredients:

3 1/4 cup Wondra flour (original recipe calls for 2 1/2 cups reg. flour and that would be fine. I was out of regular flour when I made these. I am a bad food hoarder)
2 1/2 cups regular oats
2 sticks of softened salted butter
2 eggs
1 tsp. baking soda
1/2 tsp. salt
2 cups brown sugar (I always bake with organic brown sugar. It does make a difference)
2 tsp. vanilla
1/3 cup milk

Chocolate Filling:

1 14 oz. can Eagle’s Brand Sweetened Condensed Milk
1/3 cup butter
2 cups semi-sweet chocolate chips (a 12 oz. bag)
1 tsp. vanilla

IMG_0294.JPG

Directions:

I used a stand mixer, but a hand mixer would be just fine, too.

Preheat oven to 350 degrees F.

Grease a 9 X 13 pan and set aside.

Beat together butter and brown sugar until light (about 1 1/2 min.). Add vanilla and milk. Beat together until mixed. Add eggs one at a time. Beat the first one for about twenty seconds before adding the next one. Beat the second egg in the mixture until mixture fluffs up about thirty seconds. Add salt and baking soda and mix. Add flour and mix. Add oats and mix.

Add the chocolate filling ingredients into a sauce pan over medium heat and whisk until melted together. Turn off heat.

IMG_0295.JPG

Place 2/3 of your cookie mixture into the bottom of your greased 9 X 13 pan. Pour chocolate filling mixture over top. Pause to lick spatula. Place now-contaminated spatula in sink. Praise yourself for being sneaky and clean. With the remainder of the cookie dough, grab pieces and just place over the top of the chocolate filling, trying to cover the top. The top will not be completely covered and that is okay. You want to see the oooeey gooey sinfulness peeking through the cookie dough.

Place the pan into the oven and bake for 45 minutes (depending on if you like gooey cookies or more sturdy ones. The actual recipe called for twenty five minutes, and that would be good if you like very, very gooey bars). If top starts to get too brown, you can cover it with foil. My bars were still moist after forty five minutes.

IMG_0282.JPG

IMG_0277.JPG

Remove the pan and let cool for an hour before cutting into the bars. Samurai Sword optional not recommended. Do you think I could have picked a bigger knife?

IMG_0296.JPG

After you make these, you might exclaim “Pickle My Stars!” and then “Pleasure My Sneakers!” If I am around I will know exactly what you mean. And be happy. ‘Cause I know you will give me some. If I’m not around, you might want to whisper your exclamations. Some People Might Sneer. And that would be bad.

Period.

It’s The Little Things: Halloween Goody Bags

20131030-234038.jpg

It’s here! Happy Halloween! Every year I stay up late and make goody bags for the trick-or-treaters. I have done this every year since I have lived on my own. I told you, I like Halloween.

20131030-234121.jpg

When I first started making the goody bags with my family, we would gather around and make them together. I have such fond memories of this. I thought it was a good time. However, for the last two years, I have been on my own. Nobody wants any part of doing the goody bags with me. Aw, well. I still think it is fun.

20131030-234154.jpg

20131030-234318.jpg

This year I made 45 bags. When we first moved to our current home, I made 125. And I almost ran out. But ten years later, the kids in the neighborhood are slowly growing up. I only had 19 trick-or-treaters last year. It was incredibly sad.

20131030-234226.jpg

20131030-234251.jpg

I made my goody bags last night. Inside each one was a ghost eraser, a pumpkin crayon ring, a plastic witch finger, a full sized candy bar and a couple of pieces of small candy. Witch fingers crossed we get more trick-or-treaters this year! I bought tons of extra candy just in case.

It’s the little things: Halloween goody bags made with cheer!

What are your plans today? How many trick-or-treaters do you usually get? And what is your favorite Halloween candy this year? Mine is Butterfingers.