Winning Creamy Chicken Enchiladas

IMG_2773.JPG

On our third date, my husband made me dinner. It was our third date in three days. It was also the night we decided to get married. We make quick decisions.

I did not know the trouble he had had making these enchiladas before I got to his apartment.

He burned the chicken for the filling and had to run out. For some reason he substituted it with canned chicken. Gulp. He was also on a health kick and used all low-fat ingredients. Double gulp. Needless to say that dish is a bit different than the one we make today.

I say “we” but I really mean “I.”

Ingredients:

1 1/2 pounds of salsa chicken (recipe here. It will make double the amount of chicken you will need for this dish. You can halve it, double this recipe or save it for a different dish. I use the leftovers from tacos the night before)
15 oz. can green enchilada sauce
2 cans of cream of chicken soup
8 oz. softened cream cheese
10 white corn tortillas
2 cups shredded mexican cheese
1/3 cup vegetable oil

Optional toppings:

Salsa
Cilantro
Sour cream

Directions:

IMG_2772.JPG

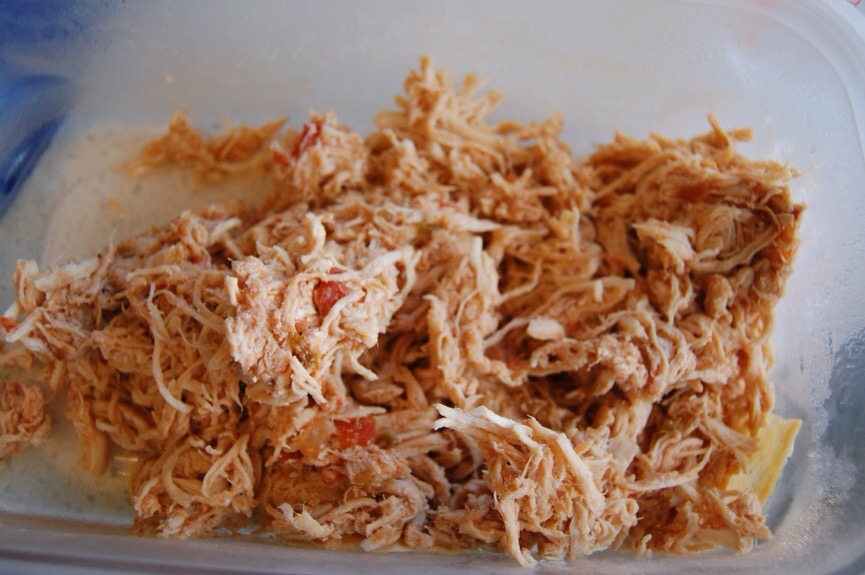
Make my salsa chicken in the crockpot. This will take 4-5 hours. Shred. Set aside. I used leftover chicken from the night before.

IMG_2814.JPG

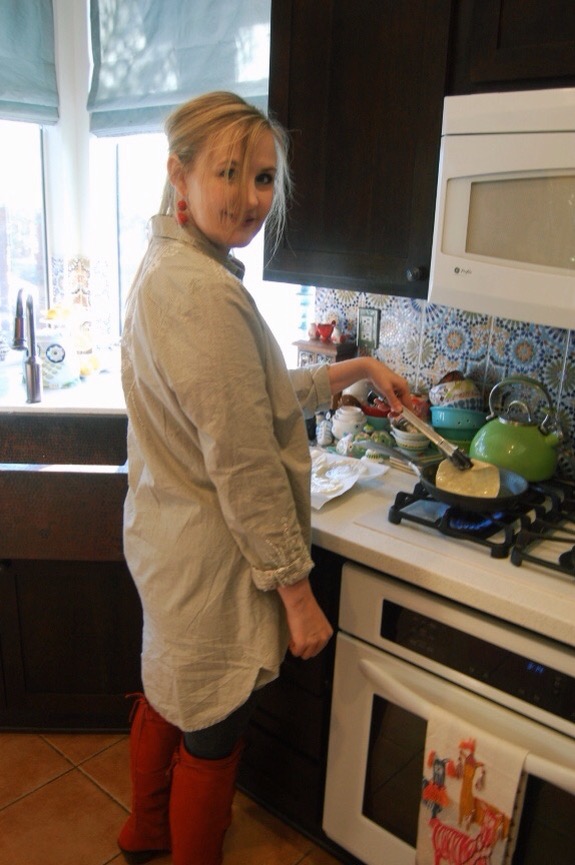
Pour vegetable oil in a small skillet. Heat over medium heat until hot. Fry tortillas one at a time for approximately 8 seconds each side. You do not want the tortillas hard, just soft and malleable. Don’t worry about any little holes in a tortilla. It will be covered with cheese and no one will ever know. Well, unless you post the pictures of it on the Internet. But who would be dumb enough to do that?

IMG_2802.JPG

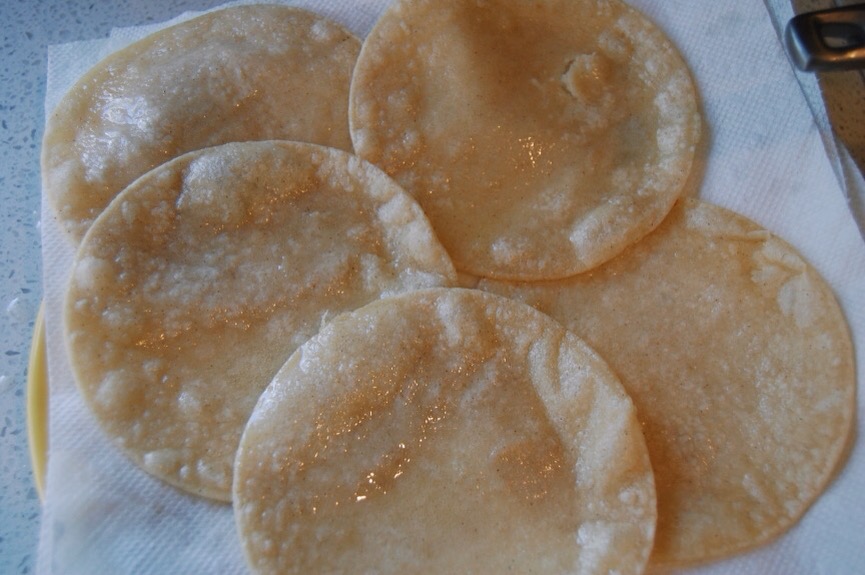
Lay two paper towels on a plate. Place the tortilla on the paper towel lined plate. Lay four-five tortillas on paper towels in a single layer. Repeat paper towel layers. Repeat tortillas until all fried. Allow tortillas to cool while moving on to the next step.

IMG_2799.JPG

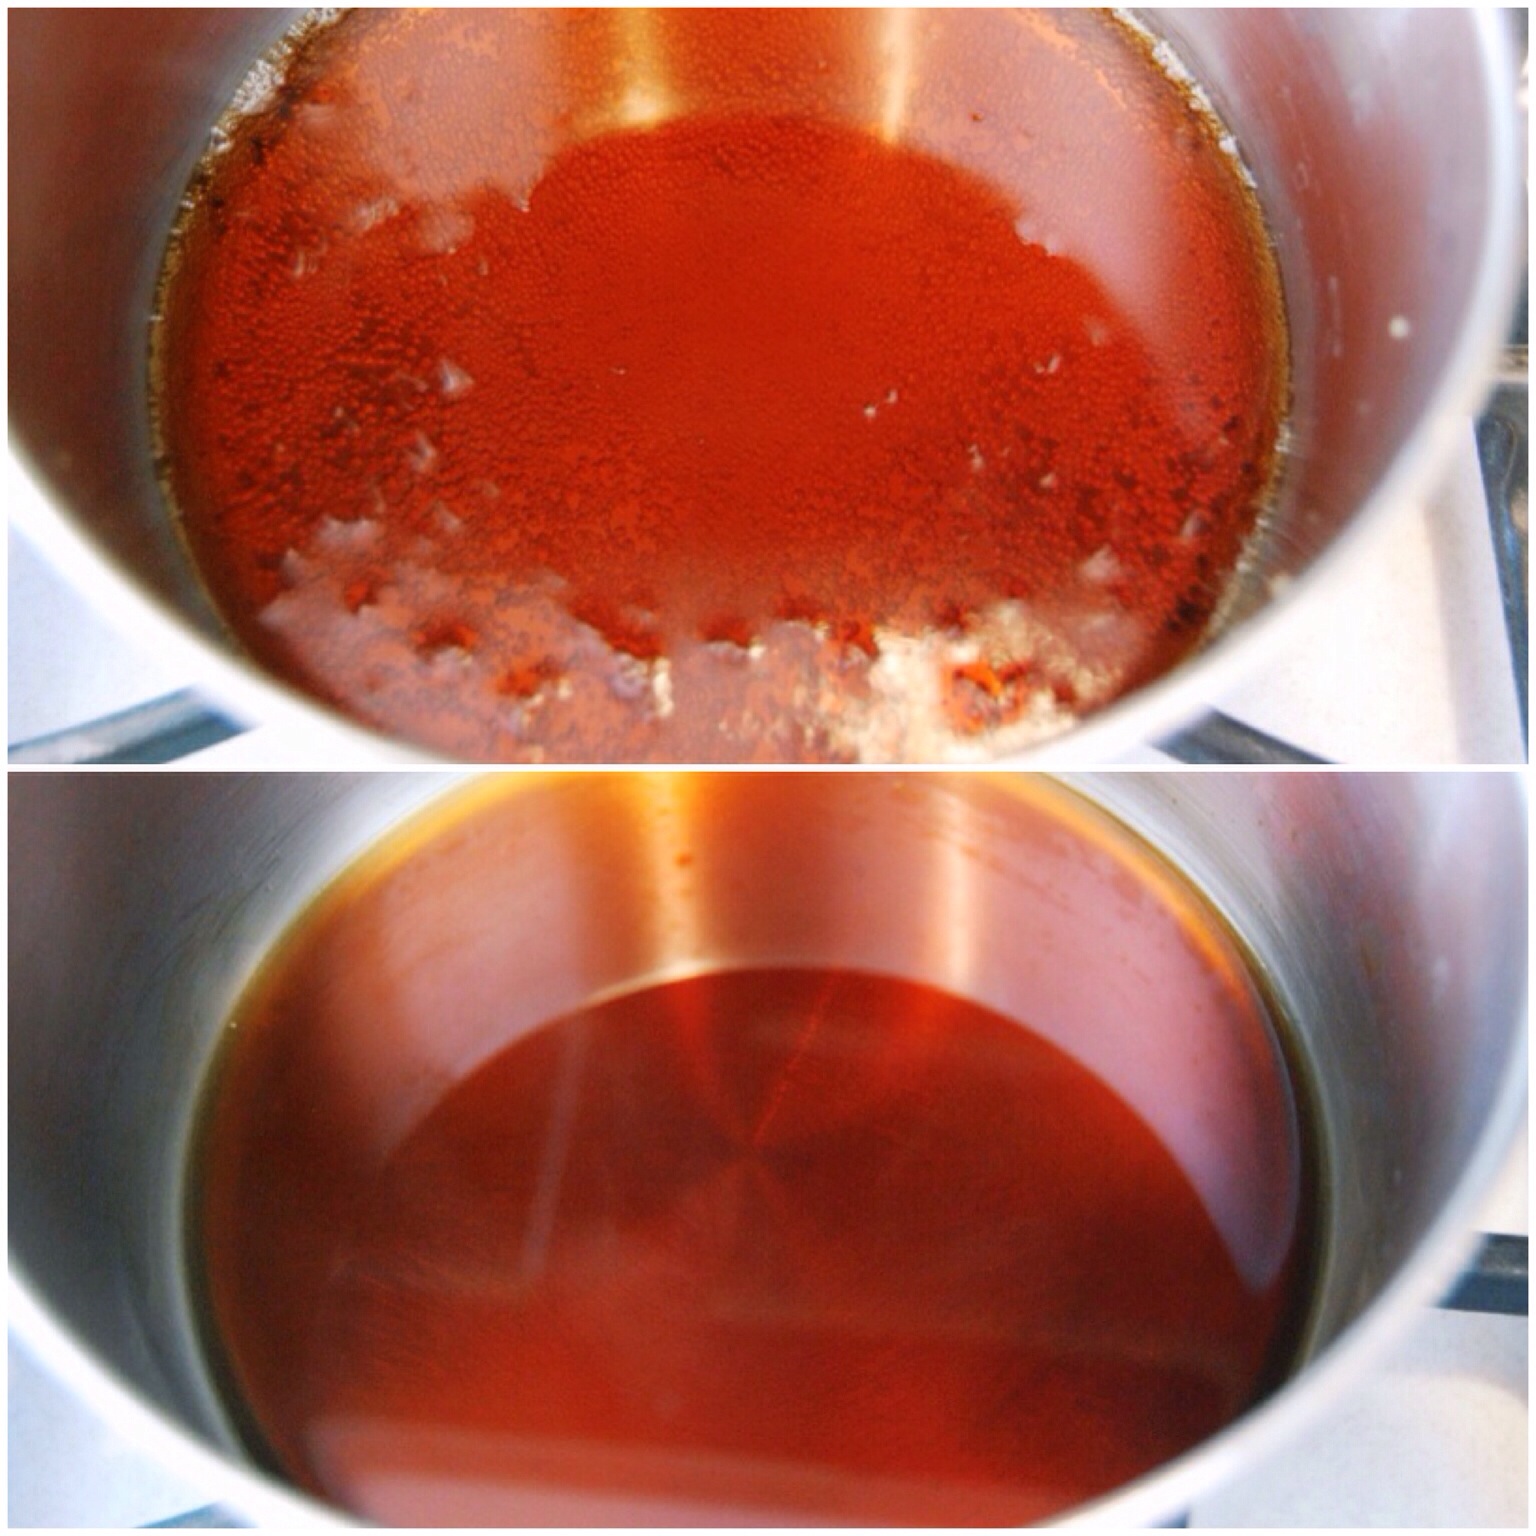
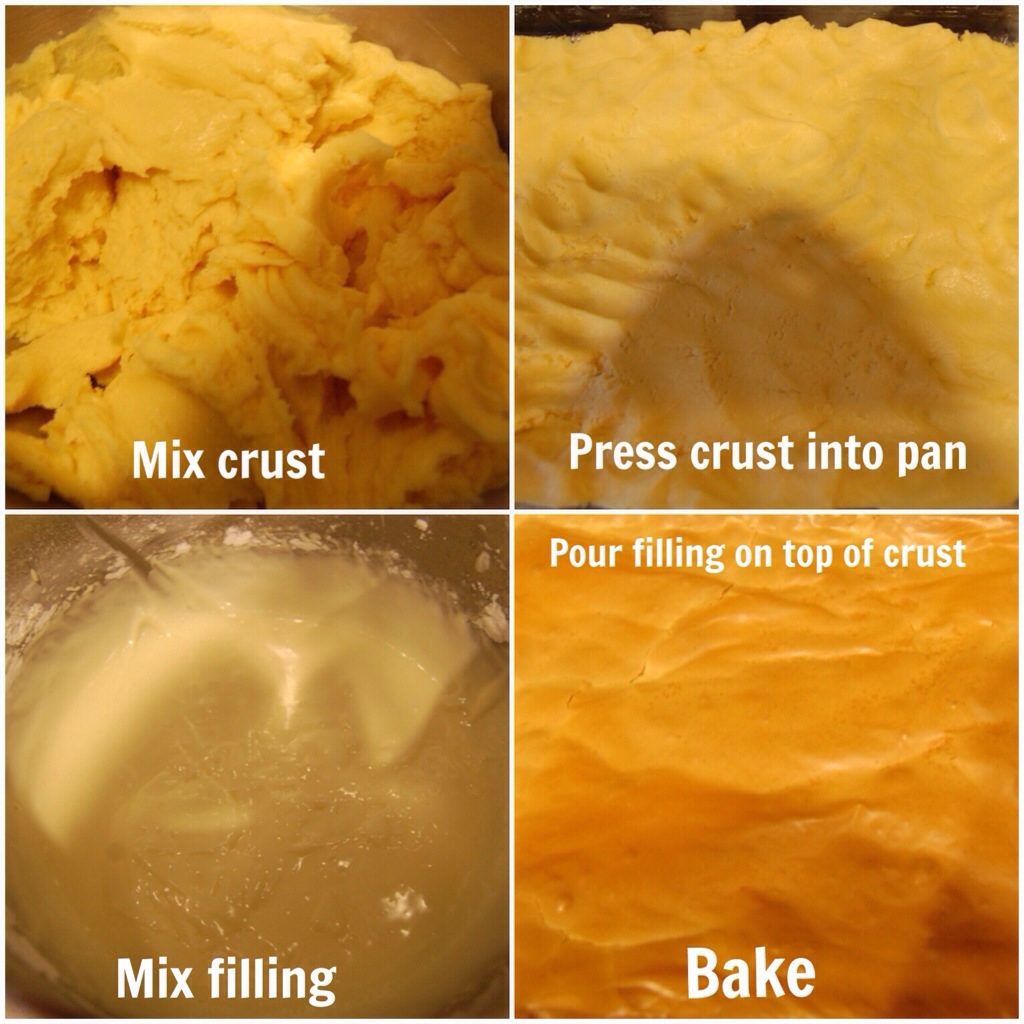
In a large skillet, mix together cream cheese, cream of chicken soups, and green enchilada sauce. Heat and stir ingredients in skillet over medium heat.

IMG_2794.JPG

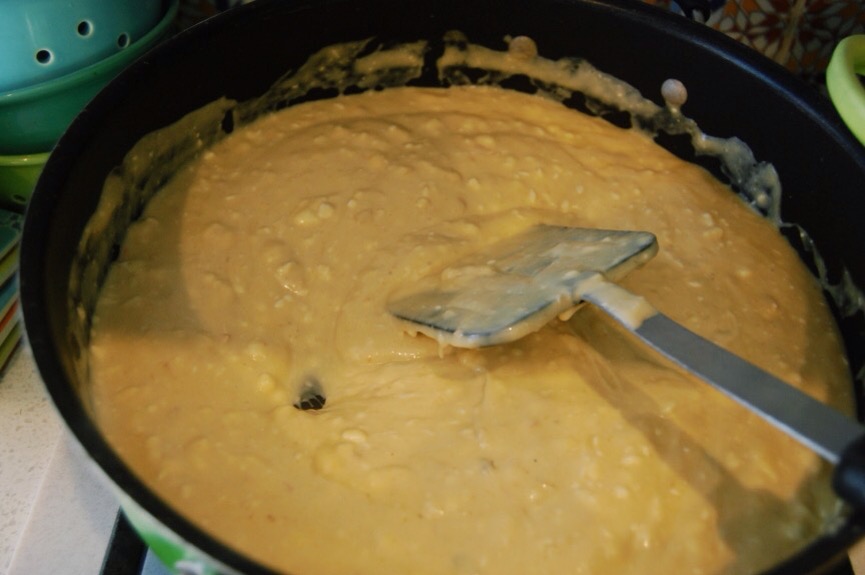
It will be lumpy at first. Keep stirring. I use a whisk.

IMG_2796.JPG

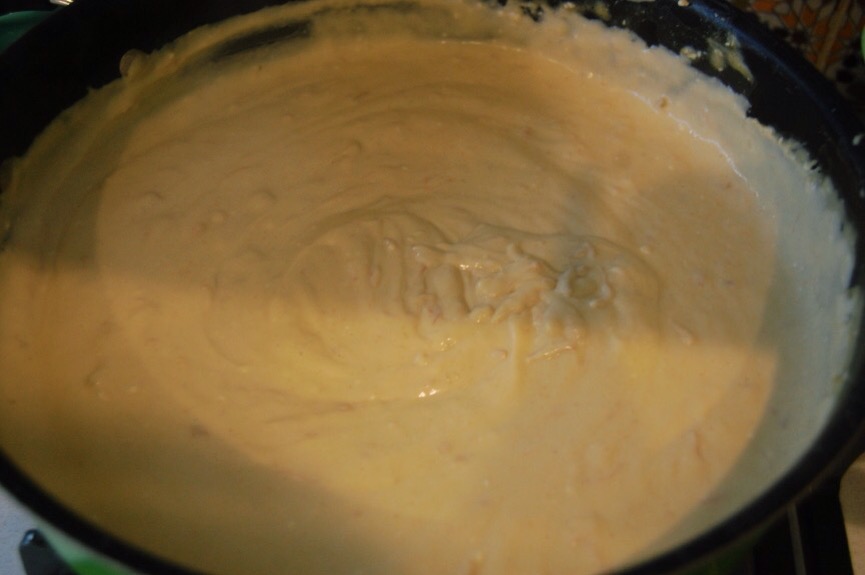
And then, in a miraculous moment, it will all come together. Turn off heat.

Preheat oven to 350 degrees F.

IMG_2800.JPG

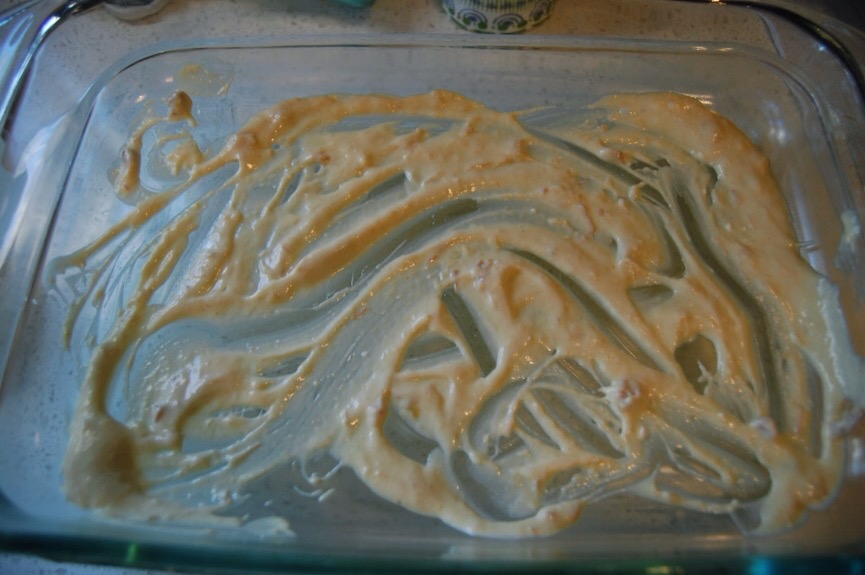
Smear some of the enchilada sauce in a 9 X 13 pan.

IMG_2795.JPG

Take a tortilla and rub some sauce down the middle.

IMG_2806.JPG

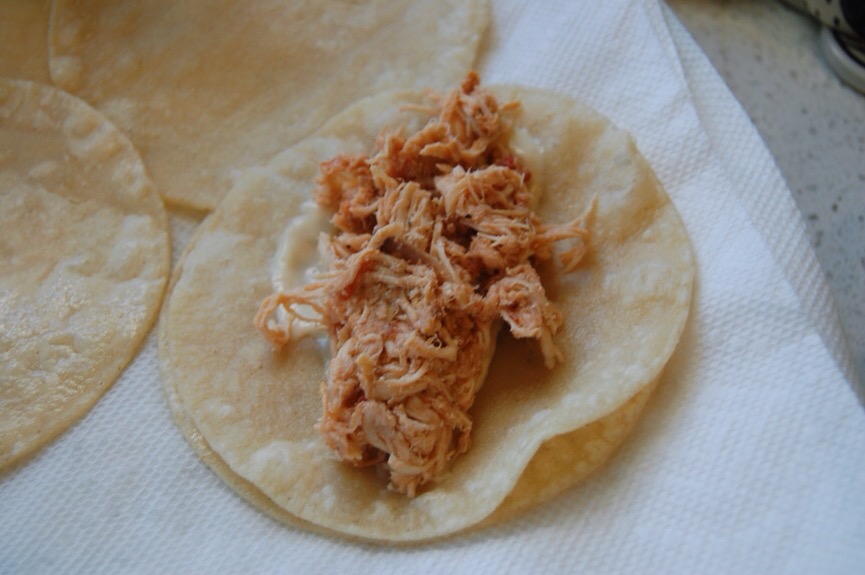
Place a good handful of shredded chicken in the middle of tortilla. Roll up tortilla with sauce and chicken inside and place seam side down in pan.

IMG_2771.JPG

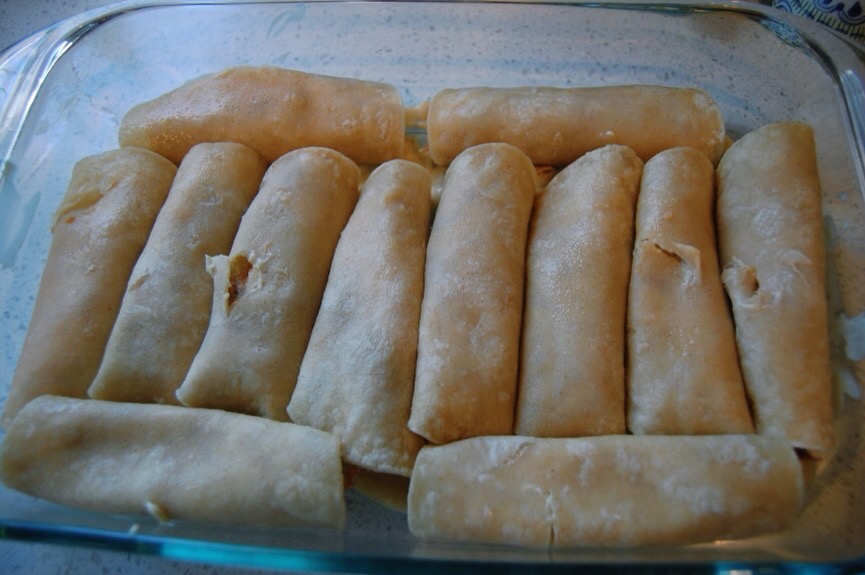
Repeat with the rest of the tortillas. I fill the pan, even on the sides because I do not want to dirty more dishes.

IMG_2801.JPG

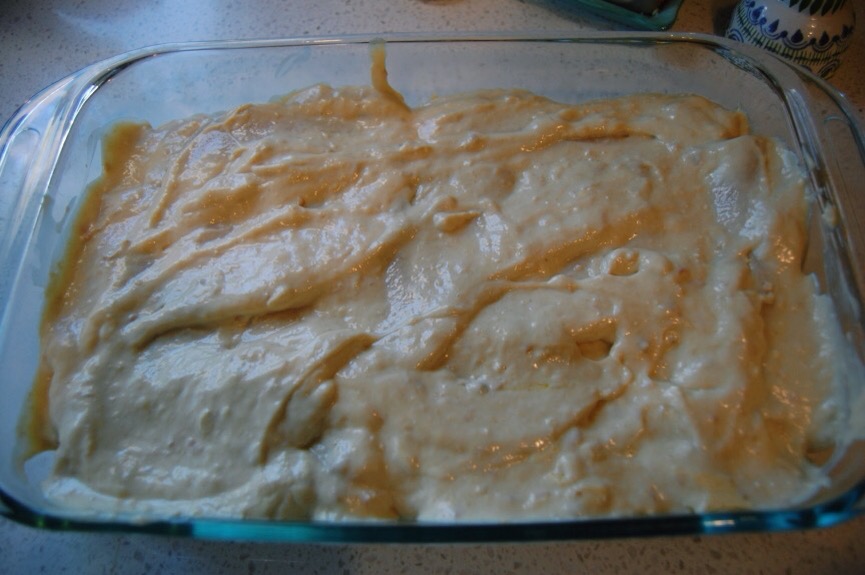
Pour remaining sauce on top of filled tortillas. With a spatula, flatten it into place.

IMG_2774.JPG

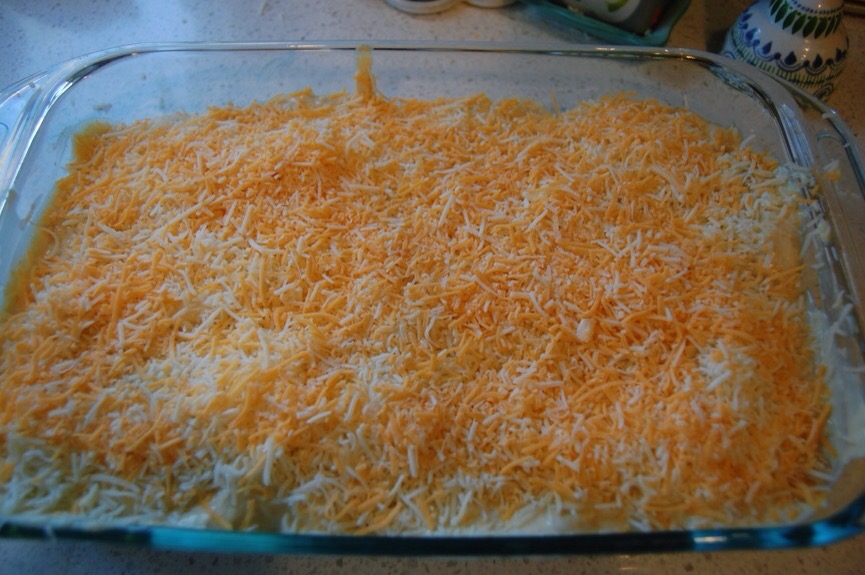
Cover with the scrumptious cheese.

IMG_2798.JPG

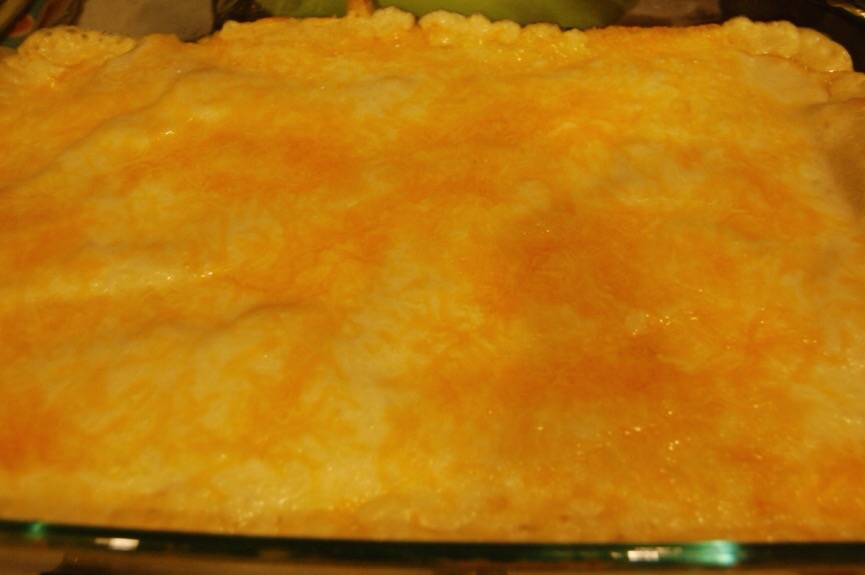
Cover with foil and bake for twenty five minutes. After twenty five minutes, remove foil and bake for an additional ten minutes.

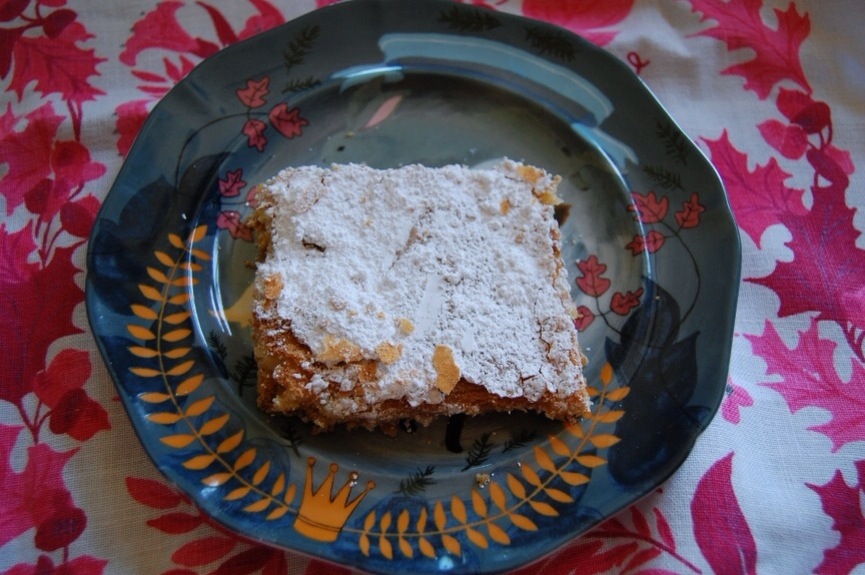
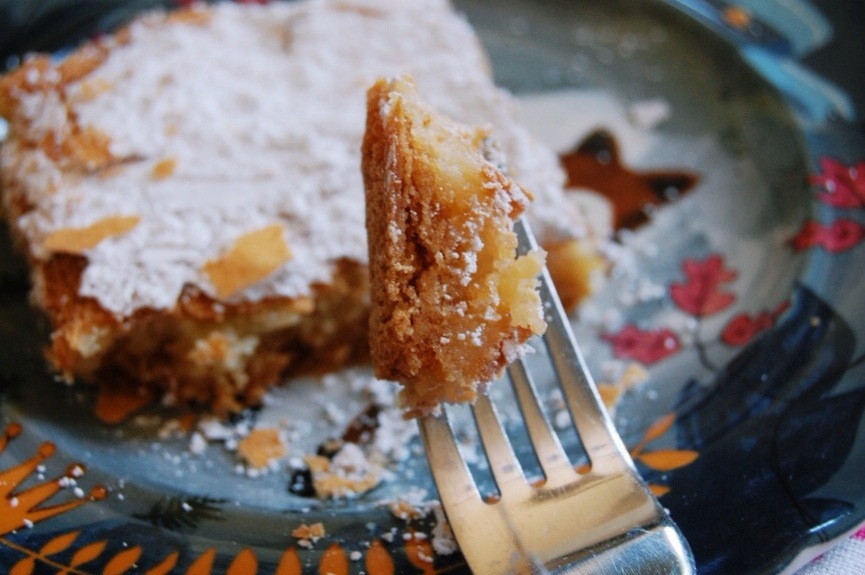
Remove from oven and serve!

Conclusion:

We used to make this enchilada dish every Christmas Eve. This was the first year we made it for Christmas instead.

You see, a few years ago my husband decided to switch up the recipe. He abandoned this one and made The Homesick Texan’s Chicken Enchiladas. And everybody loved them. And all was good. But I missed his old recipe. There was something divine in the simplicity of its creamy essence.

So, we had a battle of the chicken enchiladas on Christmas day. As one does.

My husband won.

Or so he thought.

He forgot one very important factor.

While he may cook ten days out of the year.

I cook on almost all of the days in-between.

That’s a lot of days.

I had not given up on the chicken enchilada recipe.

So, I made them the next week.

And the next.

And the next.

I kind of could not get enough.

My family, on the other hand, finally caved. “Okay! You win!” My daughter finally shouted when she saw the enchiladas make an appearance for the fourth time.

My son did not have her tact. He dragged himself to the dinner table on his knees. “Not again,” he murmured from the floor as he shuffled morosely towards his chair. I did not take it too personally. He dislikes any sort of enchilada. The poor guy had reached his limit.

My daughter was not done. “Look, Mom, these were great the first time. Good the second time. Fine the third time. But, oh my gosh! I don’t know if I can eat any more of these! We have had them so often!”

But I was not done either. “All right. I might not make them again for awhile,” I heard my family give a sigh of relief. I relentlessly continued, “if you can answer me one simple question.”

They looked up at me with shadowed eyes of enchilada weariness. “Anything,” they would have said if they had not fallen into a creamy-cheese-induced-coma.

“Whose enchiladas are really the best?”

“Yours!” Came the pleading sobs from my family.

Just as I suspected.

Winning.

Root Beer Chocolate Cake

IMG_9702.JPG

Mmmmm. Hmmmmm. Ohhhhhh. Yeeeeeaaaaaaa. That is what I thought to myself when I watched Carla from The Chew (I love that show. And I love her. Anthropologie lovers, Carla wears a lot of clothes from there, on the show) make her chocolate root beer cake. I went online to get the recipe and I was disappointed to see that the recipe for the cake part differed from the one she made on t.v. I gave it up until I saw that someone in the comments had geniusly used a boxed cake mix and substituted the water it called for for root beer.

I can do that, I thought.

But then I didn’t.

I drank the root beer and ate some chocolate cookies and considered the flavor craving dealt with.

I had forgotten that I know myself well enough to have purchased two bottles of root beer. So when I came across the other bottle sitting unsuspecting on the shelf. Minding its own business. Not knowing that soon it would be meeting its soul mate, chocolate. No need to tell it about the part involving the oven. And then my mouth. Let’s be kind… I had to make the cake.

IMG_9694.JPG

This is my new favorite cake. I am so excited to share this recipe. The best part about it is that it is incredibly easy to make. Well, and it tastes good. Our cake was gone in two days. We are a family of four. Two days. The math adds up to gluttony deliciousness.

Time to unite the star-crossed lovers…

Cake Ingredients:

1 devil’s food boxed cake mix
3 eggs
1/3 cup melted butter
1 cup root beer plus 3 Tbsp. root beer reserved for cooled cake rounds

Frosting ingredients:

1 cup root beer
1 1/2 cups powdered sugar
1 cup white chocolate melted (I used Merckens melting chocolates because I had it but she said to use white chocolate chips. Either will work)
A pinch of salt (I just added three shakes of my salt shaker)
1/2 cup (1stick) softened salted butter
1 tsp. vanilla extract

Directions:

Preheat oven to 350 degrees F. If you have a convection oven, preheat at 325 degrees F convect bake. Generously spray two nine inch round cake pans with nonstick cooking spray.

IMG_9695.JPG

In your mixer or with a hand mixer in a bowl, beat together melted butter, eggs, cake mix, and one cup of root beer until mixed together. This is about one minute.

Pour cake mix evenly into the two cake pans. Give them each a gentle tap on the countertop to rid them of extra air bubbles. Put the cake pans in the oven and bake cake according to directions on box. Because of the fluffy mix produced from the root beer, my cakes needed two minutes longer than the longest baking time on the package (I baked mine thirty one minutes on convect bake).

Remove cake rounds from the oven. Let cool for five minutes in cake pans.

IMG_9704.JPG

After five minutes, run a butter knife gently around the edge of the cake and the cake pan. Flip cake over onto cooling rack. Repeat with other layer. Allow to completely cool.

In the meantime, pour the one cup of root beer for the frosting into a small saucepan. On medium low heat simmer the root beer until it reduces to a third of a cup. I actually was overzealous with my simmer and reduced it to a quarter cup. This still worked out fine. This should be about five to seven minutes to reduce.

IMG_9708.JPG

It will look like this. Turn off burner. Allow to cool.

IMG_9699.JPG

Now that the cakes are cool, you are going to brush the cake layers evenly with the 3 Tbsp. of reserved root beer (not the reduced stovetop product! That is for the frosting) with a basting brush. Yep. Give the two lovers a wet root beer kiss.

Melt white chocolate (I put mine in a bowl and microwave for thirty second intervals, stirring each time. Usually takes 90 seconds to melt).

In your stand mixer or with your hand mixer in a bowl, beat together softened butter and powdered sugar until fluffy about two minutes. Add salt and mix. Add white chocolate and beat for a few seconds until incorporated. Add reduced stovetop root beer, and vanilla extract and blend until smooth.

I, very helpfully, do not have a picture of this part. I do, however, have a picture of me posing with the frosting. Which I have been told has nothing to do with is very important when baking a cake.

IMG_9705.JPG

Place one cake round with basted root beer side up on a cake stand. Spread one third of the frosting on the layer towards the middle, leaving a little room at the edges because when you put the other cake layer on top, it will push the frosting further out.

IMG_9696.JPG

Place the other cake layer on top of the frosted bottom layer. Frost top with remaining frosting. I like to place it in the middle and then gently ease it towards the edge until it barely goes over.

Cover or immediately serve.

Now eat the mingled lovers. Why does something that sounds so wrong taste so right? Don’t try to analyze it, just enjoy.

IMG_9703.JPG

My daughter has requested this cake as her birthday cake coming up in October. She doesn’t even usually like cake. My husband woke me up the day after I had made this at 9:00 in the morning holding a plate with a half eaten large slice of the cake that he could not resist for breakfast (this is not a breakfast cake. He just has as much self control as his wife). Maybe he was feeling the ingredient love.

IMG_9678.JPG

I promise, a bite of this cake , and you will feel the romance, too.

P.S. My Giveaway ends tonight at 9:00 PST. Please do not forget to enter.

Chess Squares

20140813-142417-51857258.jpg

I do not know why, but I want to say the name of this recipe in the way Spongebob would do it. Okay, I do know why. It is because his last name is Squarepants and the title has the word “square” in the name.

Don’t leave me hanging. Let’s do it together in a nasally twang, shall we?:

“Cheeeeeesss Squuuuuuuuaaaaarres.”

Whew! I feel better. Although, any recipe that starts with a paragraph about a children’s cartoon and then proceeds to use the verse, “nasally twang” generally isn’t something that wets one’s appetite. Sorry about that.

20140813-142323-51803873.jpg

I had first seen this recipe on Pinterest and then looked it up on the internet. I found it on so many sites, with no one really knowing where the recipe originally came from. I followed the Duncan Hines’ version, but used butter instead of margarine.

I generally do not post directions if it is not my recipe, but in this case I will. I needed to mention a few tips in the directions below that were not found in the recipe I followed. This is not my original recipe. It is someone else’s. Perhaps a certain sponge’s who dwells under the sea?

Ingredients:

1 package of yellow cake mix
3 eggs
1 stick of melted salted butter
8 oz. of softened cream cheese
1 pound (16 oz.) powdered sugar

Directions:

20140813-141626-51386223.jpg

Preheat oven to 350 degrees F. If you have a convection oven then preheat to 325 degrees F.

In a stand mixer or with a hand mixer in a bowl, beat together one egg, cake mix and melted butter.

Press the dough into a greased 9 X 13 baking dish. I like to use a clear one, because it is pretty seeing the different layers.

Set aside 1/4 cup of the powdered sugar.

Combine the remaining powdered sugar, two eggs and cream cheese in your stand mixer or in a bowl with your hand mixer on medium speed until all ingredients are thoroughly mixed together.

Pour the mixture over the dough in the 9 X 13 pan.

Bake for thirty five minutes.

20140813-141836-51516811.jpg

Remove from the oven and let cool for forty five minutes. Sprinkle the powdered sugar you set aside earlier over the dessert.

20140813-141944-51584845.jpg

Check.

Cut into squares.

Check.

Serve (refrigerate remaining dessert).

Checkmate.

Crown yourself King Of The Sea and keep this yummy indulgence away from Patrick and Mr. Krabs. You will not want to share this.

Whirlin’ Twirlin’ Girlin’

20140603-191557.jpg

I got it! I found the Free People Mix Print Tunic and I scooped it up!

20140603-191656.jpg

We have had so much fun together!

20140603-191630.jpg

I realize that this oversized tunic is not for everyone. But, man, it can really move!

20140603-191812.jpg

I wore this all day. Usually I get home and immediately get into jammies. This was so comfortable, I kept it on.

20140603-191744.jpg

We took a walk together.

20140603-191922.jpg

It was incredible that such a piece could lift my spirits so much!

20140603-191840.jpg

Do you like oversized pieces? I feel oddly more feminine in them. Like I am a girl playing dress up. They make me feel more dainty. How about you?

20140603-192029.jpg

*This post was edited using the app Afterlife’s Captain Filter.