Winning Creamy Chicken Enchiladas

IMG_2773.JPG

On our third date, my husband made me dinner. It was our third date in three days. It was also the night we decided to get married. We make quick decisions.

I did not know the trouble he had had making these enchiladas before I got to his apartment.

He burned the chicken for the filling and had to run out. For some reason he substituted it with canned chicken. Gulp. He was also on a health kick and used all low-fat ingredients. Double gulp. Needless to say that dish is a bit different than the one we make today.

I say “we” but I really mean “I.”

Ingredients:

1 1/2 pounds of salsa chicken (recipe here. It will make double the amount of chicken you will need for this dish. You can halve it, double this recipe or save it for a different dish. I use the leftovers from tacos the night before)
15 oz. can green enchilada sauce
2 cans of cream of chicken soup
8 oz. softened cream cheese
10 white corn tortillas
2 cups shredded mexican cheese
1/3 cup vegetable oil

Optional toppings:

Salsa
Cilantro
Sour cream

Directions:

IMG_2772.JPG

Make my salsa chicken in the crockpot. This will take 4-5 hours. Shred. Set aside. I used leftover chicken from the night before.

IMG_2814.JPG

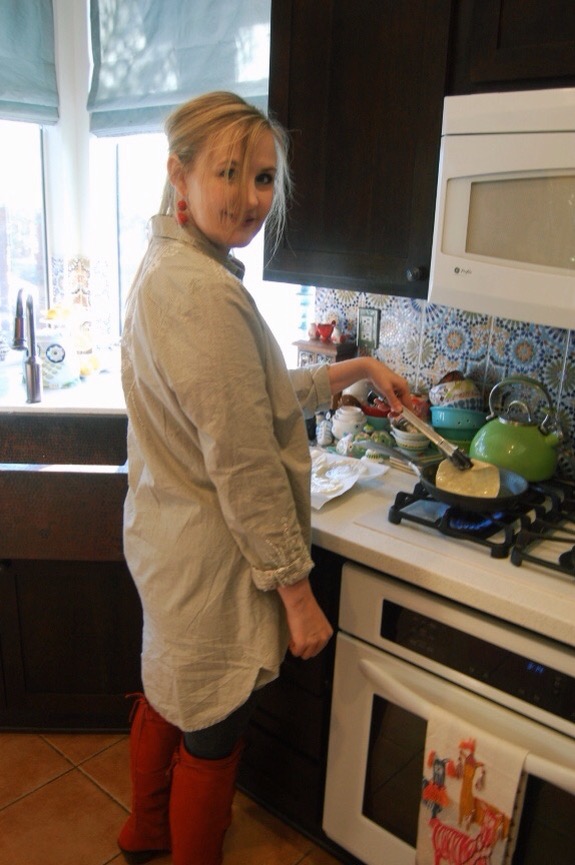
Pour vegetable oil in a small skillet. Heat over medium heat until hot. Fry tortillas one at a time for approximately 8 seconds each side. You do not want the tortillas hard, just soft and malleable. Don’t worry about any little holes in a tortilla. It will be covered with cheese and no one will ever know. Well, unless you post the pictures of it on the Internet. But who would be dumb enough to do that?

IMG_2802.JPG

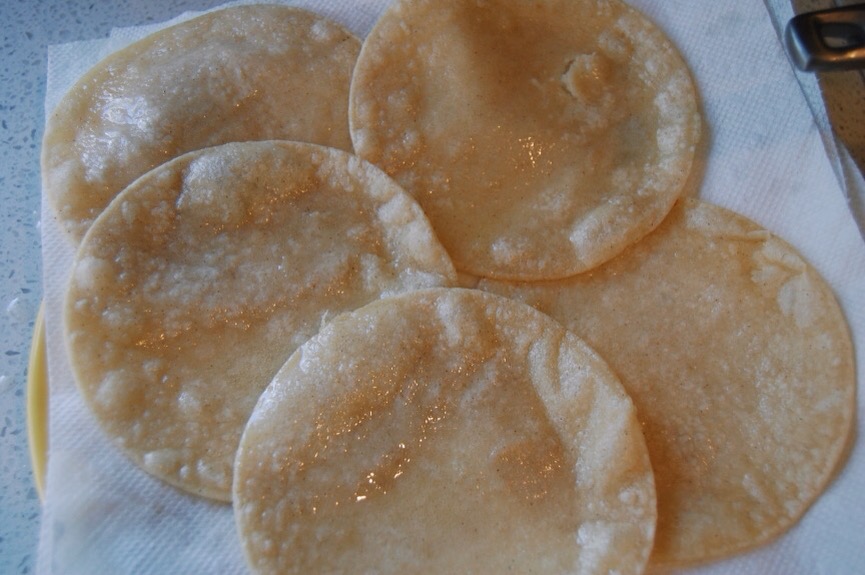
Lay two paper towels on a plate. Place the tortilla on the paper towel lined plate. Lay four-five tortillas on paper towels in a single layer. Repeat paper towel layers. Repeat tortillas until all fried. Allow tortillas to cool while moving on to the next step.

IMG_2799.JPG

In a large skillet, mix together cream cheese, cream of chicken soups, and green enchilada sauce. Heat and stir ingredients in skillet over medium heat.

IMG_2794.JPG

It will be lumpy at first. Keep stirring. I use a whisk.

IMG_2796.JPG

And then, in a miraculous moment, it will all come together. Turn off heat.

Preheat oven to 350 degrees F.

IMG_2800.JPG

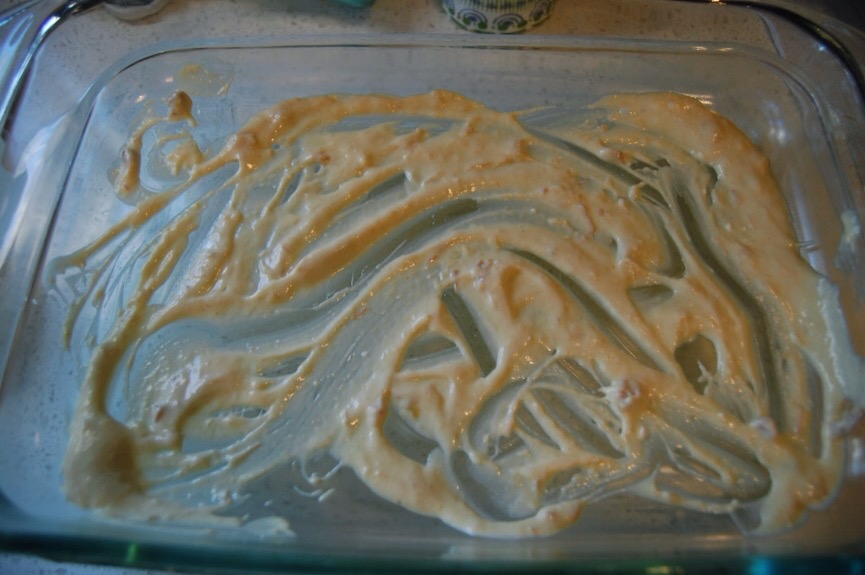
Smear some of the enchilada sauce in a 9 X 13 pan.

IMG_2795.JPG

Take a tortilla and rub some sauce down the middle.

IMG_2806.JPG

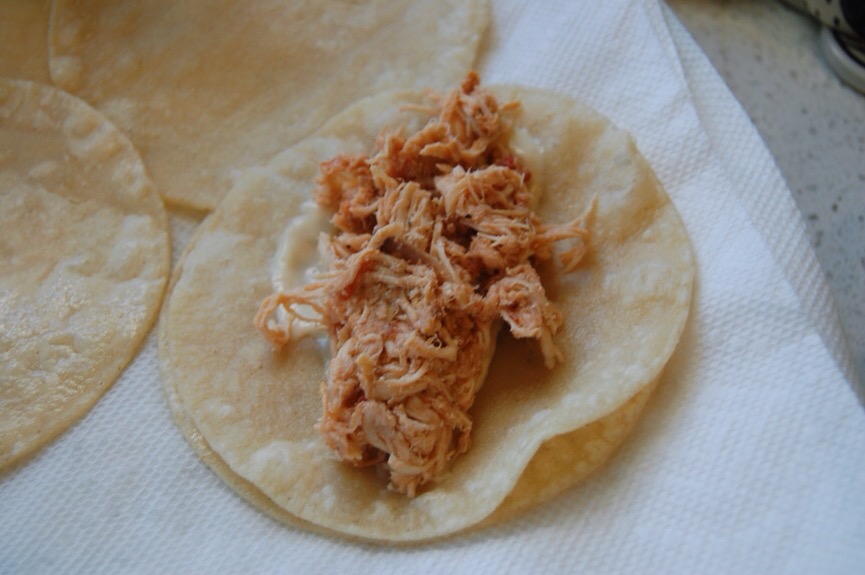
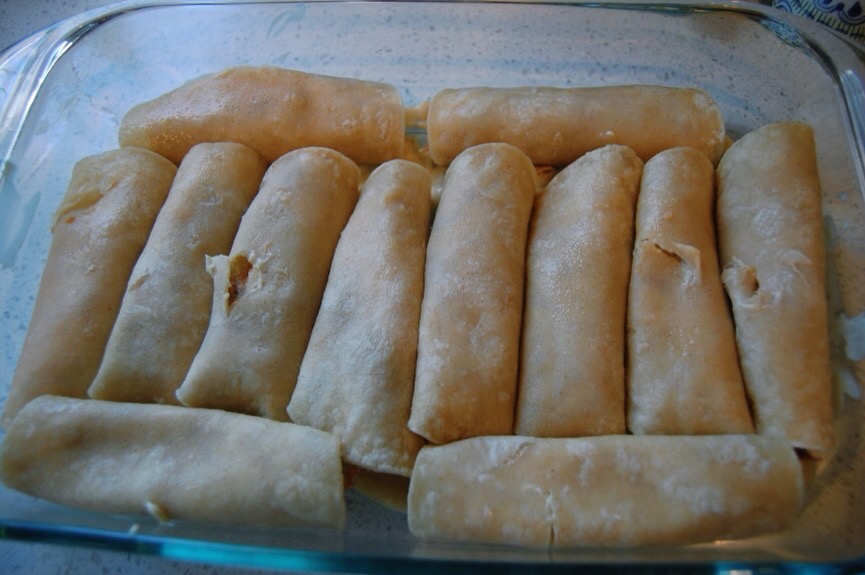
Place a good handful of shredded chicken in the middle of tortilla. Roll up tortilla with sauce and chicken inside and place seam side down in pan.

IMG_2771.JPG

Repeat with the rest of the tortillas. I fill the pan, even on the sides because I do not want to dirty more dishes.

IMG_2801.JPG

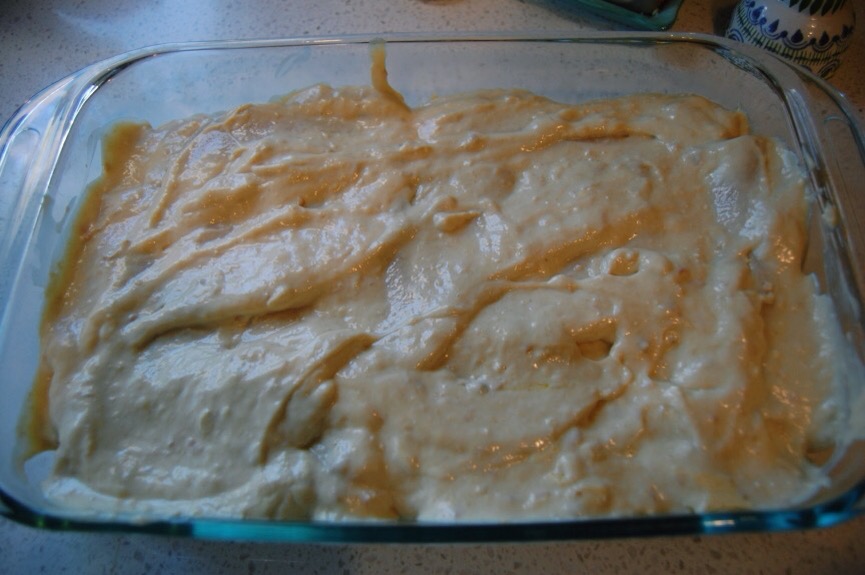
Pour remaining sauce on top of filled tortillas. With a spatula, flatten it into place.

IMG_2774.JPG

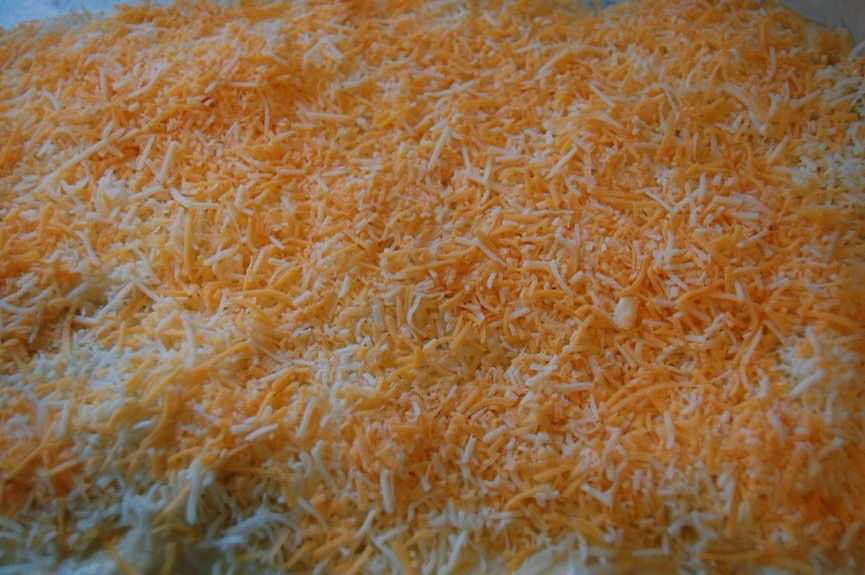
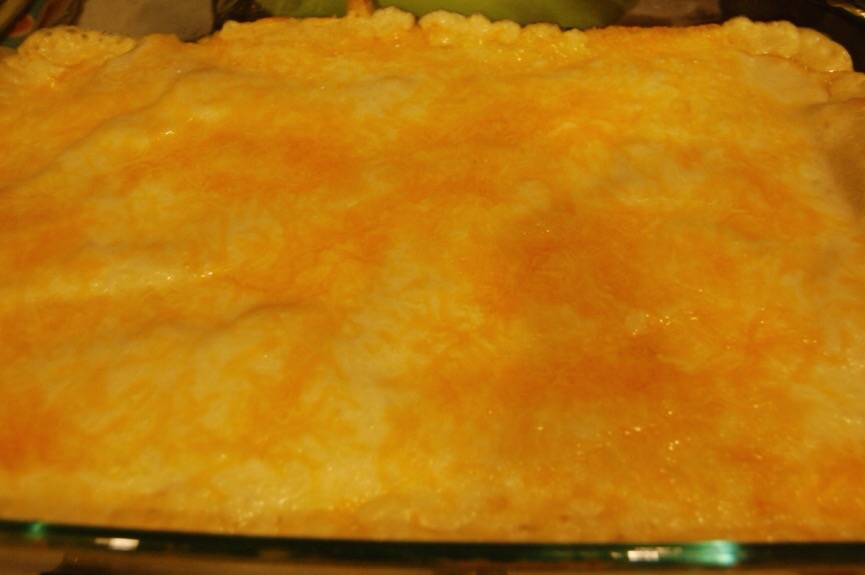
Cover with the scrumptious cheese.

IMG_2798.JPG

Cover with foil and bake for twenty five minutes. After twenty five minutes, remove foil and bake for an additional ten minutes.

Remove from oven and serve!

Conclusion:

We used to make this enchilada dish every Christmas Eve. This was the first year we made it for Christmas instead.

You see, a few years ago my husband decided to switch up the recipe. He abandoned this one and made The Homesick Texan’s Chicken Enchiladas. And everybody loved them. And all was good. But I missed his old recipe. There was something divine in the simplicity of its creamy essence.

So, we had a battle of the chicken enchiladas on Christmas day. As one does.

My husband won.

Or so he thought.

He forgot one very important factor.

While he may cook ten days out of the year.

I cook on almost all of the days in-between.

That’s a lot of days.

I had not given up on the chicken enchilada recipe.

So, I made them the next week.

And the next.

And the next.

I kind of could not get enough.

My family, on the other hand, finally caved. “Okay! You win!” My daughter finally shouted when she saw the enchiladas make an appearance for the fourth time.

My son did not have her tact. He dragged himself to the dinner table on his knees. “Not again,” he murmured from the floor as he shuffled morosely towards his chair. I did not take it too personally. He dislikes any sort of enchilada. The poor guy had reached his limit.

My daughter was not done. “Look, Mom, these were great the first time. Good the second time. Fine the third time. But, oh my gosh! I don’t know if I can eat any more of these! We have had them so often!”

But I was not done either. “All right. I might not make them again for awhile,” I heard my family give a sigh of relief. I relentlessly continued, “if you can answer me one simple question.”

They looked up at me with shadowed eyes of enchilada weariness. “Anything,” they would have said if they had not fallen into a creamy-cheese-induced-coma.

“Whose enchiladas are really the best?”

“Yours!” Came the pleading sobs from my family.

Just as I suspected.

Winning.

Cheesy Salsa Chicken Empanadas

Makes 70 Empanadas

IMG_2535.JPG

The name “empanada” has always made me smile. I think being a gnome lover has me appreciating the “imp” phonetic beginning of the word. These empanadas are small little appetizer sized delights. Or for a gnome or an imp, a complete meal.

I have been making these empanadas for what seems like forever. I had originally seen Paula Dean make them on her show. This recipe is adapted from hers. Over the years, I have changed them a bit to reflect how I like them to taste. This recipe makes seventy empanadas plus enough mix left over for a dip. This is enough for three meals. The empanadas freeze well and I always freeze a batch and give a batch to my sister because they are her favorite things that I make. The empanadas are time consuming. However, you will be making three meals in one cooking effort. So, I think it all evens out.

Besides, I am not one to overexert myself for anything. Even food. Heck, the other day I drove down to my mail box and it is literally one house away. It does not get any lazier than that. Although, in my defense it was not the effort of the walk but rather the sordid fact that I was on my second day in the same pajamas that forced me to drive and avoid the neighbors. I couldn’t be bothered to shower or change. Wait. That probably doesn’t make the story any better… What I am trying to say is, if I can do it, then you definitely can to.

IMG_2536.JPG

Ingredients:

3 pounds of salsa chicken (recipe here, a separate 4-6 hour cooking time is involved)
8 oz. softened cream cheese
5 packages of refrigerated pie crust (with two rolled doughs a piece)
3 cups shredded mexican cheese
1 finely diced seeded jalapeño
1 finely diced red bell pepper
4 oz. can green chiles
1/2-1 tsp. salt
1/4 tsp. ground black pepper
3 Tbsp. Olive oil

Optional toppings:

Hot sauce
Sour cream
Chopped Cilantro

Directions:

Make my salsa chicken in the crockpot.

When the chicken’s cooking time is finished, leave it in the crockpot for the eight minutes it is going to take to sauté the jalapeño and red bell pepper.

Take pie crusts out of refrigerator.

Preheat oven to 350 degrees F.

IMG_2539.JPG

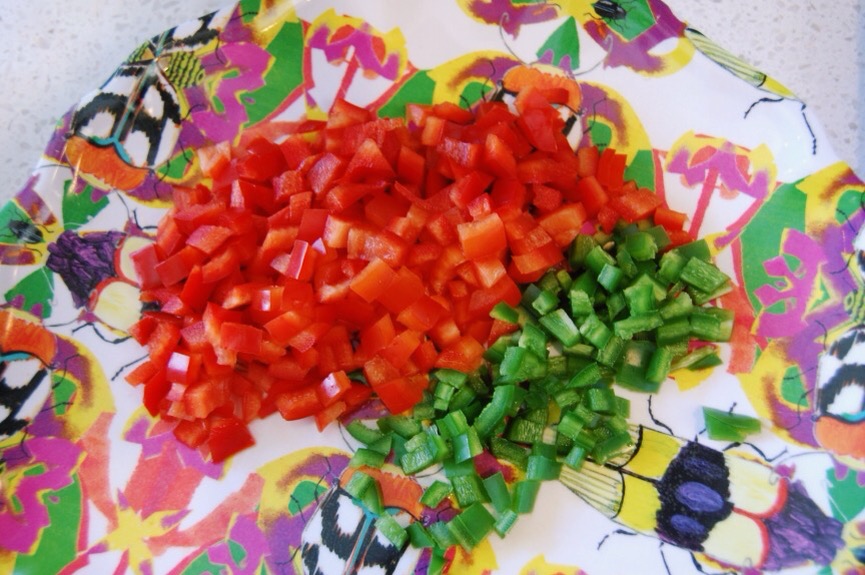
Sauté the jalapeño and red bell pepper in olive oil over medium heat until soft. Usually this takes seven to eight minutes. Add green chiles with juice and sauté an additional minute.

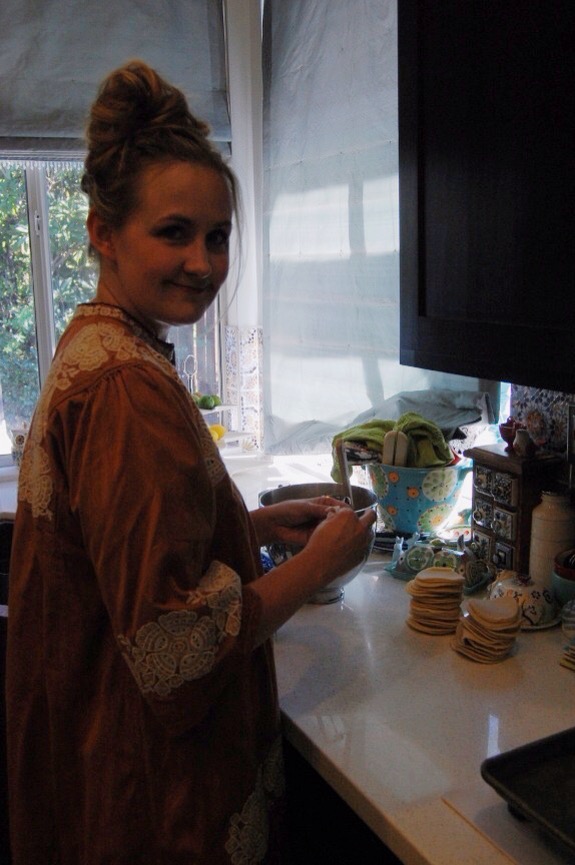
Remove cooked chicken from the crockpot. I set mine into the bowl of my Kitchenaid Stand Mixer. If you do not have one of these, put it in a very large bowl. Mix chicken with a bit of its cooking liquid (be sure to remove bay leaf) until nice and moist (approximately 2/3 cup).

All right. I am not sure how to explain the next step without it sounding weird.

Here it goes.

I think you probably started to suspect what might be coming when I had you put the chicken in the mixing bowl.

We’re going to mix the chicken.

To smitherines.

I know.

Just trust me.

One of the best meals I have ever eaten was at a restaurant in Cozumel. Now maybe it was the strawberry margarita the size of my head that accompanied it, but I think not. That might explain the mariachi band on the ceiling, but delicious food? Nah. The chicken enchiladas I had there were amazing. The chicken was mixed like we are about to do here. It all worked out. If you want, I’ll wait for you to grab a margarita before we get started.

Are you ready now?

Good.

IMG_2537.JPG

Now either mix the chicken mixture in your stand mixer on medium speed or with a hand mixer in a bowl on medium speed. Mix until it looks like the above. About two minutes.

IMG_2538.JPG

Add sautéed vegetables along with 1/2 of the oil and liquid they cooked in into the chicken. Add cream cheese. And mix on medium speed until incorporated for one minute.

Add cheese, 1/2 tsp. salt and pepper. Mix with a spatula into chicken mixture. You don’t want the cheese whipped by the mixer. It kind of gets lost into pieces and won’t live up to its full potential. Taste mix. Add more salt as needed.

IMG_2545.JPG

Now lay your pie crusts onto a flat surface and use a biscuit cutter to cut circles in the dough. I get seven circles out of one sheet. If you are not lazy, you could save the scraps and roll them out for more empanadas. I am wasteful. And do not. Extra effort and all of that.

IMG_2540.JPG

Put them into a stack.

Because it is pretty.

Like a doughy imp throne.

IMG_2544.JPG

Now scoop up a small amount of filling, about one and a half to two Tbsp. I use one of those small handy scoops. And place in the center of a circle of dough.

IMG_2546.JPG

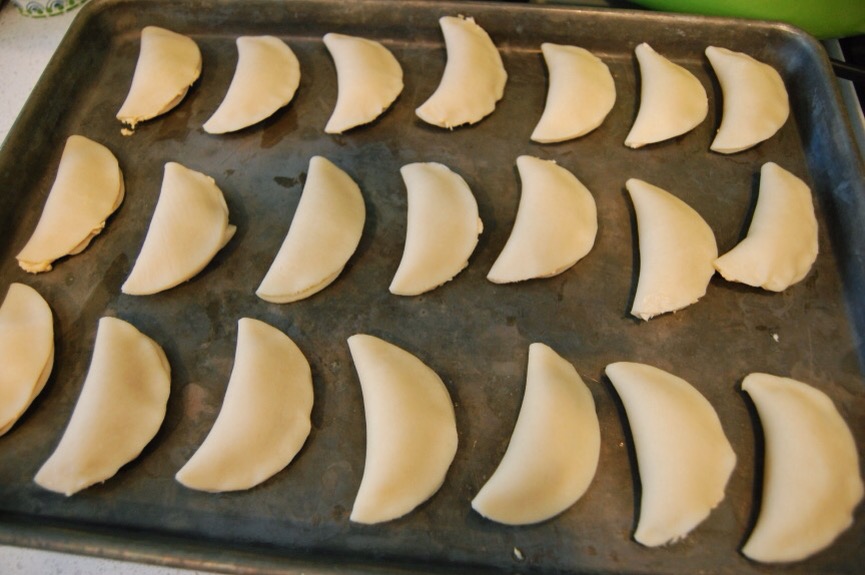
You will start to get the hang of how much filling to put inside based on the ease of closing the circle into a crescent shape. Fold circle in half and place on cookie sheet.

IMG_2541.JPG

Repeat until cookie sheet is full leaving space around each empanada.

IMG_2547.JPG

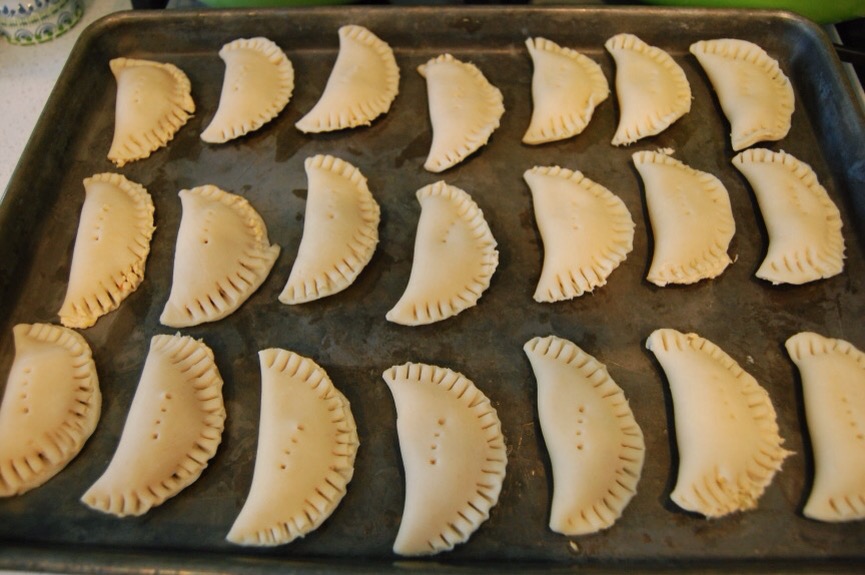
With a fork, crimp the edges of the empanada and poke it once in the middle to allow for the steam but also because it is pretty.

IMG_2548.JPG

Put tray into refrigerator for fifteen minutes to set.

Repeat empanada creation on to a separate cookie sheet.

IMG_2551.JPG

Remove original cookie sheet from refrigerator. Bake if you are eating right away. If not, place empanadas gently into a large gallon sized bag. I put twenty three in each one. Refrigerate if using within the next day. If freezing for a later use, place empanadas lying in a single layer in freezer. Not clumped together. You could always place cookie sheet in freezer for fifteen minutes and then put in baggies so they will not stick. Again, extra effort. I skip that step.

Keep alternating the two cookie sheets and empanadas until all are prepared.

IMG_2550.JPG

Bake the ones you are eating right away for twenty five minutes.

IMG_2549.JPG

Serve warm with optional toppings. I also present it with salad.

Now go have that margarita (or second one if you had to get over the shock of our chicken preparation)! And build your imp a new throne. You’re eating his old one. And left him with nada.

Easy Lasagna

IMG_2150.JPG

Lasagna.

My mother makes the best lasagna in the world. Happy Birthday Mom! I love you! I ask for it for my own birthday. This is not her recipe. But I still think it is really good. I have made lasagna for years. In fact, it was the first “complicated” meal I ever attempted.

It’s is one of those dishes that looks hard to make, but is incredibly easy to execute. I find it calming to make the layers. I also feel like a superhero when I view the final completed project. And who doesn’t want to feel like a superhero? Well, unless it is The Hulk. Nobody wants to feel like The Hulk. Unless you are a ten year old boy. Or me, apparently from all of the posts I have done on it. But even then, you gotta admit the name leaves much to be desired.

Remember my new favorite spaghetti recipe that uses coffee grounds and is made in the crockpot? Well, I usually have three quarts of sauce left after the first dinner that I separate into three individual quart containers and freeze for use at a later date. I have friends with three sons. Actually, when I think about it, I have a lot of friends with three sons. I have heard that with that many boys they do not get as many leftovers as I do with a recipe. In fact, the exact words were, “What are leftovers?” I think with the crockpot spaghetti recipe, they would probably only have one to two quarts left after the initial dinner. There should still be enough to freeze at least one additional meal, so if you have a larger family, do not be discouraged. Make it. Save the rest. Then make a giant lasagna that will appease all. Even three growing boys.

The other day I took one quart out of the freezer. This is completely off topic, but make sure you defrost any sauces appropriately before you reheat them. I thought it would be a great idea to just throw the frozen sauce into a pan and bring it to heat. The sauce broke up into nuclear hot parts and frozen chunks. It splattered out and hit my arm where it made a small hole. I eventually had to see a doctor for it. I will definitely have a scar from it, so please be careful in reheating.

So, I defrosted the sauce first and then reheated the sauce and added an additional jar of pasta sauce to make it stretch further.

Then I just layered it into a lasagna. It was so good.

Okay. Finally. On to the recipe:

IMG_2142.JPG

Ingredients:

1 quart of prepared spaghetti sauce (I use this recipe, but you could use your favorite)
1 jar of your favorite pasta sauce
One package of lasagna noodles (you can use no-boil ones or the fresh ones above. I highly recommend the fresh ones above, found in the refrigerated section of the grocery store near the ricotta. Do not use regular lasagna noodles unless you boil them first. I have attempted to use them without boiling. They are not as good. They are about one minute before al dente tasting)
2 cups grated mozarella cheese
1 cup grated parmesan cheese
15-16 oz. of ricotta cheese

Directions:

Preheat oven to 350 degrees F.

Yell, “You’re making me hungry! You won’t like me when I’m hungry!” If your family stares at you during this time, stare back, unwavering in your lasagna conviction.

Defrost spaghetti sauce for two-three hours and then reheat in a large pot over low heat with additional jar of pasta sauce until hot. Turn off heat.

IMG_2143.JPG

IMG_2153.JPG

IMG_2156.JPG

IMG_2148.JPG

Take a 9 X 13 pan and ladle in some spaghetti sauce into the bottom of the pan until the bottom is just coated. About 2/3 cup.

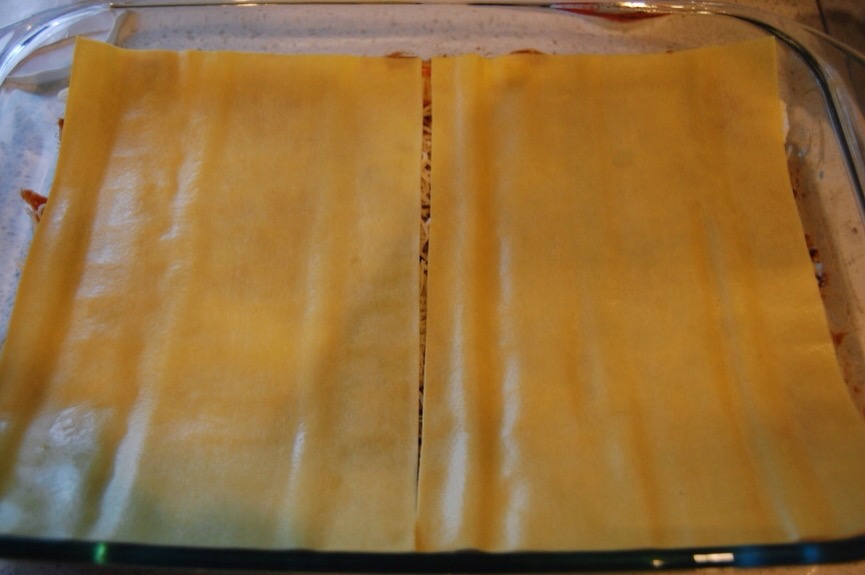
Take lasagna noodles and lay on top of sauce. This is two of the fresh ones above.

Take half of your ricotta and smear over lasagna noodles. Ladle one third of your sauce over the top, sprinkle one cup of mozzarella cheese. Place noodles over cheese. Spread the remaining ricotta over the noodles. Ladle one third of your sauce over the top. Sprinkle one cup of mozzarella. Lay noodles over cheese. Ladle the remaining sauce over noodles. Sprinkle one cup of Parmesan cheese over the top.

Cover with foil and bake for thirty minutes. After thirty minutes, uncover and bake for an additional fifteen minutes.

Remove from oven and let rest for five to ten minutes.

IMG_2146.JPG

And serve.

IMG_2147.JPG

Hulk Hands not optional.

The Easiest Salted Caramel Cookie Bars

IMG_1878.JPG

Come here.

Closer.

Closer.

There.

That should be close enough. I have a secret I want to share with you. It involves zero guilt and tons more time on your hands. The secret is this, “There ain’t no shame in the faking it game.”

I read a food blog I adore recently that condemned store bought pie crust. I love that blog. This ain’t that blog. I like homemade pie crust. I like homemade cookie dough. I like my house vacuumed frequently. I like to read after dinner. But we all know there simply isn’t enough time in the day for all of our “likes” and “wants.” Heck. There is barely enough time for the “needs.”

So let’s fake us some homemade cookie bars, shall we?

I won’t tell if you don’t.

I was so pleasantly surprised how well these cookie bars turned out. I do highly recommend using parchment paper, because the bars are too sticky to get out otherwise.

IMG_1875.JPG

Ingredients:

2 packages of sugar cookie dough logs or 1 package of the preflattened sugar cookie dough (I prefer the preflattened kind made by Nestle. It ends up being cheaper, but the logs make a prettier cookie bar)
1/3 cup caramel sauce
1/3 cup toffee bits
Sea salt
Parchment paper

Directions:

Preheat oven to 350 degrees F.

Place parchment paper in an 11 X 7 baking dish. Take a log of sugar cookie dough and press it into place over the parchment paper or lay one layer of your flat cookie dough and push it into the corners of the parchment paper (depending upon which premade sugar cookie dough you purchased). Put into the oven and bake for fifteen minutes.

IMG_1879.JPG

Remove from oven. Microwave caramel for 25 seconds to soften and make it easier to pour. Measure it out. Pour over slightly cooked cookie dough. Sprinkle the toffee bits on top. Now sprinkle sea salt over top. Just give it a nice dusting.

I have a hand-cranked dispenser from Costco, so I turn it seven to ten times over the caramel.

IMG_1877.JPG

Now break up your remaining cookie dough log over the top if you bought the logs or simply place the other cookie sheet over the top, if you bought the preflattened kind.

IMG_1876.JPG

Put the whole thing back into the oven and bake for twenty five minutes. Remove from the oven and let cool for one hour before cutting into bars. I lift the parchment paper with the cookie bar in place and then lay it on my counter before I cut this into bars with my pizza cutter.

IMG_1874.JPG

Now eat this sinfully simple (or would it be simply sinful dessert?). Either way, it is good. It is quick. It is easy. This is my husband’s favorite cookie lately. It is equally good served warm with vanilla ice cream on top drizzled with caramel sauce.

Just bake it. (I am pretty sure Nike did not mean bake a million calories into a dessert when they made that slogan, but I will oblige them by running to the stove the moment these babies are done. That’s gotta burn a zillion calories, right?).