Cheesy Salsa Chicken Empanadas

Makes 70 Empanadas

IMG_2535.JPG

The name “empanada” has always made me smile. I think being a gnome lover has me appreciating the “imp” phonetic beginning of the word. These empanadas are small little appetizer sized delights. Or for a gnome or an imp, a complete meal.

I have been making these empanadas for what seems like forever. I had originally seen Paula Dean make them on her show. This recipe is adapted from hers. Over the years, I have changed them a bit to reflect how I like them to taste. This recipe makes seventy empanadas plus enough mix left over for a dip. This is enough for three meals. The empanadas freeze well and I always freeze a batch and give a batch to my sister because they are her favorite things that I make. The empanadas are time consuming. However, you will be making three meals in one cooking effort. So, I think it all evens out.

Besides, I am not one to overexert myself for anything. Even food. Heck, the other day I drove down to my mail box and it is literally one house away. It does not get any lazier than that. Although, in my defense it was not the effort of the walk but rather the sordid fact that I was on my second day in the same pajamas that forced me to drive and avoid the neighbors. I couldn’t be bothered to shower or change. Wait. That probably doesn’t make the story any better… What I am trying to say is, if I can do it, then you definitely can to.

IMG_2536.JPG

Ingredients:

3 pounds of salsa chicken (recipe here, a separate 4-6 hour cooking time is involved)
8 oz. softened cream cheese
5 packages of refrigerated pie crust (with two rolled doughs a piece)
3 cups shredded mexican cheese
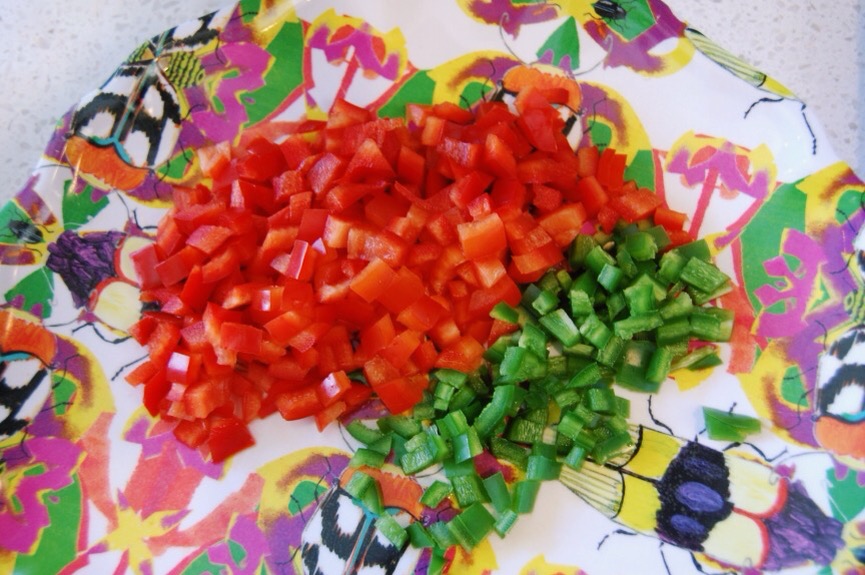
1 finely diced seeded jalapeño
1 finely diced red bell pepper
4 oz. can green chiles
1/2-1 tsp. salt
1/4 tsp. ground black pepper
3 Tbsp. Olive oil

Optional toppings:

Hot sauce
Sour cream
Chopped Cilantro

Directions:

Make my salsa chicken in the crockpot.

When the chicken’s cooking time is finished, leave it in the crockpot for the eight minutes it is going to take to sauté the jalapeño and red bell pepper.

Take pie crusts out of refrigerator.

Preheat oven to 350 degrees F.

IMG_2539.JPG

Sauté the jalapeño and red bell pepper in olive oil over medium heat until soft. Usually this takes seven to eight minutes. Add green chiles with juice and sauté an additional minute.

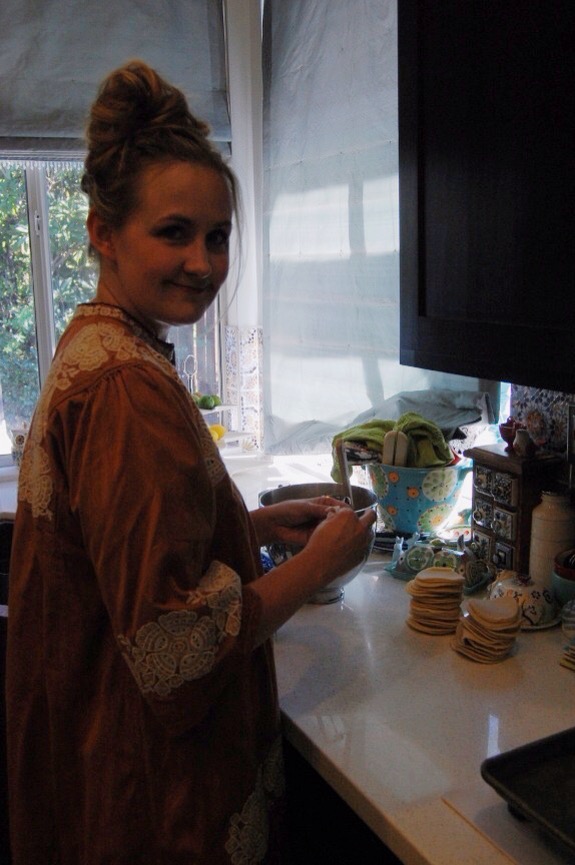
Remove cooked chicken from the crockpot. I set mine into the bowl of my Kitchenaid Stand Mixer. If you do not have one of these, put it in a very large bowl. Mix chicken with a bit of its cooking liquid (be sure to remove bay leaf) until nice and moist (approximately 2/3 cup).

All right. I am not sure how to explain the next step without it sounding weird.

Here it goes.

I think you probably started to suspect what might be coming when I had you put the chicken in the mixing bowl.

We’re going to mix the chicken.

To smitherines.

I know.

Just trust me.

One of the best meals I have ever eaten was at a restaurant in Cozumel. Now maybe it was the strawberry margarita the size of my head that accompanied it, but I think not. That might explain the mariachi band on the ceiling, but delicious food? Nah. The chicken enchiladas I had there were amazing. The chicken was mixed like we are about to do here. It all worked out. If you want, I’ll wait for you to grab a margarita before we get started.

Are you ready now?

Good.

IMG_2537.JPG

Now either mix the chicken mixture in your stand mixer on medium speed or with a hand mixer in a bowl on medium speed. Mix until it looks like the above. About two minutes.

IMG_2538.JPG

Add sautéed vegetables along with 1/2 of the oil and liquid they cooked in into the chicken. Add cream cheese. And mix on medium speed until incorporated for one minute.

Add cheese, 1/2 tsp. salt and pepper. Mix with a spatula into chicken mixture. You don’t want the cheese whipped by the mixer. It kind of gets lost into pieces and won’t live up to its full potential. Taste mix. Add more salt as needed.

IMG_2545.JPG

Now lay your pie crusts onto a flat surface and use a biscuit cutter to cut circles in the dough. I get seven circles out of one sheet. If you are not lazy, you could save the scraps and roll them out for more empanadas. I am wasteful. And do not. Extra effort and all of that.

IMG_2540.JPG

Put them into a stack.

Because it is pretty.

Like a doughy imp throne.

IMG_2544.JPG

Now scoop up a small amount of filling, about one and a half to two Tbsp. I use one of those small handy scoops. And place in the center of a circle of dough.

IMG_2546.JPG

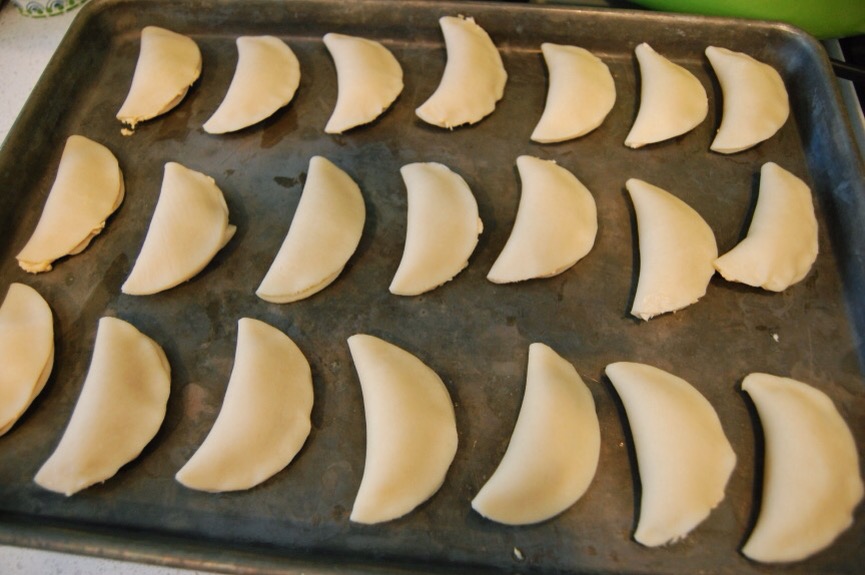
You will start to get the hang of how much filling to put inside based on the ease of closing the circle into a crescent shape. Fold circle in half and place on cookie sheet.

IMG_2541.JPG

Repeat until cookie sheet is full leaving space around each empanada.

IMG_2547.JPG

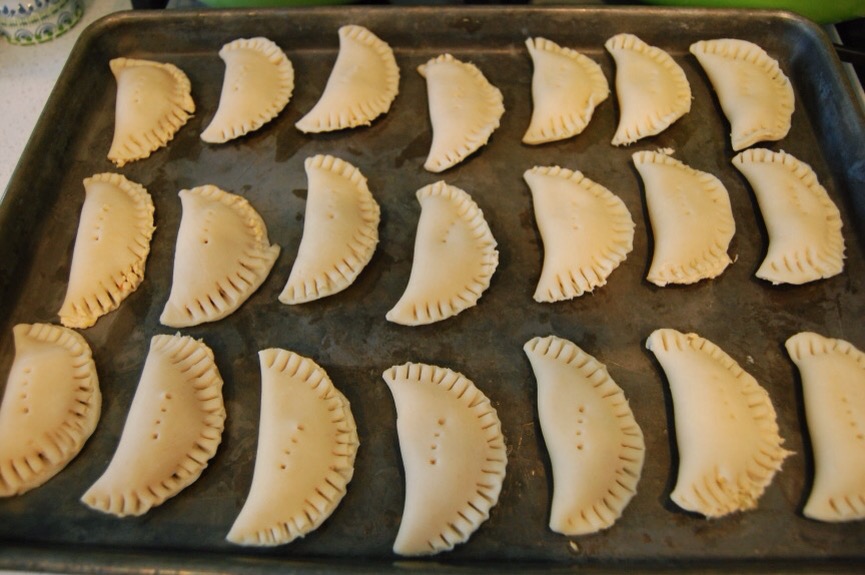
With a fork, crimp the edges of the empanada and poke it once in the middle to allow for the steam but also because it is pretty.

IMG_2548.JPG

Put tray into refrigerator for fifteen minutes to set.

Repeat empanada creation on to a separate cookie sheet.

IMG_2551.JPG

Remove original cookie sheet from refrigerator. Bake if you are eating right away. If not, place empanadas gently into a large gallon sized bag. I put twenty three in each one. Refrigerate if using within the next day. If freezing for a later use, place empanadas lying in a single layer in freezer. Not clumped together. You could always place cookie sheet in freezer for fifteen minutes and then put in baggies so they will not stick. Again, extra effort. I skip that step.

Keep alternating the two cookie sheets and empanadas until all are prepared.

IMG_2550.JPG

Bake the ones you are eating right away for twenty five minutes.

IMG_2549.JPG

Serve warm with optional toppings. I also present it with salad.

Now go have that margarita (or second one if you had to get over the shock of our chicken preparation)! And build your imp a new throne. You’re eating his old one. And left him with nada.

Baked Potato Casserole

Everyone should have certain go-to recipes that they can make quickly and feed a crowd. I feel it is important to always have a great potato recipe in your bag of tricks, especially for potlucks.

I found mine when I was thirteen.

My uncle’s best friend married a woman named Tara. Tara would bring this recipe to every Thanksgiving at my grandma’s house. I was one of Tara’s bridesmaids when I was thirteen.

20140722-203416.jpg

I made this recipe for my husband when we first started dating. And continued to do so for the next few months. In fact, this recipe was the basis for our very first fight. Do you want to hear about it or should I get right to the recipe? Oh, you want to see the recipe. Well, just skip this part then. I’m going to tell you anyway:

Sixteen years ago my husband and I were at the grocery store buying the ingredients for this dish. I started to grab eight potatoes. My husband (fiancé at the time) made a grievous error. He decided to question my reasoning.

I know.

He understands now that there is no reasoning with me. Because I have no reason.

Or rhyme, as it were.

“It’s just the two of us. Why do we need eight potatoes?”

“Because that is what the recipe calls for.”

“But why can’t we cut the recipe in half?”

“BECAUSE IT DOESN’T SAY TO!” Then I burst into tears and ran from the store. In my defense we learned I was pregnant later that day and so I like to think it was simply the hormones and not a weird irrational need to bake eight potatoes.

After that fight, I stubbornly never made this dish again until this month.

Sixteen years really isn’t so long.

At least in potato years.

Every marriage should be measured in potato years.

Let’s just get to the recipe. If you are making this you are going to want to prepare the baked potatoes well in advance of using them. So, time accordingly.

This recipe is so easy. I changed the original recipe just a little. I like it, because you do not have to cut potatoes into small pieces or boil them. And, guess what? In the pictures I halved this recipe. If you are making this for a small family, I recommend doing that. For a crowd, I use the full recipe. Okay. So, he was right. Darn.

Ingredients:

8 large baking potatoes
4 Tbsp. Cold Butter
1 16 oz. container of sour cream (2 cups)
2 cups shredded cheddar cheese
1 1/2 – 2 tsp. salt (I use 1 1/2 tsp. first and then add an extra 1/2 tsp. if it needs it)
1/2 – 1 tsp. ground black pepper (depending on your preference)
2 Tbsp. finely chopped chives
2 Tbsp. Finely chopped green onions

Directions:

Preheat oven to 375 degrees.

20140722-203453.jpg

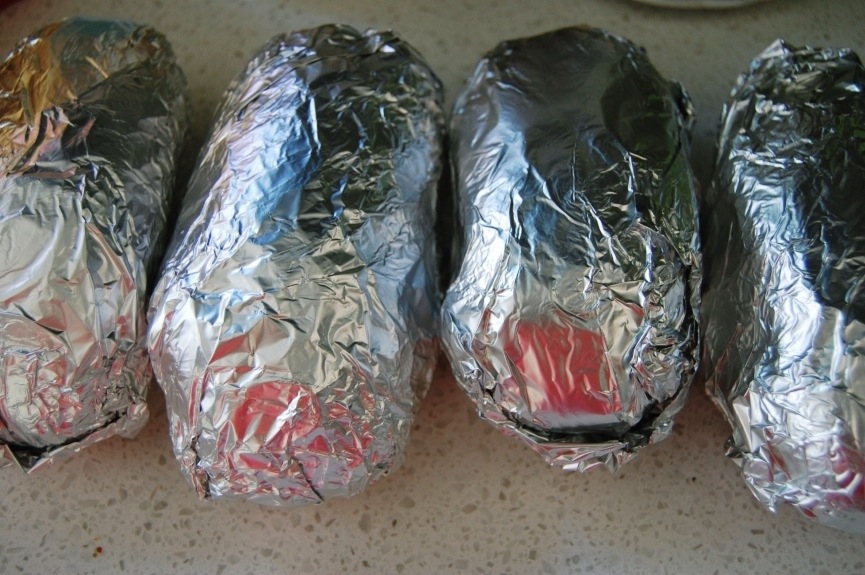
Wash potato. Dry potato. Pierce the potato with a fork two times and then wrap it up in foil. Repeat eight times.

Place the potatoes in the oven and bake for seventy five minutes. Once the potatoes are baked (give a slight squeeze, if it gives then it is ready, if not bake the potato a little longer), place the potatoes still in their foil in your refrigerator to cool. Turn off oven. They need to cool for at least three hours, but I often cool them overnight so they are ready the next day.

Take potatoes out of the refrigerator.

Preheat oven to 350 degrees.

20140722-203525.jpg

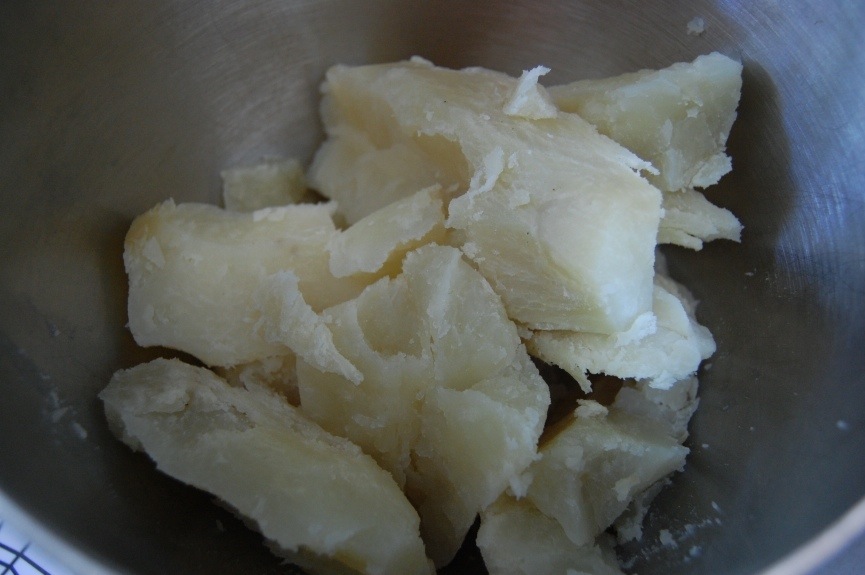
Remove foil and simply peel or cut the skin off of the potato. I just cut off each end and then cut the skin off. This is easy and quick.

Place in your mixing bowl for your stand mixer or in a bowl to beat with your hand mixer.

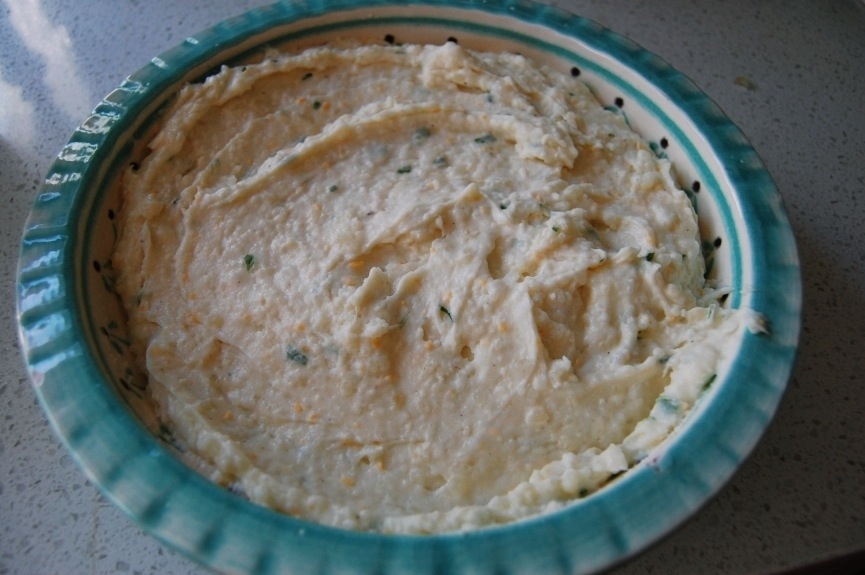
Beat potatoes on low setting (if you do it higher, potatoes will go everywhere). Add sour cream and beat on low for thirty seconds and then turn to medium speed. Add salt, pepper, chives, cheese and green onions. Beat for a few minutes until potatoes are broken down and all of the ingredients are incorporated. There will still be small chunks of potatoes, but not large ones.

20140722-203622.jpg

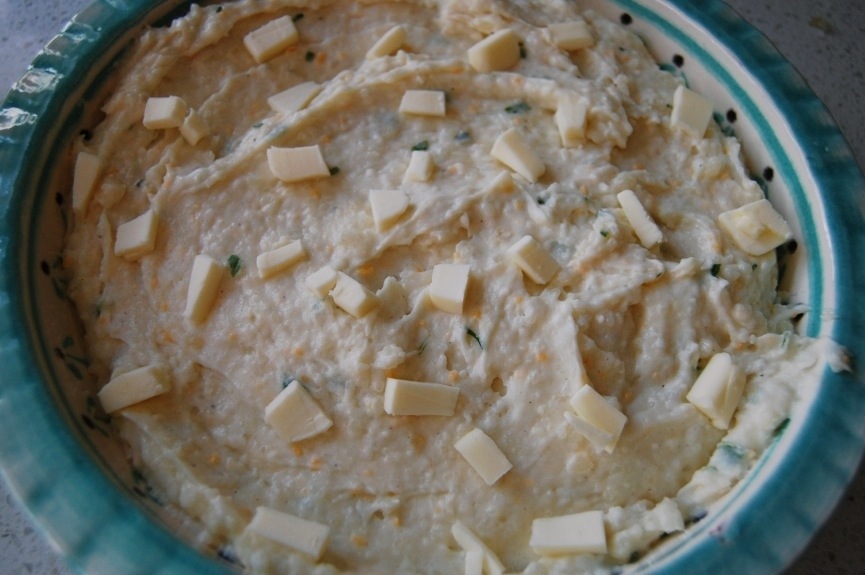
Pour potato mixture into a baking dish and smooth so it is even. Cut butter into small pieces.

20140722-203709.jpg

Dot the top of the potatoes with the butter.

20140722-203737.jpg

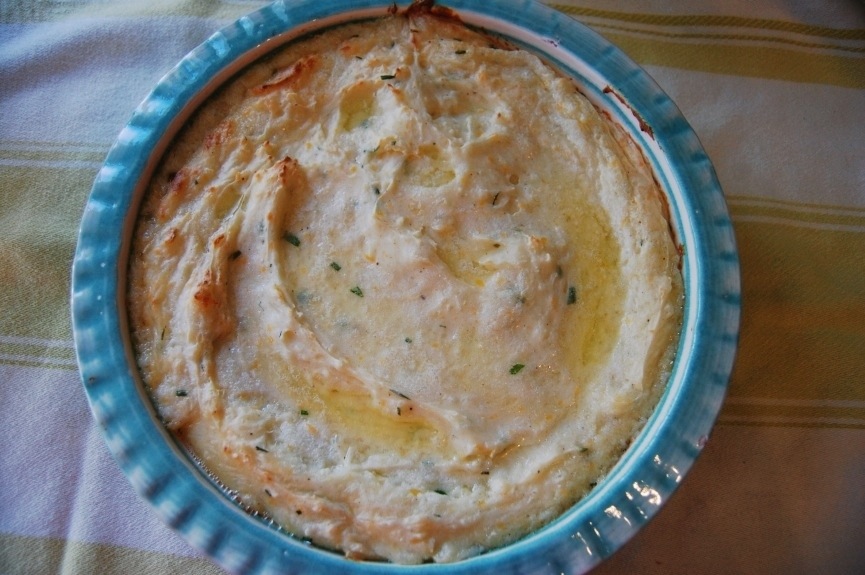
Place uncovered in the oven and bake for 30-35 minutes until edges are bubbling.

20140722-203857.jpg

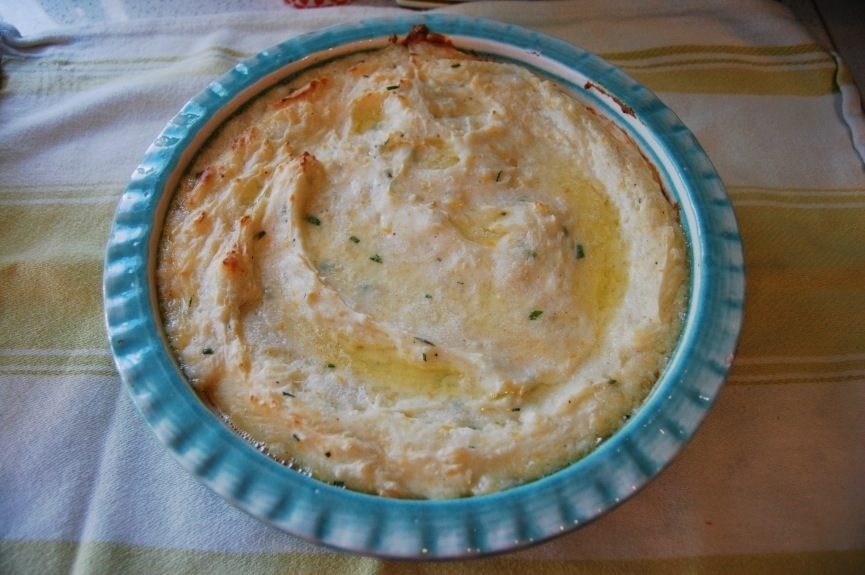
Serve the potatoes.

And store marriage in a cool, dark place until ready to handle again.

P.S. I shared this on Savvy Southern Style.

And My Romantic Home.

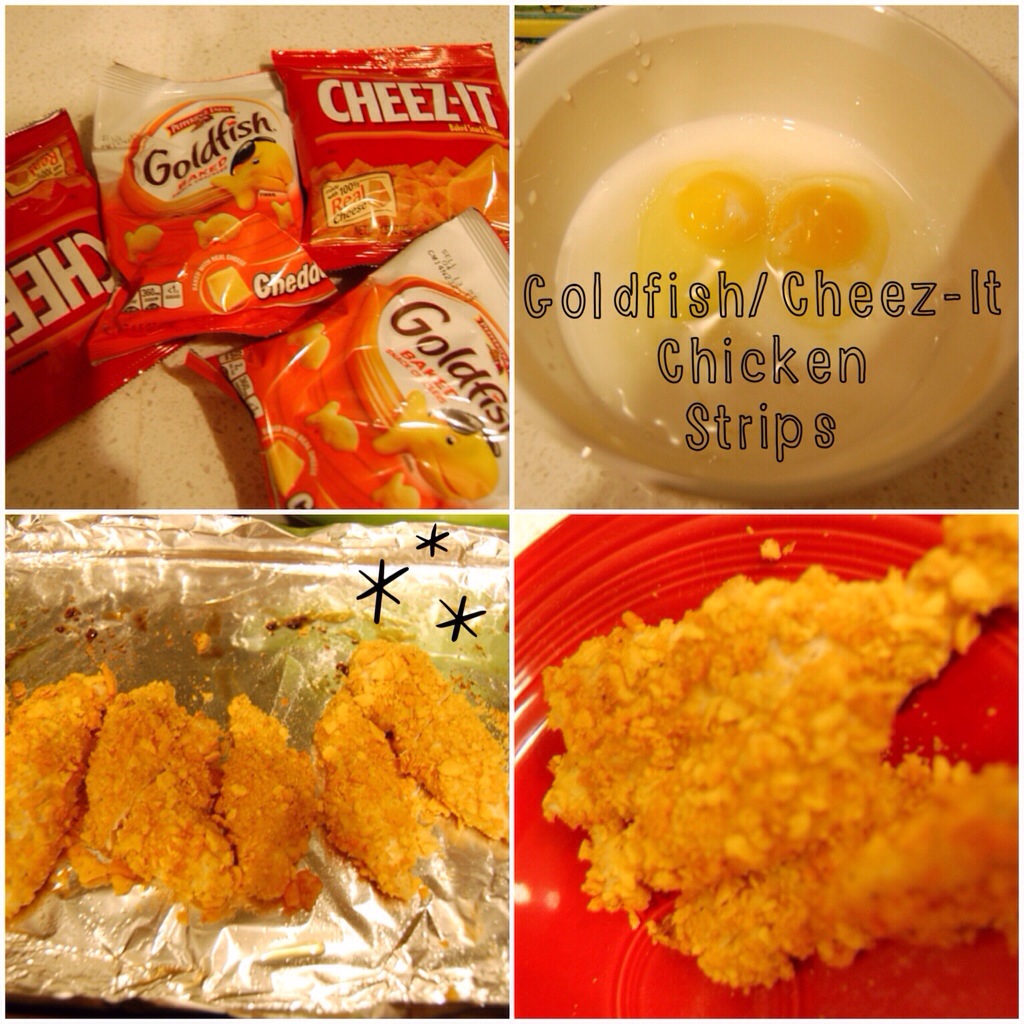
Goldfish/Cheez-It Chicken Strips

20140204-211923.jpg

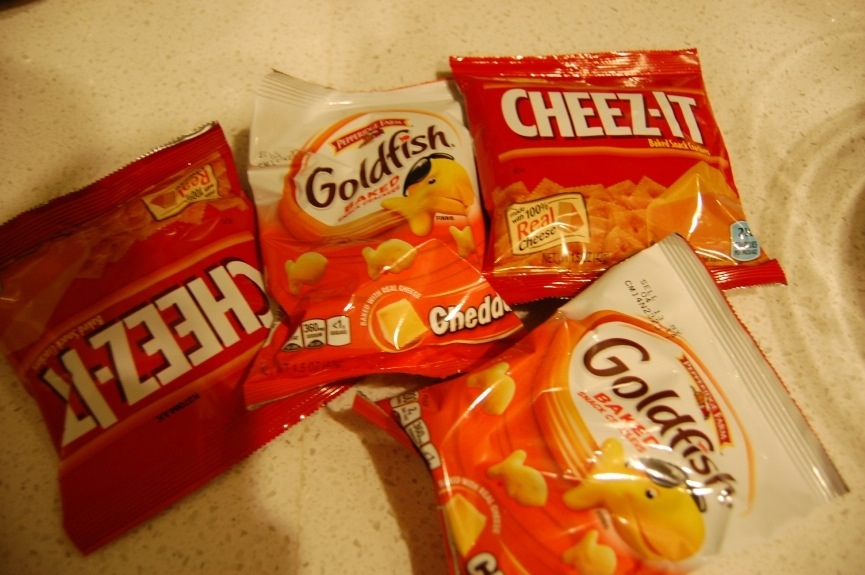
My daughter likes Goldfish Crackers.

My son likes Cheez-It Crackers.

And never the two shall meet, well, except:

20140204-211517.jpg

“Mom! He/She’s eating my crackers!” This is a common exclamation screeched throughout my house.

And then the tiresome response, “They’re not your crackers. They’re my crackers!”

How annoying.

Well, actually. That last response is mine.

‘Cause it’s true. I did buy them.

I decided to use up some of these snack bags of crackers. I would like to say it is because I wanted to show the kids that the crackers could work in perfect harmony. Much like themselves.

But, really, I just had a lot of chicken.

And too many crackers.

I remembered making a similar recipe with my daughter with Cheez-It Crackers when she was two. And not liking it.

However, if there is a will. There is a way.

And my soul was drowning in the cheese cracker meltdowns going on in my house.

Here is how we all lived in harmony, with the crackers… For one night:

Ingredients:

1 cup of Cheez-It Crackers (I used 2 snack bags)
1 cup of Goldfish Crackers (I used 2 snack bags)
2 pounds chicken tenders
2 eggs
2 tbsp. Milk
2 Tbsp. Water
1/8 tsp. ground cayenne pepper
1/8 tsp. ground black pepper
1/2 tsp. salt
1 Tbsp. Garlic powder
1/4 tsp. paprika
Extra salt to taste at end

Let’s get cracking!

Preheat your oven to 350 degrees.

In a big bag, crush your crackers. I use the smooth part of the mallot. And when I say, I, I mean my kids. Because kids like crushing crackers even more than they like fighting over them.

They actually made all of the chicken strips themselves.

Line two baking sheets with foil sprayed with nonstick cooking spray.

20140204-212109.jpg

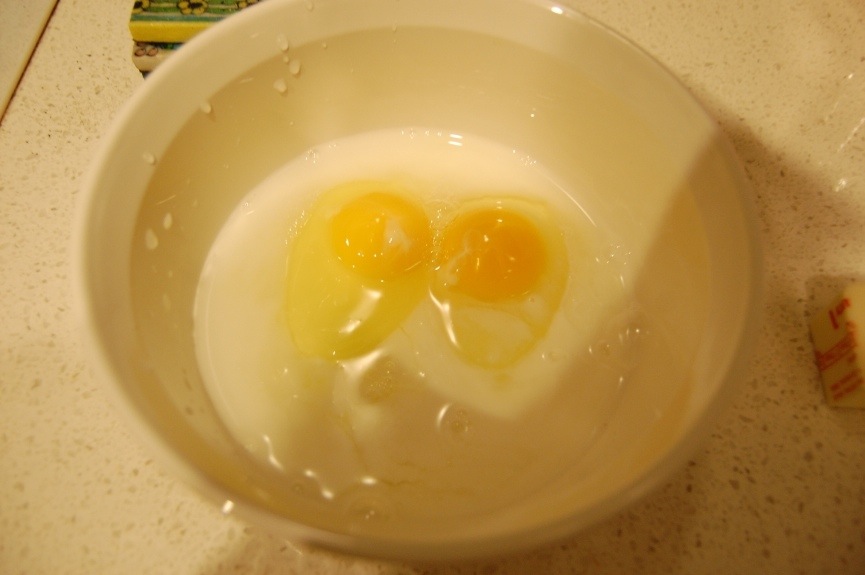
In a small bowl, beat the two eggs with a fork. Add milk and water, and whisk together.

In a separate bowl, pour the cracker crumbs. Add cayenne pepper, pepper, salt, garlic powder and paprika. Stir together.

20140204-212135.jpg

Take a chicken tender and drench it in the egg mixture. Then dunk the wet chicken tender in the cracker mixture. The kids actually did all of this themselves. Do you know what a kid likes better than fighting over crackers? Or crushing crackers? That’s right, coating chicken with crackers.

20140204-212327.jpg

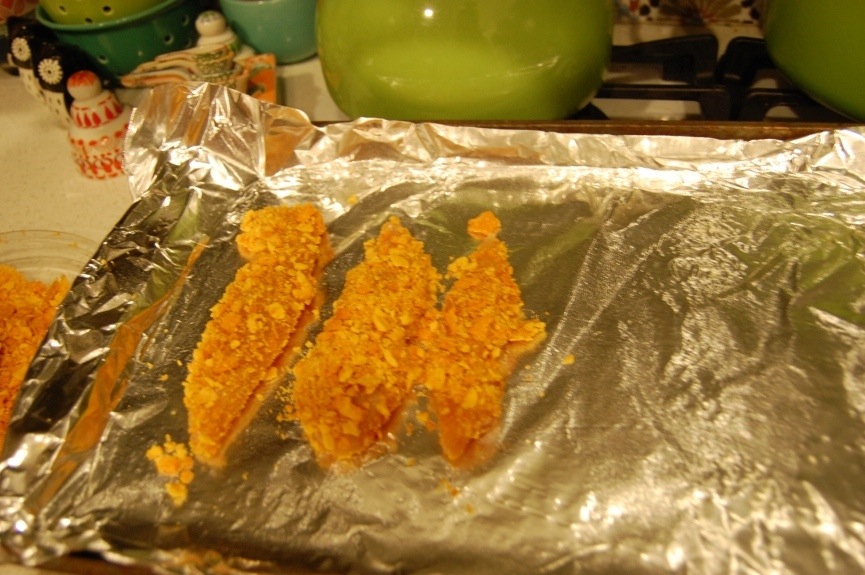
Place the chicken tenders on the baking sheets after the above steps have been completed.

20140204-212358.jpg

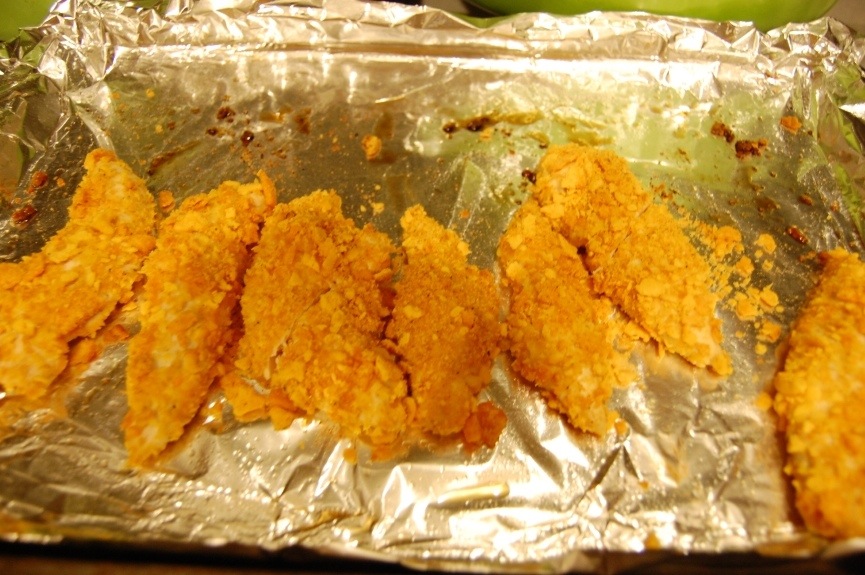
Bake the chicken tenders for 20-22 minutes until they are no longer pink on the inside (mine took 22 minutes).

Carefully remove the pans from the oven. Sprinkle chicken strips with salt.

20140204-212249.jpg

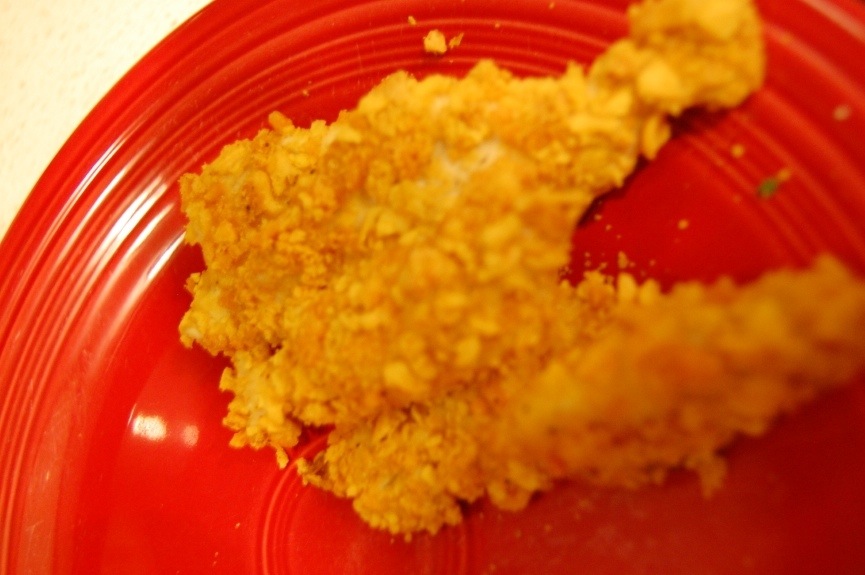
Serve up the chicken strips (all I have is this sad little picture. Because kids making chicken takes a bit of time. And I was starved. I will update as soon as the next cracker debate occurs. I can imagine this will be soon).

These were so incredibly yummy. I might need to keep all of my crackers.

20140204-212039.jpg

I did not take a good picture of the finished chicken product. But I did snap a picture of the biscuits I made while the kids made the chicken strips.

I love when things come together! Enjoy!

And revel in your peace making.

At least for the time being.

It’s The Little Things: Pie Crust Cookies

20140108-232602.jpg

I have been really sick. How sick? Well, I have not had a glass of wine since Christmas. That’s how sick. I know. Who knew it was possible? It has been thirteen days of a cold with a fever and I am now beginning to think it is time to see a doctor.

Or not.

We’ll see.

It makes for interesting dreams.

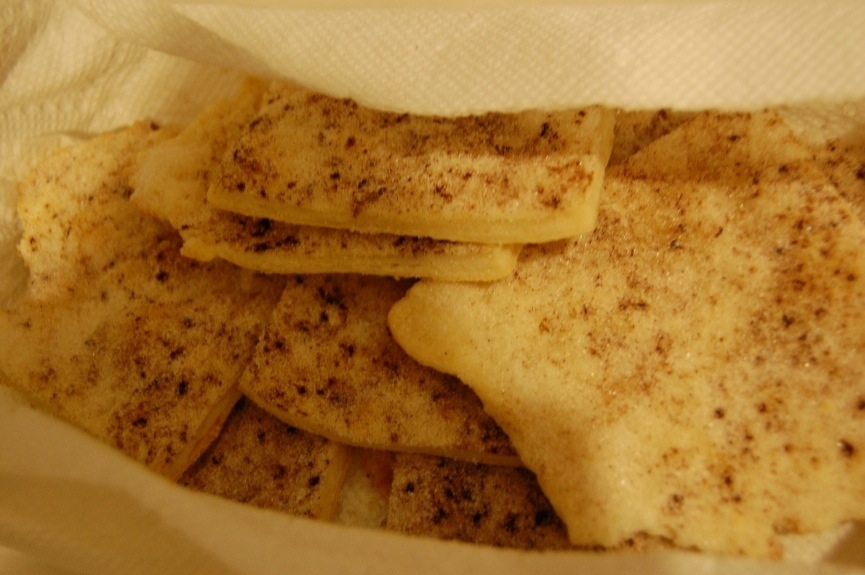
But in the meantime, my sweet mother brought me over the nicest gift in the world. It was a container of pie crust cookies.

20140108-232636.jpg

Pie crust cookies happen to be my most favorite thing in the whole wide world. My mother and grandmother used to make them all through my childhood. They start with homemade pie crust dough (which is why I never make them). The pie crust dough is rolled out then generously sprinkled with cinnamon and sugar. Then cut into long irregular shapes, punched with a fork, and put into the oven to bake. Hence the clever name, “pie crust cookies.” I don’t know where or how they came up with that.

When she delivered these, I almost cried in my delirious state.

They have been what has kept me going these last few days.

Well, that and a glorious little product called heaven Sudafed.

Have you ever had these delightful little treats? And why does everything taste so much better when your mom makes it? What’s your favorite thing to have when you are sick? Spaghetti for some reason also always makes me feel better. It is what we are having for dinner tonight.

It’s the little things: anything that makes you feel better when you are sick.

Thanks Mom.