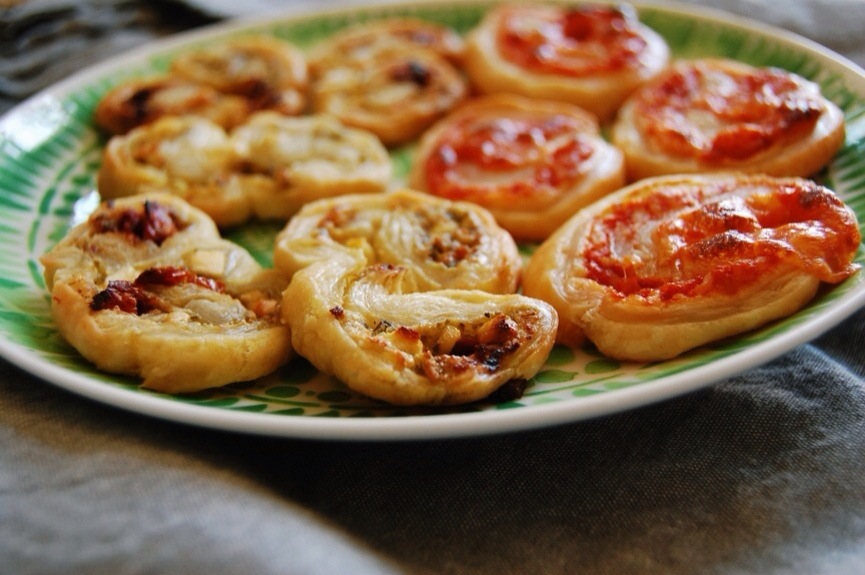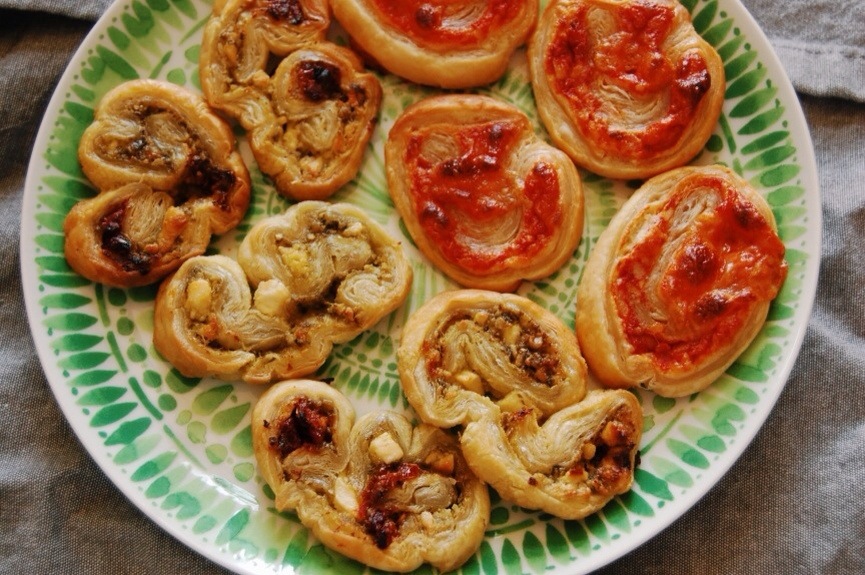
Makes 70 Empanadas
The name “empanada” has always made me smile. I think being a gnome lover has me appreciating the “imp” phonetic beginning of the word. These empanadas are small little appetizer sized delights. Or for a gnome or an imp, a complete meal.
I have been making these empanadas for what seems like forever. I had originally seen Paula Dean make them on her show. This recipe is adapted from hers. Over the years, I have changed them a bit to reflect how I like them to taste. This recipe makes seventy empanadas plus enough mix left over for a dip. This is enough for three meals. The empanadas freeze well and I always freeze a batch and give a batch to my sister because they are her favorite things that I make. The empanadas are time consuming. However, you will be making three meals in one cooking effort. So, I think it all evens out.
Besides, I am not one to overexert myself for anything. Even food. Heck, the other day I drove down to my mail box and it is literally one house away. It does not get any lazier than that. Although, in my defense it was not the effort of the walk but rather the sordid fact that I was on my second day in the same pajamas that forced me to drive and avoid the neighbors. I couldn’t be bothered to shower or change. Wait. That probably doesn’t make the story any better… What I am trying to say is, if I can do it, then you definitely can to.
Ingredients:
3 pounds of salsa chicken (recipe here, a separate 4-6 hour cooking time is involved)
8 oz. softened cream cheese
5 packages of refrigerated pie crust (with two rolled doughs a piece)
3 cups shredded mexican cheese
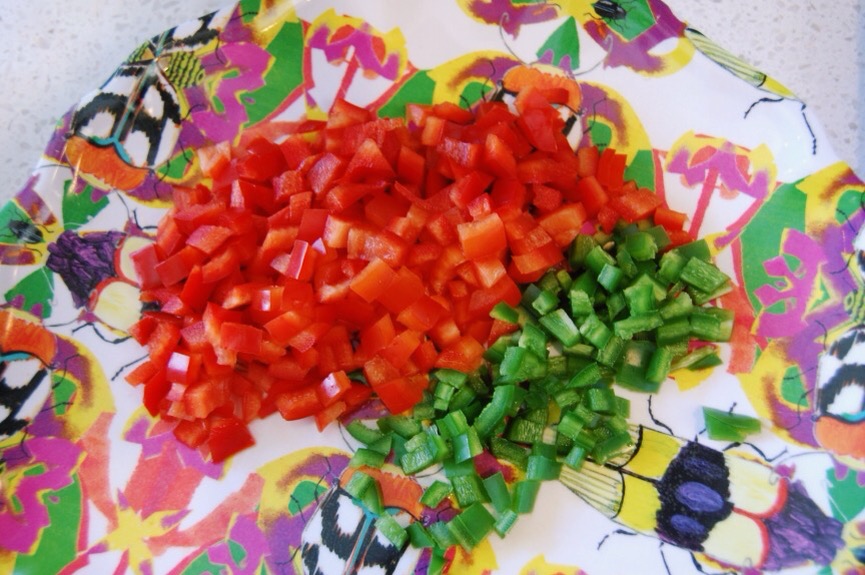
1 finely diced seeded jalapeño
1 finely diced red bell pepper
4 oz. can green chiles
1/2-1 tsp. salt
1/4 tsp. ground black pepper
3 Tbsp. Olive oil
Optional toppings:
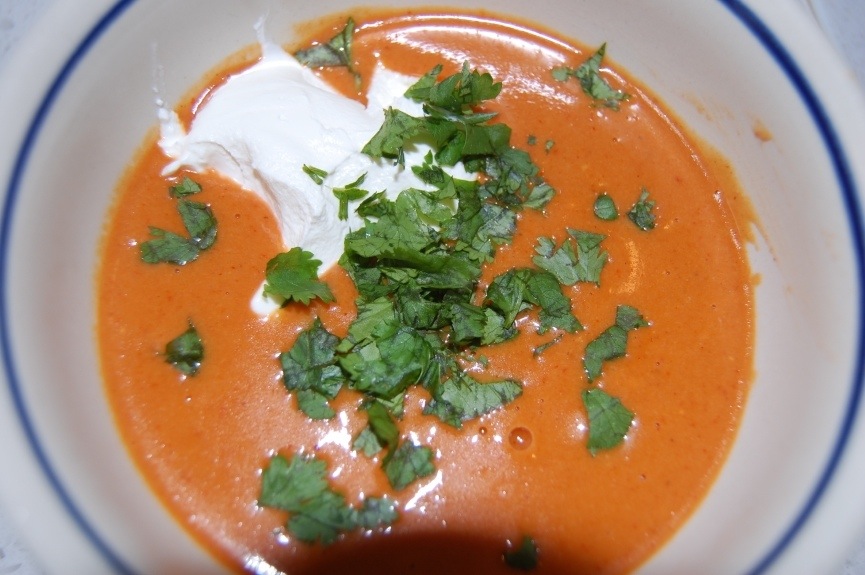
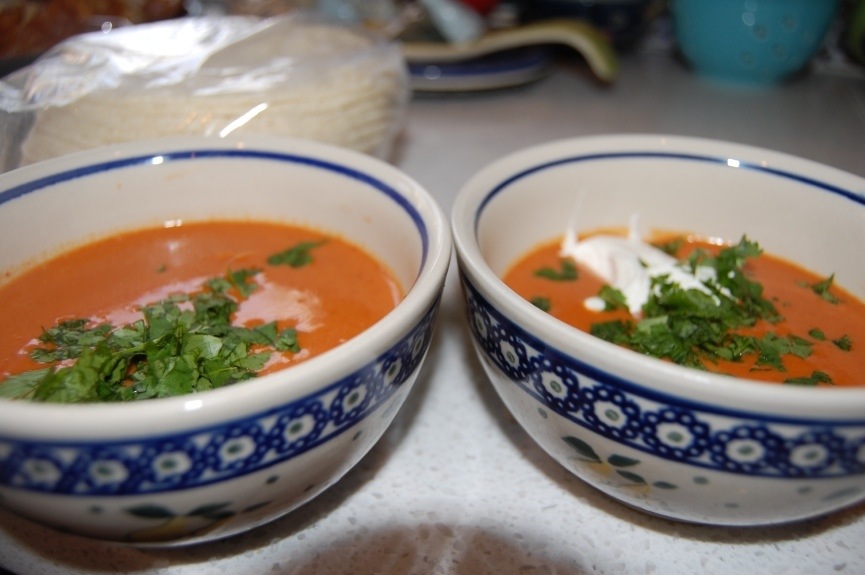
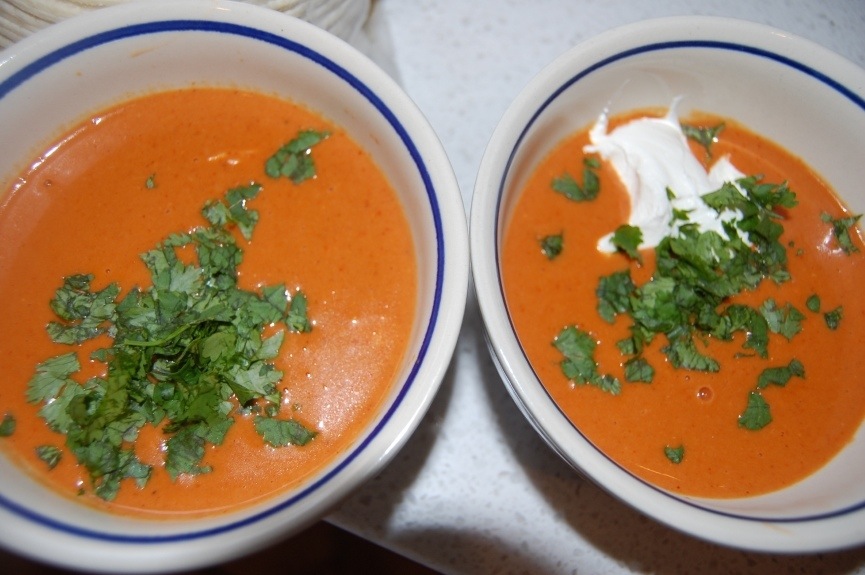
Hot sauce
Sour cream
Chopped Cilantro
Directions:
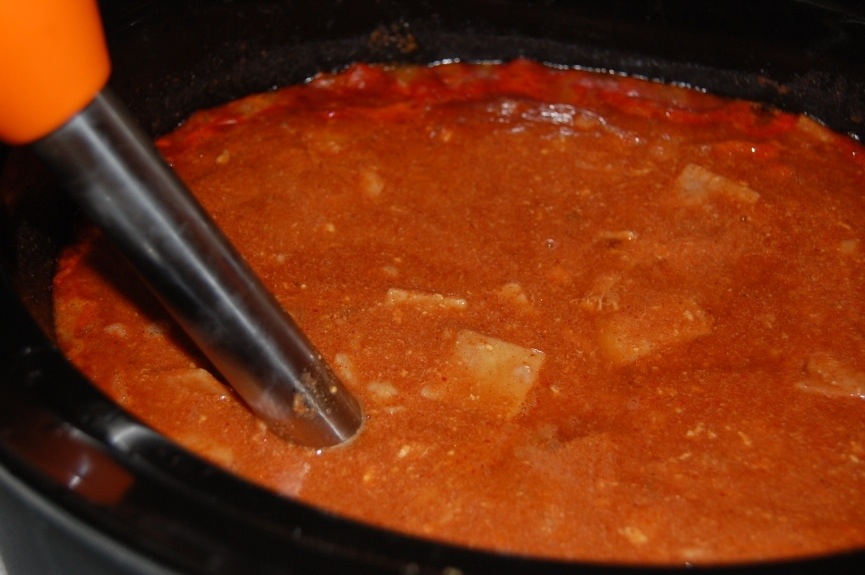
Make my salsa chicken in the crockpot.
When the chicken’s cooking time is finished, leave it in the crockpot for the eight minutes it is going to take to sauté the jalapeño and red bell pepper.
Take pie crusts out of refrigerator.
Preheat oven to 350 degrees F.

Sauté the jalapeño and red bell pepper in olive oil over medium heat until soft. Usually this takes seven to eight minutes. Add green chiles with juice and sauté an additional minute.
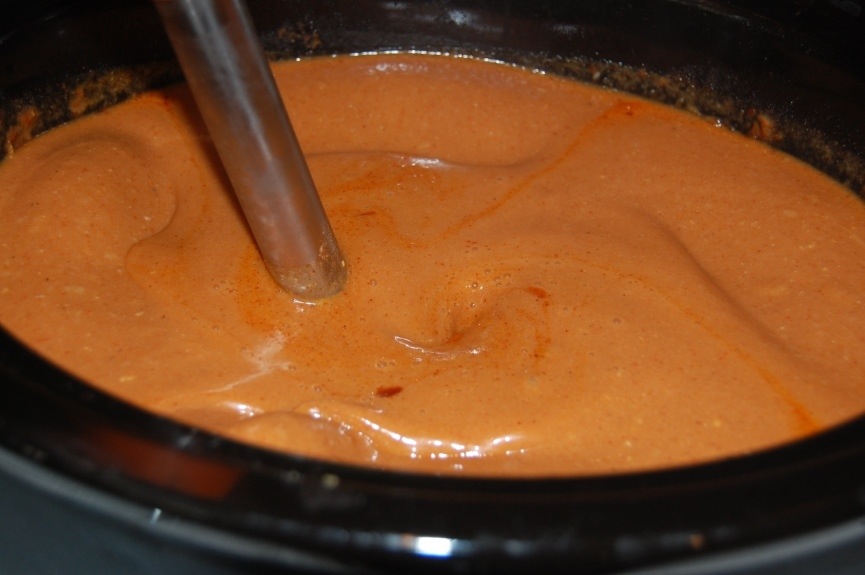
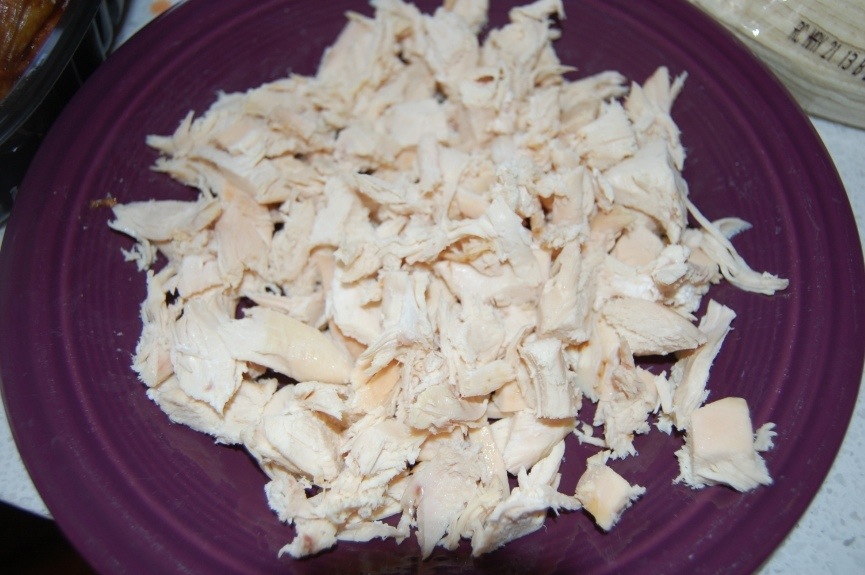
Remove cooked chicken from the crockpot. I set mine into the bowl of my Kitchenaid Stand Mixer. If you do not have one of these, put it in a very large bowl. Mix chicken with a bit of its cooking liquid (be sure to remove bay leaf) until nice and moist (approximately 2/3 cup).
All right. I am not sure how to explain the next step without it sounding weird.
Here it goes.
I think you probably started to suspect what might be coming when I had you put the chicken in the mixing bowl.
We’re going to mix the chicken.
To smitherines.
I know.
Just trust me.
One of the best meals I have ever eaten was at a restaurant in Cozumel. Now maybe it was the strawberry margarita the size of my head that accompanied it, but I think not. That might explain the mariachi band on the ceiling, but delicious food? Nah. The chicken enchiladas I had there were amazing. The chicken was mixed like we are about to do here. It all worked out. If you want, I’ll wait for you to grab a margarita before we get started.
Are you ready now?
Good.

Now either mix the chicken mixture in your stand mixer on medium speed or with a hand mixer in a bowl on medium speed. Mix until it looks like the above. About two minutes.

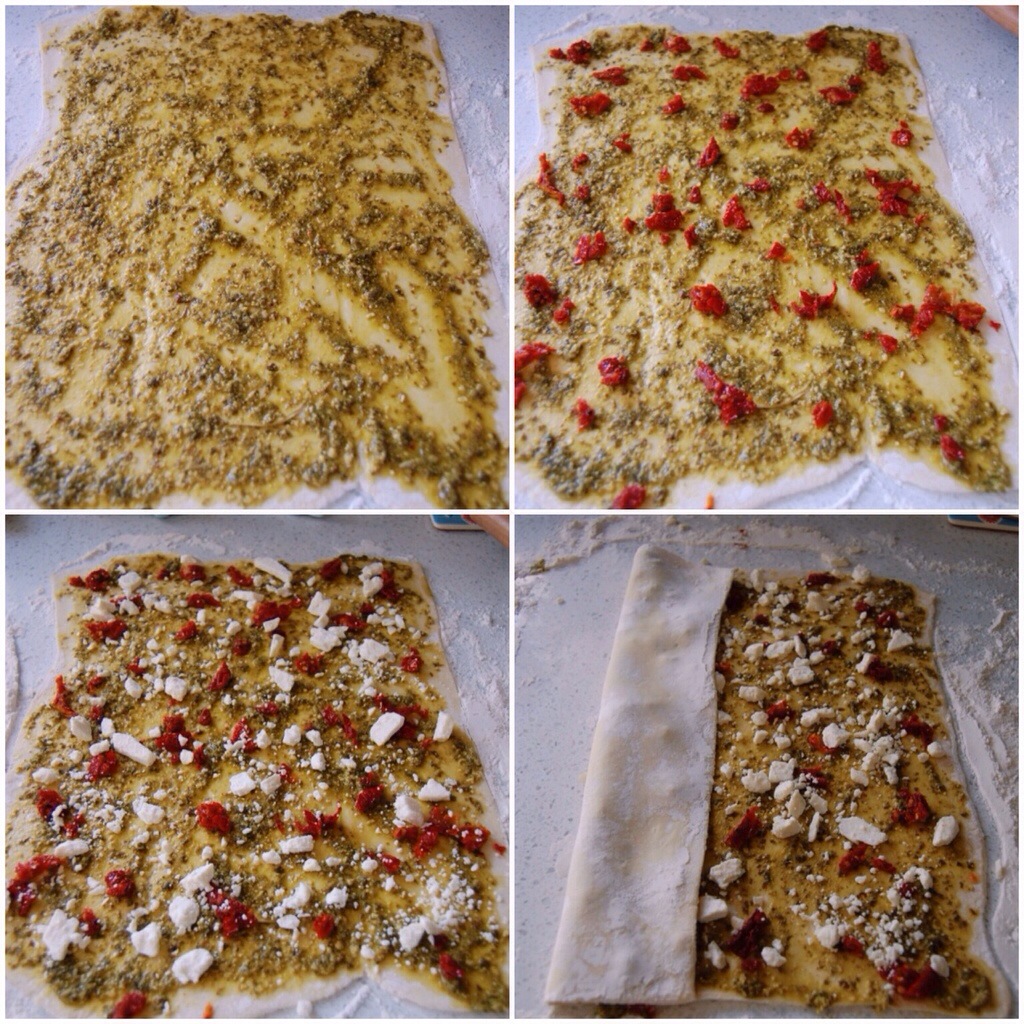
Add sautéed vegetables along with 1/2 of the oil and liquid they cooked in into the chicken. Add cream cheese. And mix on medium speed until incorporated for one minute.
Add cheese, 1/2 tsp. salt and pepper. Mix with a spatula into chicken mixture. You don’t want the cheese whipped by the mixer. It kind of gets lost into pieces and won’t live up to its full potential. Taste mix. Add more salt as needed.
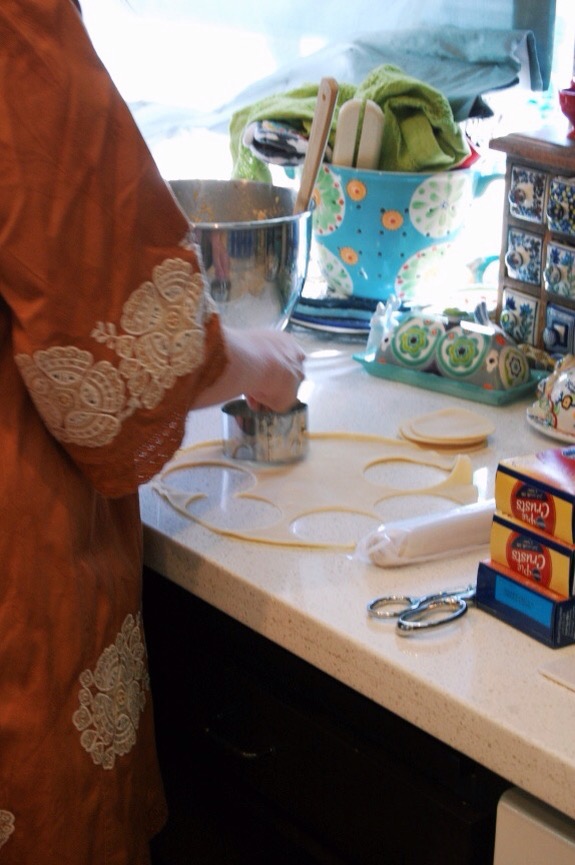
Now lay your pie crusts onto a flat surface and use a biscuit cutter to cut circles in the dough. I get seven circles out of one sheet. If you are not lazy, you could save the scraps and roll them out for more empanadas. I am wasteful. And do not. Extra effort and all of that.
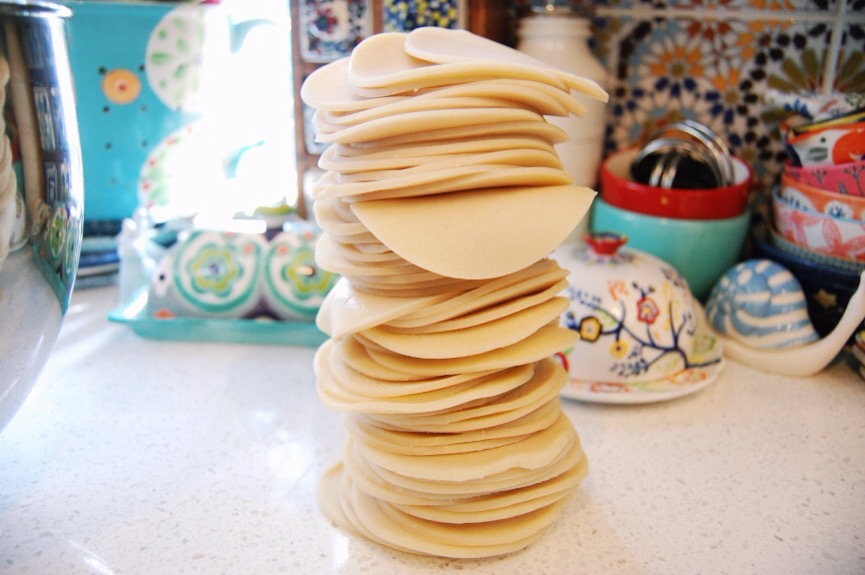
Put them into a stack.
Because it is pretty.
Like a doughy imp throne.
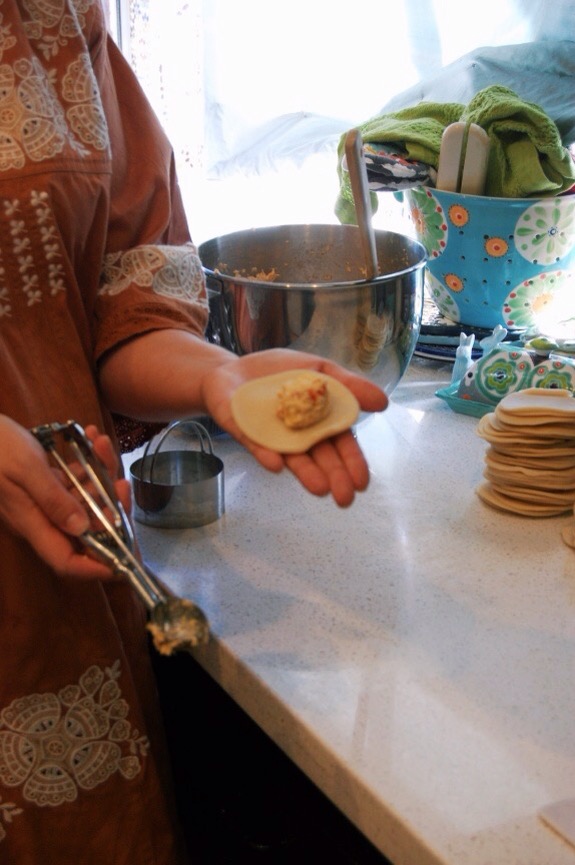
Now scoop up a small amount of filling, about one and a half to two Tbsp. I use one of those small handy scoops. And place in the center of a circle of dough.

You will start to get the hang of how much filling to put inside based on the ease of closing the circle into a crescent shape. Fold circle in half and place on cookie sheet.
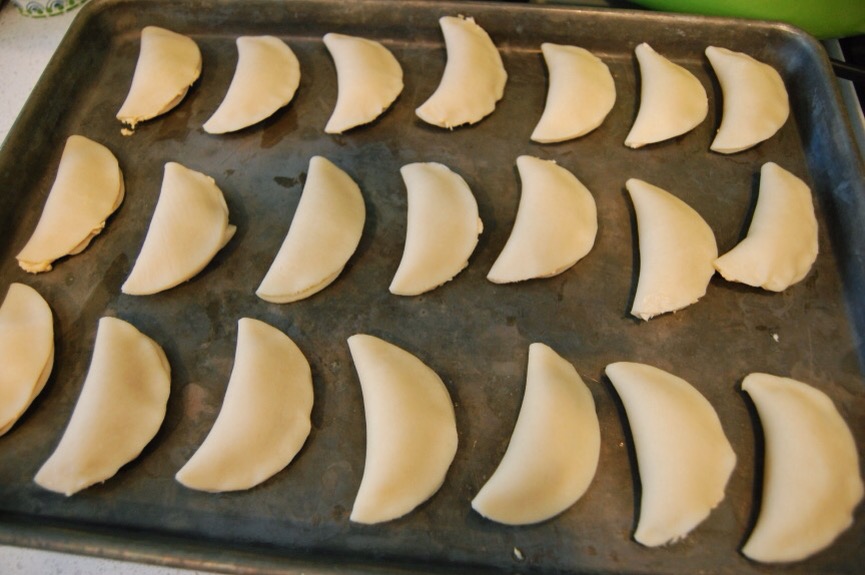
Repeat until cookie sheet is full leaving space around each empanada.
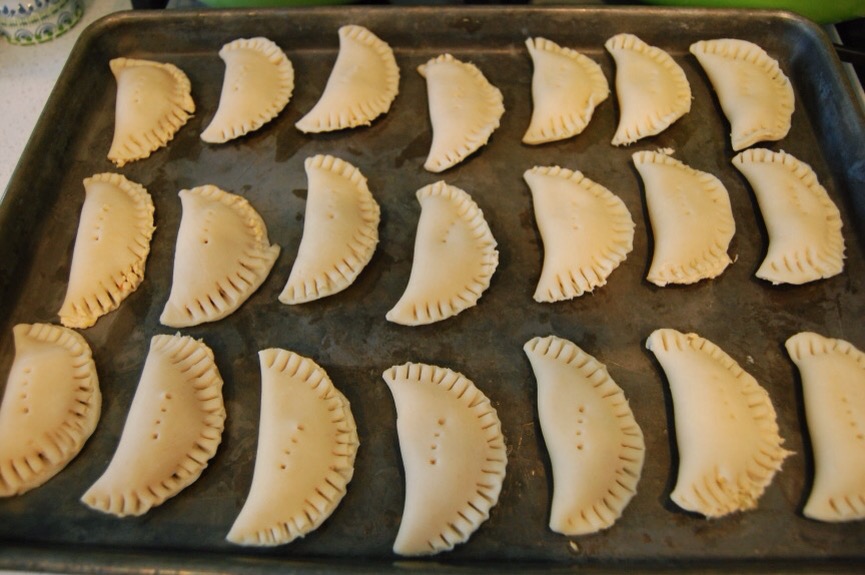
With a fork, crimp the edges of the empanada and poke it once in the middle to allow for the steam but also because it is pretty.
Put tray into refrigerator for fifteen minutes to set.
Repeat empanada creation on to a separate cookie sheet.

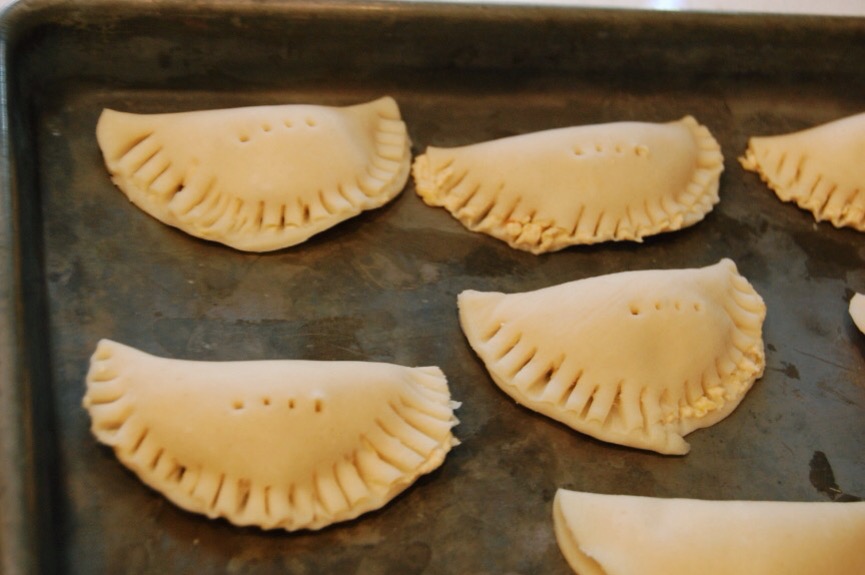
Remove original cookie sheet from refrigerator. Bake if you are eating right away. If not, place empanadas gently into a large gallon sized bag. I put twenty three in each one. Refrigerate if using within the next day. If freezing for a later use, place empanadas lying in a single layer in freezer. Not clumped together. You could always place cookie sheet in freezer for fifteen minutes and then put in baggies so they will not stick. Again, extra effort. I skip that step.
Keep alternating the two cookie sheets and empanadas until all are prepared.
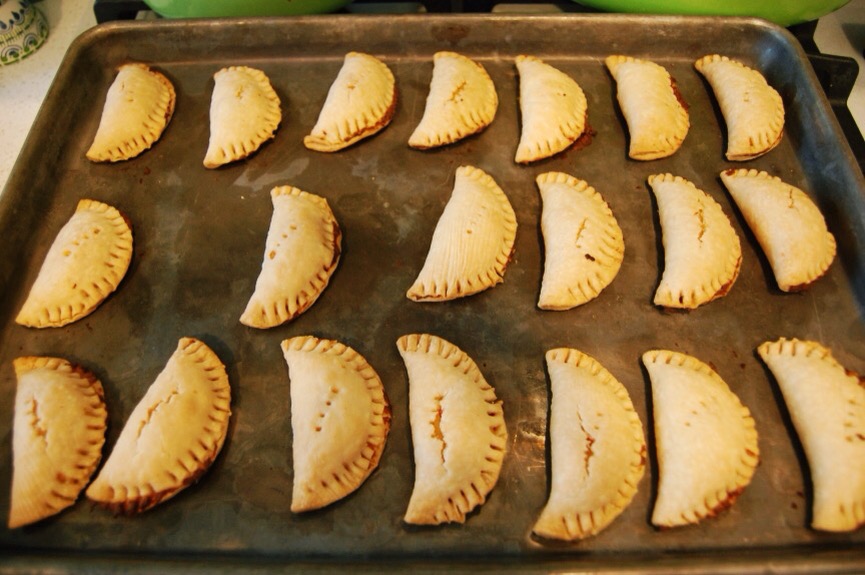
Bake the ones you are eating right away for twenty five minutes.

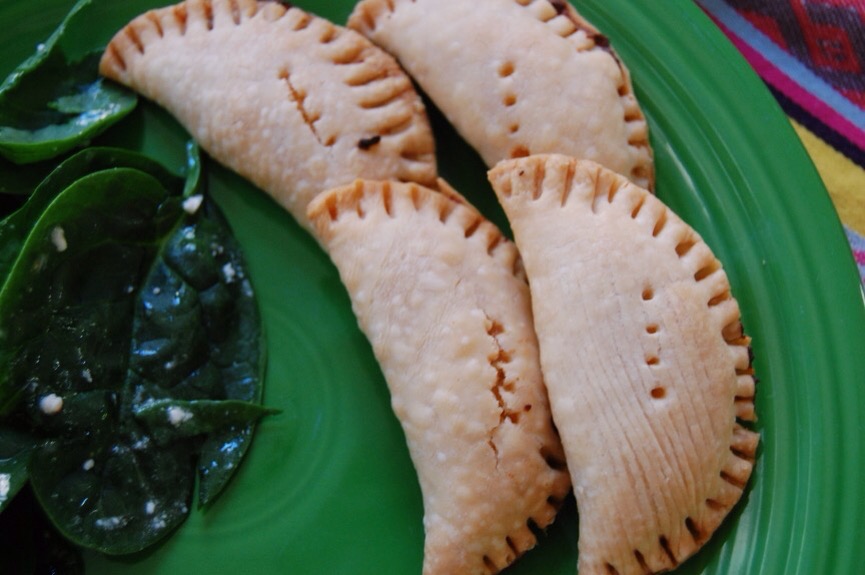
Serve warm with optional toppings. I also present it with salad.
Now go have that margarita (or second one if you had to get over the shock of our chicken preparation)! And build your imp a new throne. You’re eating his old one. And left him with nada.