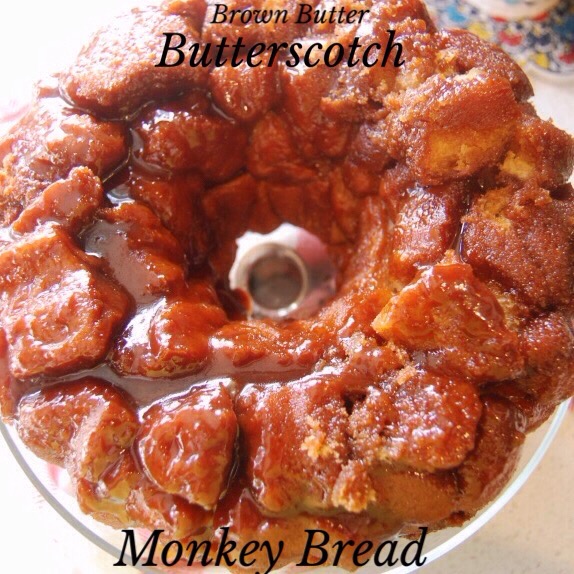
Brown Butter Butterscotch Monkey Bread

That’s a mouthful!

IMG_3380-0.JPG

My kids love monkey bread. They love when I buy it at the local bakery. I knew they would get a kick out of this easy make-at-home recipe.

This was the first thing I ever made in the kitchen. My grandma and I would make it all of the time. Then we moved on to a children’s cookbook. We rarely made monkey bread after that. This recipe brings back such memories of nostalgia, as only the tantalizing scents of cinnamon and sugar together can evoke. Has there ever been a more perfect pairing?

This recipe is fantastic to bake with kids. They love cutting up the biscuits and shaking the dough in the sugar. It is a quick and easy treat. Perfect for those of us who need immediate gratification.

This recipe was adapted from The Pioneer Woman and the butterscotch pudding part was courtesy of my good friend, Kerri. She once made the stuff and I dreamed about it for weeks. The brown butter part is strictly from my gluttonous imagination.

Need:

Bundt Pan

Ingredients:

3 large cans of refrigerated biscuits (I use 2 regular and one buttermilk)
1 cup sugar
1/2 cup brown sugar
1 Tablespoon ground cinnamon
1 cup salted butter (2 sticks)
1 3.4 oz. package of regular (not instant) butterscotch pudding

You can get crazy with this treat! Dare I say, if you monkey around with this recipe in the kitchen, the possibilities might be endless.

Groan.

Let me hang and scratch my embarrassed head.

On to the baking:

Preheat oven to 350 degrees F.

Generously grease bundt pan.

IMG_3277.JPG

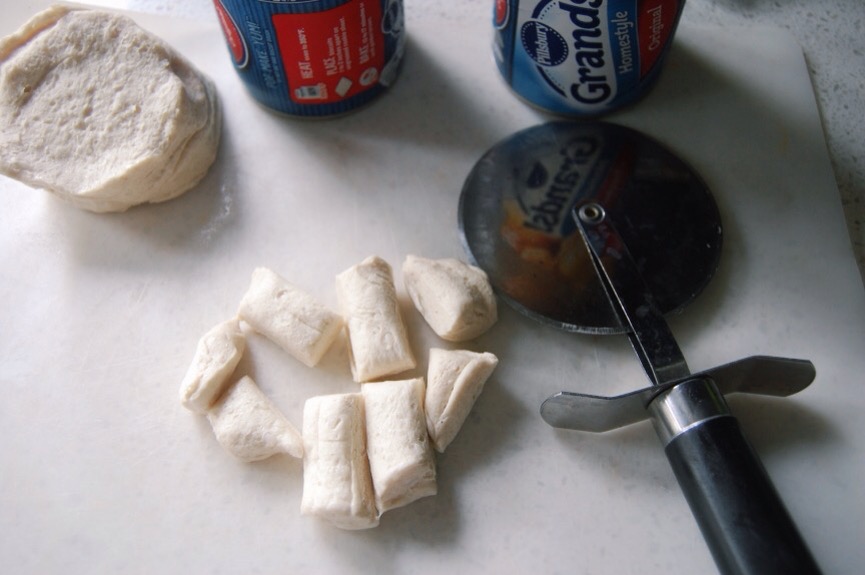
Cut biscuits into small pieces with a pizza cutter. I cut one can of biscuits into shapes of four, one can in shapes of six, one can in shapes of eight. I like a variety of sizes in my monkey bread. Let’s call them squirrel monkey, chimpanzee, and gorilla sizes. Because we can? We’re quite passed the point of should. We’re using two sticks of butter and over a cup of sugar here, peeps. Crazy names for biscuits are the least of our worries.

IMG_3267-0.JPG

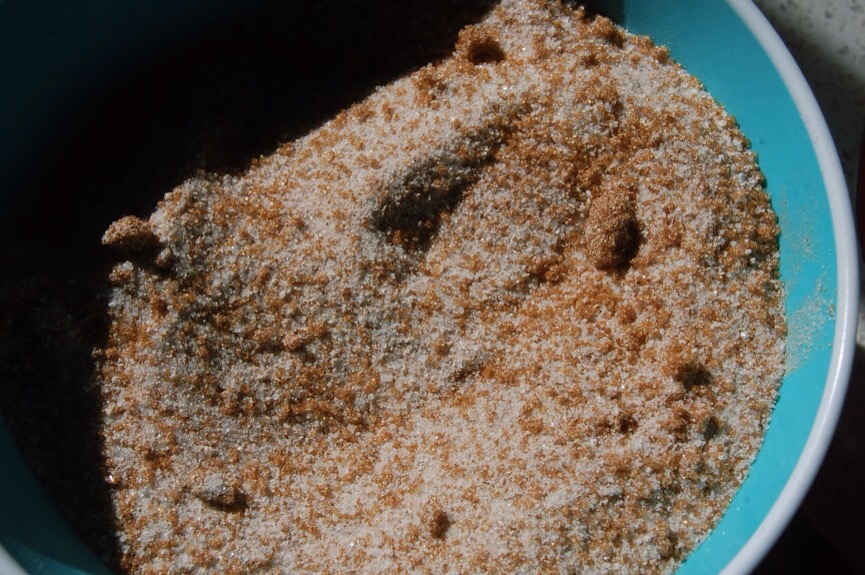
Combine the regular sugar and cinnamon. Add the brown sugar and mix. Place in a gallon sized bag. Or if you reach this step and realize you are completely out of gallon sized bags, call yourself a monkey’s uncle and mix the ingredients in a large mixing bowl. Primitive times are these, my friend.

Add cut biscuits in the bag of sugar mixture and shake. If you added it to the bowl, please do not shake, just mix. Of course, you knew that. But if a monkey child is reading this, I want to be specific.

IMG_3273.JPG

In a small saucepan on the lowest heat on your largest burner on your stovetop melt the butter. Stir every minute or so. When the foam starts to turn a caramel brown (usually about ten to twelve minutes) turn off the heat. Your nose will be able to tell you when the butter is brown because it will smell like the most glorious nutty caramel. The foam will start to bubble up in a gluttonous display of brown surrender. This means it is done. Remove from heat.

Now pour the sugar-coated biscuit dough and all of that glorious sugar mixture evenly into the bundt pan (I have a vintage yellow one from Etsy. You can find them there for around $15. It won’t make your monkey bread taste better but it will make you feel better).

IMG_3375.JPG

Mix the pudding mix into the brown butter. Edited to add: I do this with a fork. Beat it for just thirty seconds or so like you would an egg. It does not have to dissolve all of the way. It will do that when baking. If there is any bigger bits, just put it on the money bread. It will bubble up in the oven and become one gooey mixture. Oh, take a moment, if you must. This is the part where I get teary eyed. Pour brown butter pudding mixture over the top of all of the biscuit dough. Try to do this as evenly as possible.

IMG_3376.JPG

And scrape up all of the decadent brown bits at the bottom of the pan and put on top of the dessert.

Place in the oven and bake for 60 minutes. Cover the top with foil after it has been baking for twenty five minutes so that it does not get too crunchy and brown on top.

IMG_3274.JPG

Remove from the oven. Allow to cool for 20 minutes. Turn over on serving plate. It is easiest to hold the hot pan with a cloth kitchen towel versus the bulk of oven mitts. Say a quick prayer to the monkey Gods. Offer up a banana sacrifice, if you must. This part is tricky. The caramel in the pan will be hot, be careful not to burn yourself. Gently pull up on the bundt pan. If there is any caramel mixture on the bottom, scrape it up and put it on the monkey bread.

IMG_3372.JPG

Whoooo! Whoooo! Heeee! Heeee! Haaaa!

IMG_3377.JPG

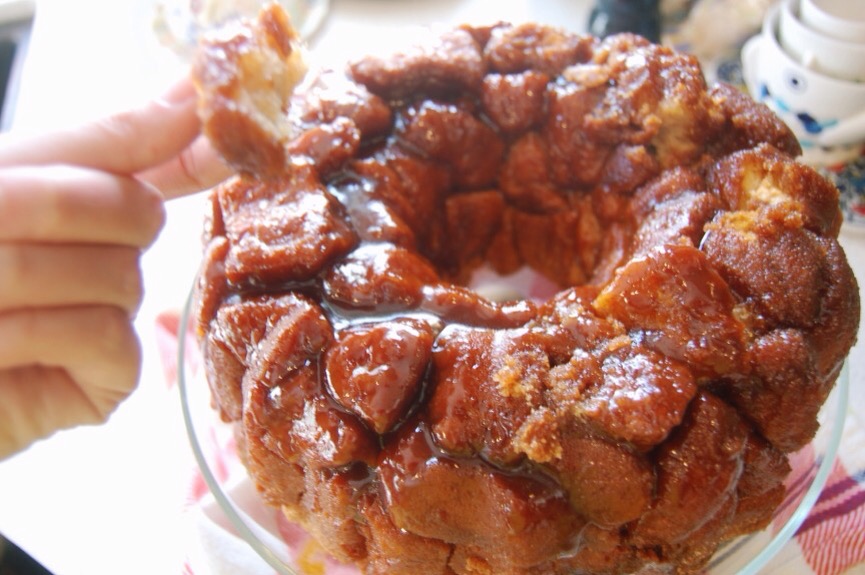
The monkey bread will pull apart in yummy gooeyiness.

Scratch your underarms and scream in triumph at the magnificent success. And if some of the monkey bread sticks to your pan just place it back on the dessert. Or if it completely falls apart (happens to the best of us, rearrange the pieces in two loaf pans. No one will be the wiser. Besides it will be gone before anyone, or any primate for that matter, would ever notice, anyway.

IMG_3371.JPG

Enjoy! I don’t mean to brag, but my brain thighs are entirely made of this stuff.

It’s The Little Things: Baguettes

IMG_1070.JPG

Am I really going to do a whole post dedicated to baguettes? Oh yes… I am. I happily eat it any opportunity that I can. With butter. Amen.

IMG_1072.JPG

I love a good baguette. I am pretty sure I have tried every single baguette offered in our town. I have tried ones shipped from bakeries, ones from local bakeries, and the ones made at all of the grocery stores. None of them have ever compared to the ones by Le Petit Francais that Costco is carrying right now in the freezer section.

IMG_1073.JPG

GO GET THEM NOW!

Sorry to shout at you. And on a Saturday, no less. But these baguettes do not last long. They are seasonal. I wish I could show you the box, but I threw away all three of my boxes I have purchased this month. Each box contains ten baguettes. Yes, that means that I purchased thirty baguettes this month.

I am seriously contemplating getting an extra freezer just to store more.

No joke.

It is no secret that I am a food hoarder. My husband plays along but never encourages it. The other day I told him we needed to go buy more baguettes at Costco.

He had the car running in five minutes.

I had a panicky moment when I could not find the boxes of baguettes in the freezer section. I saw my husband coming down the aisle in front of me. He had boxes of baguettes in his cart. It was like those romance scenes in meadows where two people meet, only with a grocery cart. In Costco. With baguette babies.

“I love you!” I exclaimed when I reached my husband’s side.

“I love you, too,” he replied. No need to tell him I was speaking to the boxes in his cart.

IMG_1071.JPG

The bread is just the perfect amount of crispy on the outside, light and fluffy on the inside. Everyone in my family agrees they are the best baguettes they have ever had.

We are not the only ones who feel this way. In looking for these baguettes online, earlier in the year when I ran out of my previous batch, I found a forum with people talking about this sensational bread. I was sad to learn that Costco is the only place that carries these baguettes locally (if you have a Publix near you, I have read they also carry them). And only in certain seasons. Now is the season. You will not find these in the spring and summer at Costco.

The baguettes are actually small in size. About half of the size of a regular sized baguette. This means I bake two for my family of four for a meal. But they are also more compact for easier storage in the freezer. To bake them, you set them on your counter for 15 minutes to defrost and then bake them for ten minutes. Easy peasy.

IMG_1066.JPG

It’s the little things: The most amazing bread available from your freezer whenever your heart desires.

Have you tried these baguettes? Aren’t they heaven in your mouth? Oh man! I need more! Now I am panicking that they are going to sell out! Forget I ever said anything. Bread is bad. Bad, I say… I need to go buy another freezer.

this post is not sponsored by or affiliated with Costco or Le Petit Francais. I just wanted to innocently share the love I have for this bread.

It’s The Little Things: Some Pantry Staples

First, the items I want to discuss are more like refrigerator staples and not pantry staples, because that is where these things are stored. But “refrigerator staples” does not roll off one’s tongue in quite the same way that “pantry staples” does. What? You don’t think “pantry staples” is pure poetry? Next you’re going to say that “Mops and Brooms” is not your favorite song. It’s a rap, by the way. And it’s sweeping the nation.

There are three products I always have in my refrigerator. They are not your typical staples. Let’s discuss:

20140808-114733-42453419.jpg

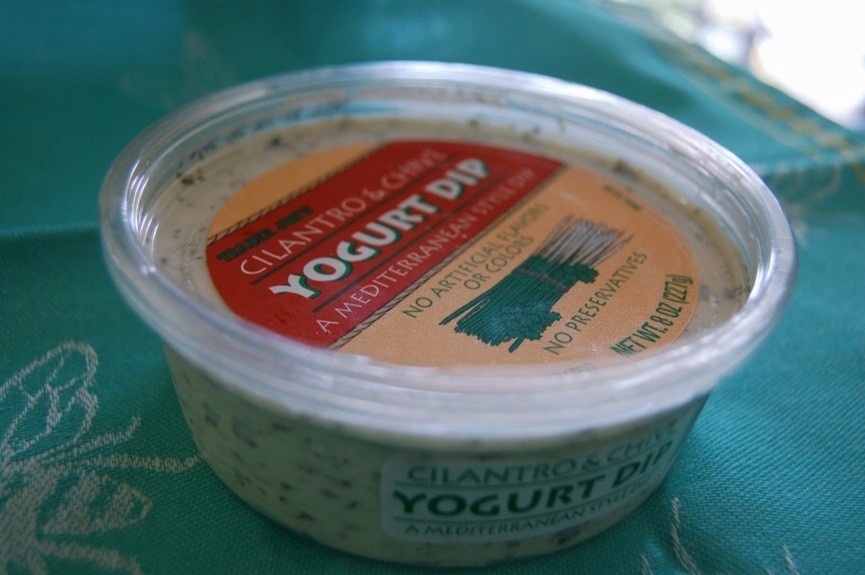
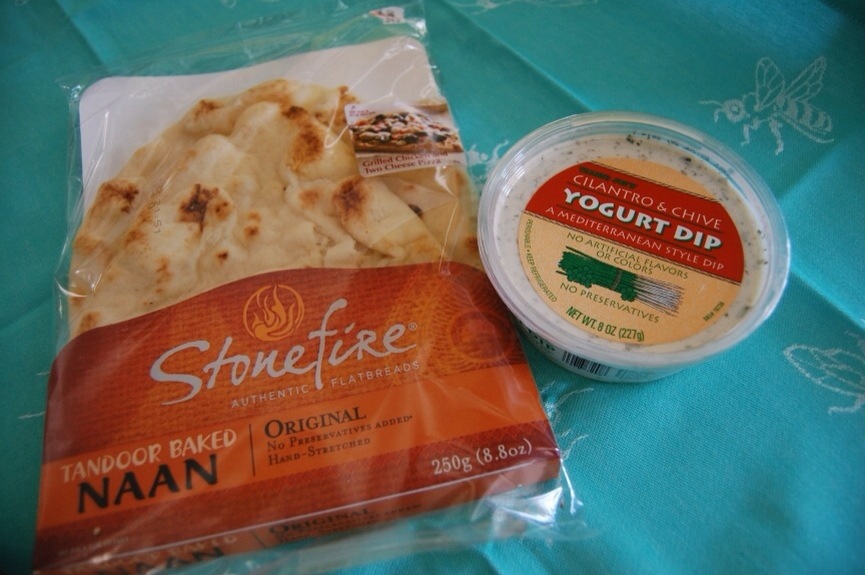
Trader Joe’s Cilantro and Chive Yogurt Dip is my go-to staple. I love it with my my favorite grilled chicken in the summertime, but I have also paired it with steak and fish and it is equally delicious.

Even served simply with some grilled flat bread and rice is yummy.

20140808-114803-42483359.jpg

It is a greek yogurt (tzatziki type sauce) blended with herbs and it is outstanding. I do not typically care for premade sauces and dips. I much prefer making my own, but this one is perfection. It is easy. I highly recommend it. I always have a container on hand.

20140808-114831-42511800.jpg

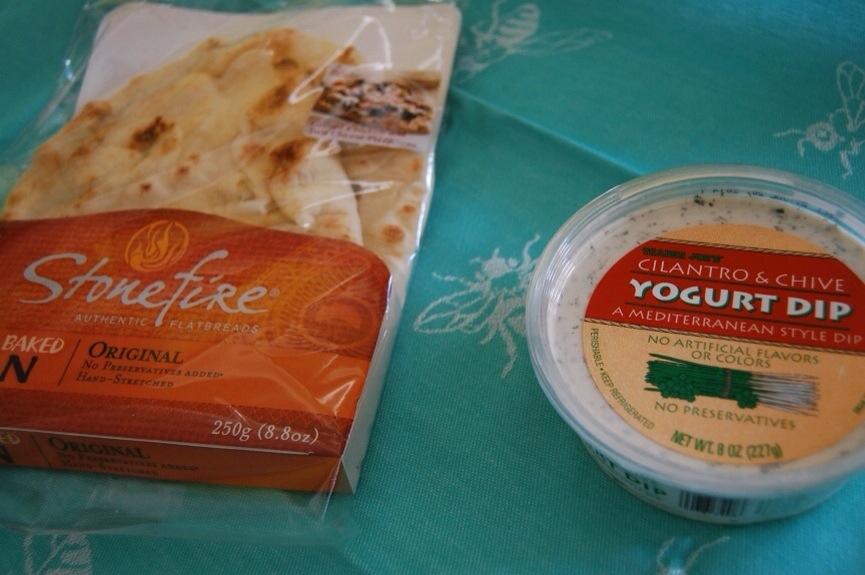
This brings me to my next staple. I love Stonefire’s Naan Flatbread (I have found mine at a local little grocery store and in the fresh bread section at Albertson’s). Usually you would serve pita bread with the yogurt dip, but I like naan better. It is wonderful dipped in the yogurt sauce above.

I smear melted butter on each side of the bread and toast both surfaces for a few minutes each in a hot skillet. Then I cut it with a pizza cutter and serve.

20140808-114858-42538571.jpg

This bread freezes wonderfully. When I want to use it, I simply defrost the package for an hour and then I cook it as I previously described. It is a healthy little appetizer served with veggies and the sauce above in case company spontaneously stops by.

20140808-114928-42568794.jpg

Which leads me to the last staple I will be writing about today. Broccoli. It has always been my favorite vegetable. My kids enjoy it, too. Two nights ago my son had two servings of broccoli before he even touched his main course. “The secret is butter.” As it always is. By the way, that’s my second favorite song. It’s creaming its competition.

I love these prewashed and chopped broccoli florets that come in their own plastic bag. You can serve them raw with the tzatziki sauce. But I usually eat them hot as a side instead of with the dip. I puncture the bag with a fork two times and then microwave the bag for three minutes on high. I let the broccoli rest in the bag for one minute then I dump the broccoli in a bowl with two tablespoons of salted butter, 1/2 teaspoon of salt, and 1/8 teaspoon ground black pepper. I mix it together and serve it as a side to my family’s dinners throughout the week.

When I was taking the broccoli pictures my daughter begged me to make the broccoli even though it was almost nine o’clock at night (which explains the great lighting). I did. And we ate it up. I have heard that eating after nine is bad for you but broccoli doesn’t count right? Let’s see…

Brocolli after nine
Is perfectly fine.
Just drink some wine.
Don’t have a last line.
For this bad rhyme of mine.

What is your favorite pantry refrigerator staple? Do you use any of the ones I mentioned? What is your favorite thing to serve to unexpected company? I would not recommend poetry. They seem to leave after that. Hey, where are you going?

Breaking Bread

20140710-110111.jpg

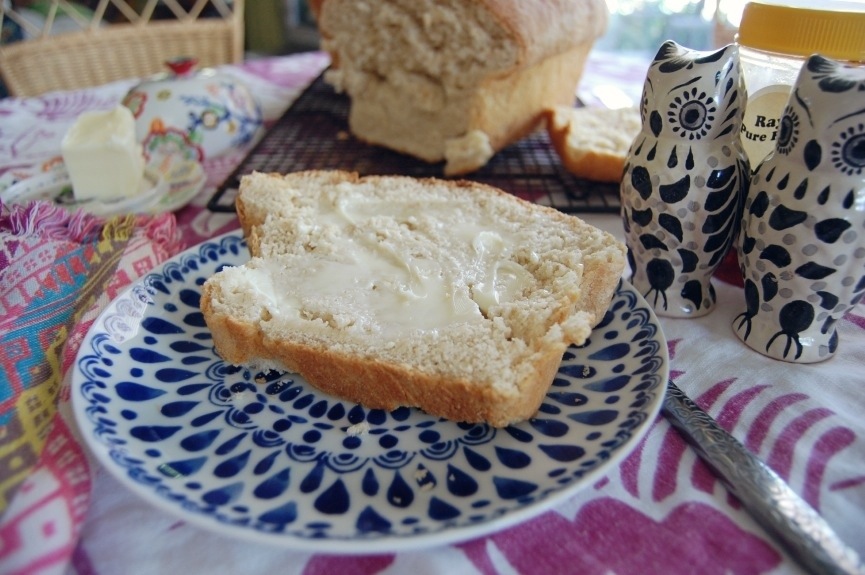
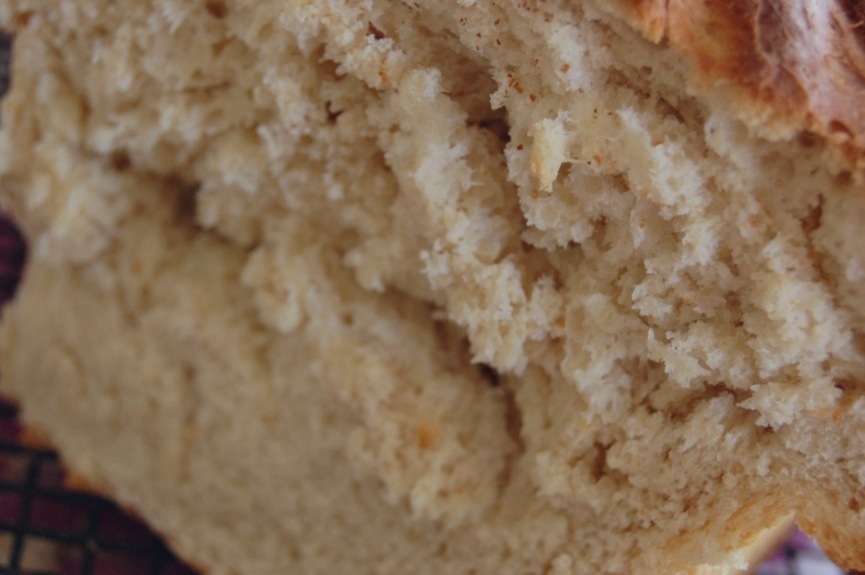
Gosh. I hope I didn’t really break the bread. I hope I just made a nice easy cut. Sawed it back and forth. Then ate it. Is that worse than simply breaking it? I am sure it didn’t feel a thing.

When I am feeling down, nothing makes me feel better than baking or cooking (and no, I do not think you have to be good at one or the either. That makes no sense at all). Just making something. Forming something from simple ingredients into a wondrous treat makes my whole heart heal.

And if nothing else, it gives me calories to burn while I cry. Or laugh. Or both.

And of all of the baked goods, bread absorbs tears the best. At least, that’s what I’ve been told.

My mother-in-law once taught me her secret to perfect bread. And now I’m telling you. And since she is unaware that this little blog exists, you won’t tell her.

See how that works.

Her secret is substituting whatever liquid the bread recipe calls for with apple juice.

Trust me. It is divine.

But with this recipe having honey, I did not want to do all apple juice and make it too sweet, so I simply substituted a cup of apple juice for the original recipe’s full 2 1/2 cups milk. I very slightly adapted this recipe from Taste of Home.

And I loved it.

It wasn’t broken.

The end.

Oh, wait, I still have to teach you how to make it.

Ingredients:

1 1/2 cups milk
2 packets active dry yeast (1/4 oz. ea.)
2 tsp. salt
1/4 cup melted salted butter
1 cup apple juice
7 cups flour + 1/2 cup to spread on counter
1/3 cup honey

Directions:

Pour milk and apple juice in a microwave proof container

Microwave on high one minute. Stir. If the liquid is still not warm to the touch microwave for thirty seconds more (it will depend on the depth of your cup. I just measured milk to 1 1/2 cups and then apple juice to the very top of a two cup measuring cup. You want your liquid warm and not hot. If it is too hot, it will kill your yeast. My mother-in-law uses a thermometer. I use my finger. Again, she’ll neve’ know. But if you like to be precise, the temperature should be 115 degrees Fahrenheit.

20140710-111727.jpg

Dump yeast into your mixer. And yes, dump. Not pour. Why? Because “dump” is much more fun to say.

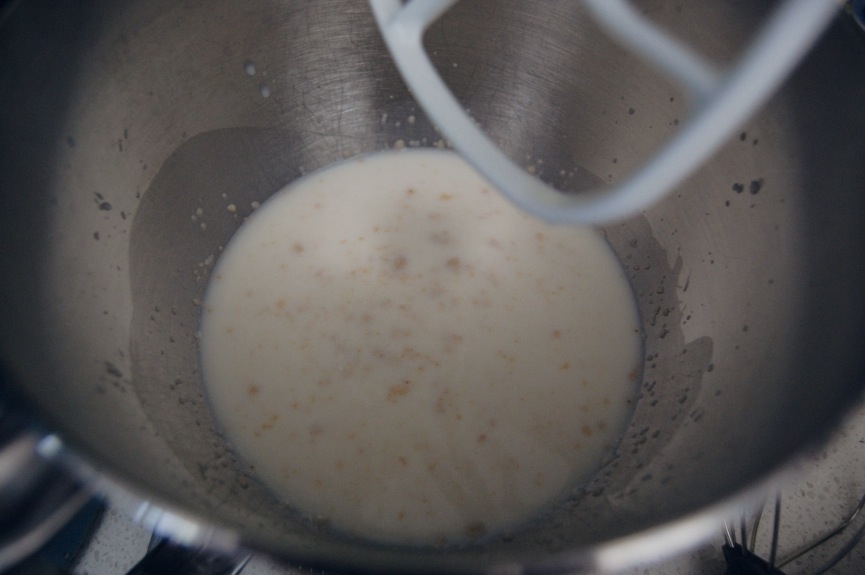
Pour (we can’t get carried away with the other word. It is about to get serious) milk/apple juice mixture in. Stir gently a few times. Let yeast activate for a few minutes (I get impatient. This is usually three minutes for me).

Pour in remaining ingredients. Pour the butter in last because you do not want the hot butter to kill the yeast.

20140710-111758.jpg

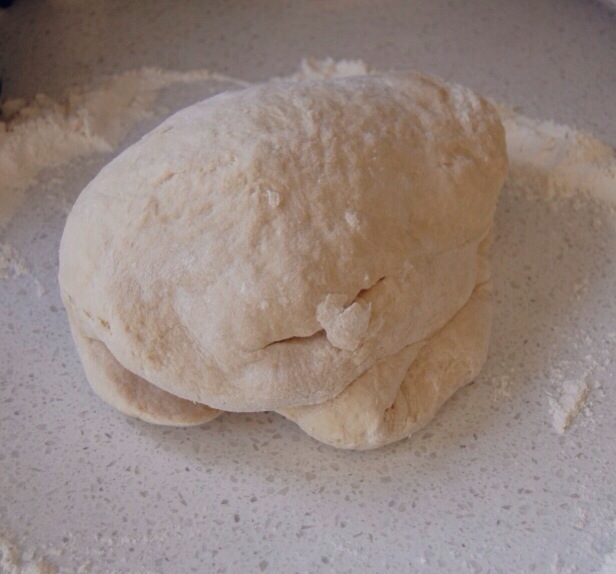
Knead six minutes on your floured surface (or use your dough hook on your stand mixer if you have one. Ditzy me did not realize what that was for until my friend came over and asked me why I just didn’t just use that instead of kneading it by hand. Thankfully my husband did most of the work, because I am a kneady). Form into a large dough ball.

20140710-111832.jpg

Grease round mixing bowl with butter.

Lay ball of dough in the bowl and then flip the dough once so that all sides of the dough are greased.

Turn oven on to its lowest setting for just two minutes. Do not let it get to a high temperature. Turn oven off. Place a damp dish towel over bowl of dough and place the bowl in the oven for an hour.

Make sure you leave plenty of room above the bowl for the dough to rise in the oven.

Remove bowl from the oven.

Remove the towel.

Punch dough in the middle. (The kids LOVE doing this).

20140710-110149.jpg

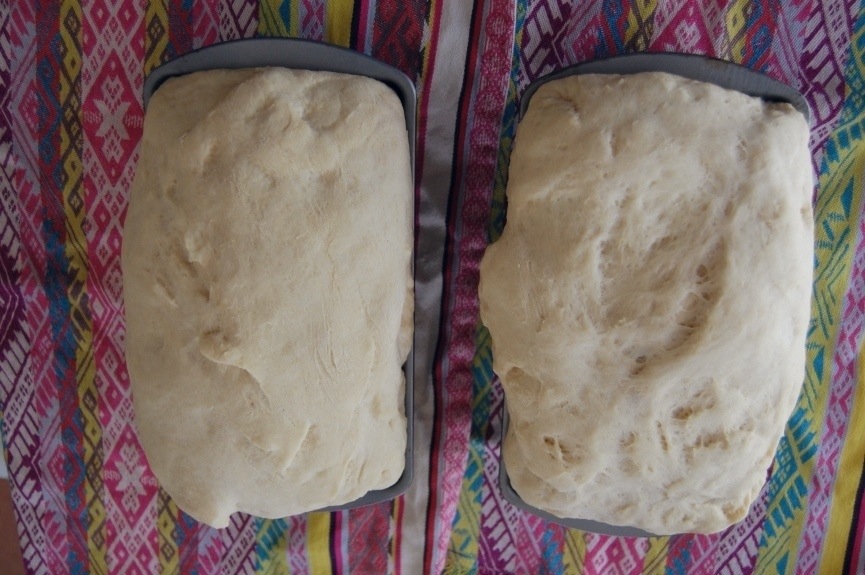
Dough will deflate. Form dough into two loaves (I just rip mine in half, channeling my inner Hulk and just pat that baby into shape) and place into two, greased with butter, 9 X 5 loaf pans.

Place pans in oven to rise for thirty minutes (it will still be warm enough to do this).

Remove pans from oven. Turn oven to 375 degrees. Bake bread for 15 minutes. After fifteen minutes cover the tops of the bread with foil and cook for another eighteen minutes.

Remove loaves from oven. Turn oven off. Remove foil.

20140710-110218.jpg

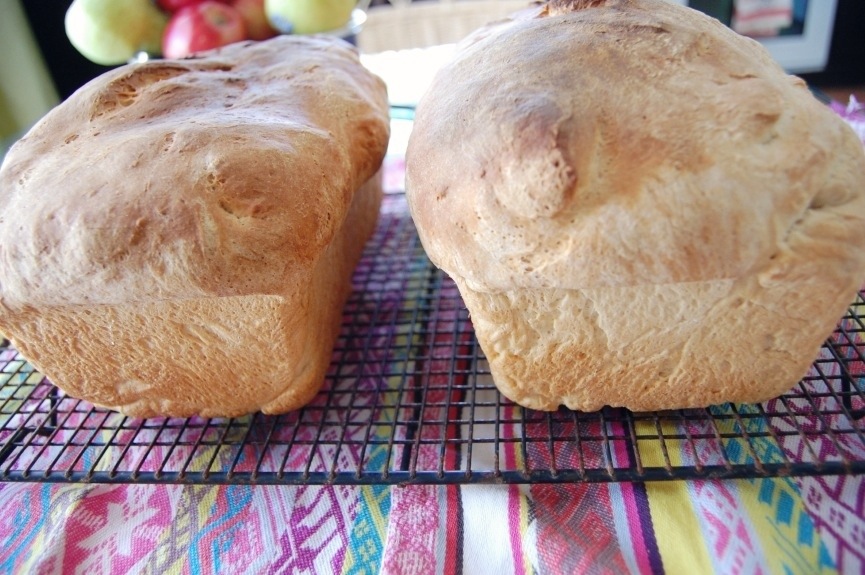
Turn loaves upside down onto a cooling rack one at a time and turn over so they are right side up again.

20140710-110245.jpg

Let cool thirty minutes before eating.

20140710-110342.jpg

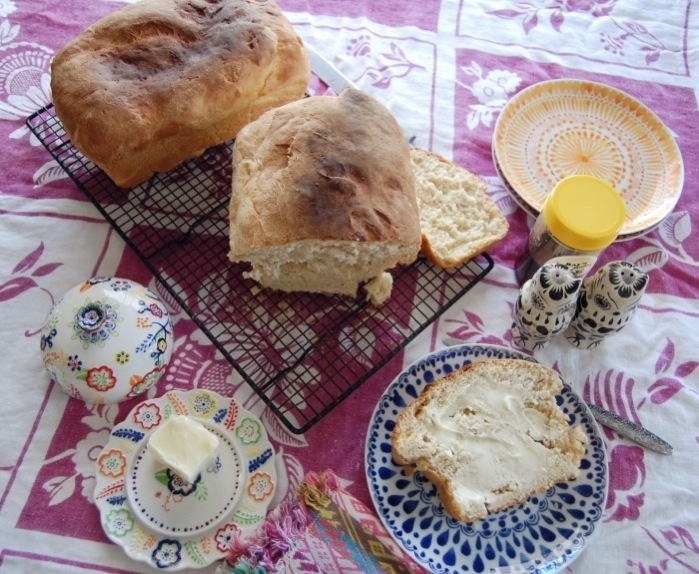
I made the kids and myself a cute little table setting to eat our fresh homemade bread at. We all loved it. It created minimal clean up. And it definitely made the homemade bread feel much more special.

20140710-110410.jpg

I would say that is not broken at all.