Happy 4th of July!

20140703-144623.jpg

I hope everyone has a safe and happy holiday! And for those of you in other countries, I hope you have a lovely Friday. We used to always have a party at our house to celebrate, because we happen to have a great view of the city’s fireworks from our front yard. But my husband keeps having to work on the holiday and so I am I spending it with my kids. He will be home in time to grill dinner and watch the fireworks, but not in time to conduct a party.

I am just hoping the neighbors do not break out their potato gun this year and they do not burn our house down!

20140703-144855.jpg

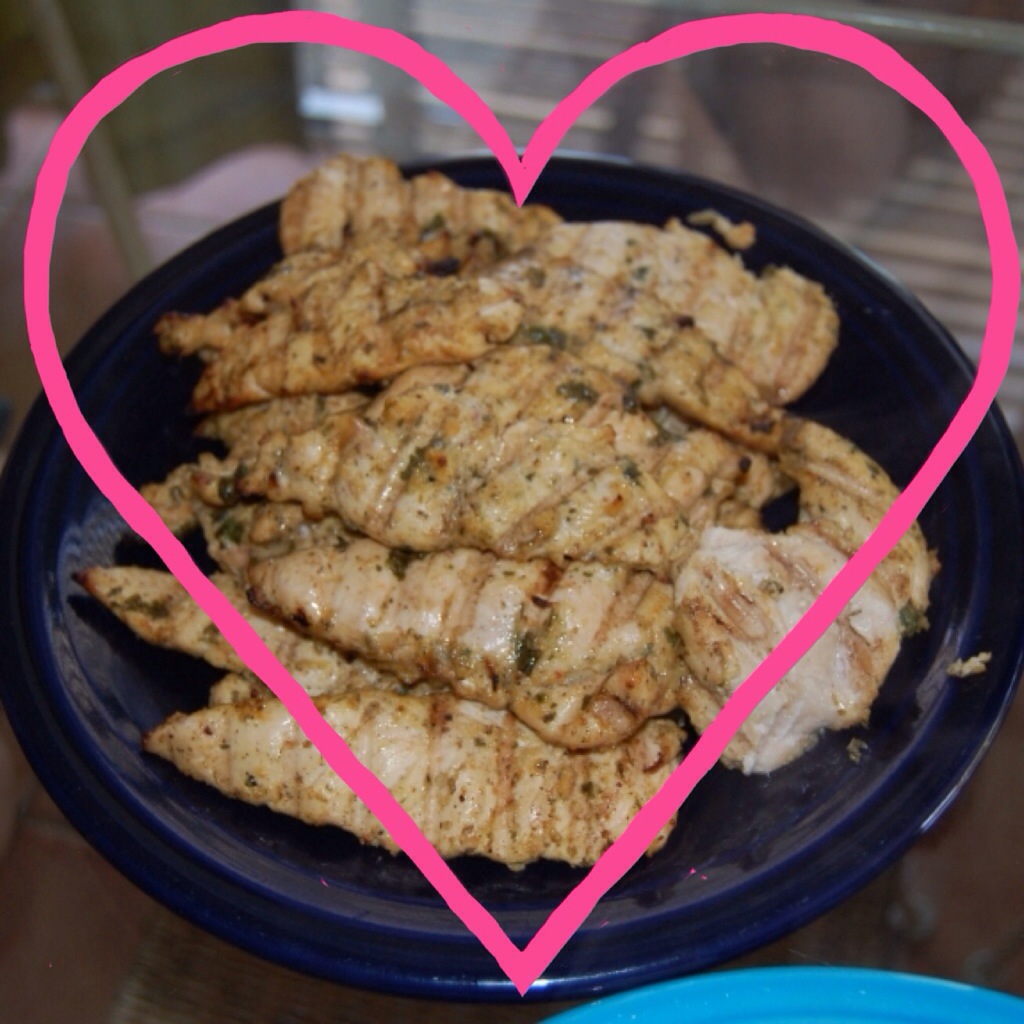
Stay safe and happy and enjoy that barbecue! We are making my husband’s lemon chicken.

20140703-150444.jpg

I have three outfits in my head for the day. I love this Modcloth dress from last year. Another choice will be my white H&M dress with the beaded red, white, and blue necklace and red sandals. Or I might wear my white Free People clearance find from last summer with my vest I just purchased for 75% off.

I could also wear my Caravane Dress shown previously in this post. I figure it will hide the sins of the drink below.

Or since I am not having a party and only my neighbors will see me, I might stick to jeans.

I plan on holding my children close as we watch fireworks. Our car will be on in our driveway and as the local radio station plays the final song as they do each and every year, “Proud To Be An American,” my eyes will well up as they do each and every year. My husband served in The Army and I am just so proud of him and all of the men and women who have served our country. That song always brings it home for me. The sky will explode for a mere moment and my heart will pound to its beat.

I can’t wait!

20140703-153056.jpg

What are your plans for the day? I am making The Relaxer from Mama’s Fish House as the cocktail of the day. I opted to use pineapple juice instead of fresh pineapple because that is what I felt they did at the restaurant. I changed the quantities of two ingredients. Instead of 1/4 oz. pineapple juice the recipe calls for (I actually think that might have been a typo, because that would only be about a Tablespoon), I added 1/4 cup and instead of 1/2 cup of ice, I added one cup. Here is the recipe. It is amazing! It tastes just like Maui to me. Which I guess means a chocolate piƱa colada.

Happy Fourth of July!

Honey Vanilla Ice Cream

20140626-124736.jpg

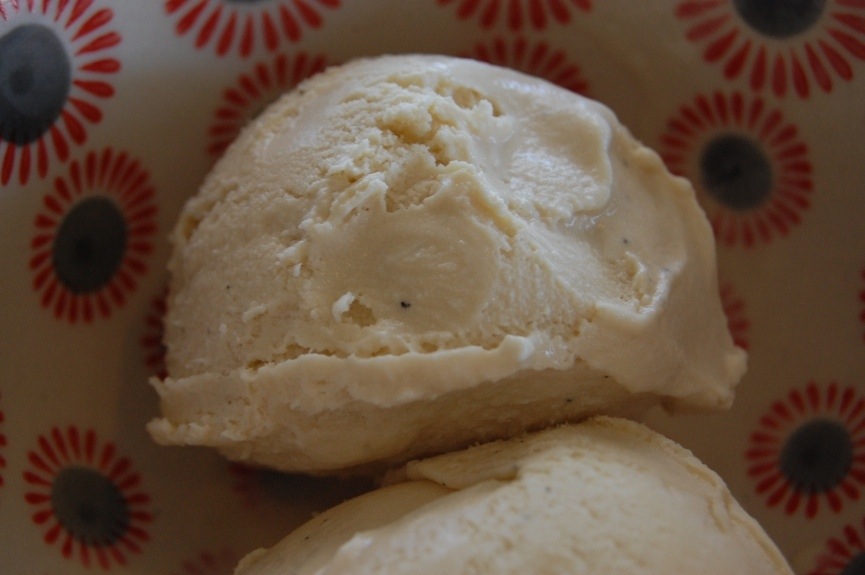
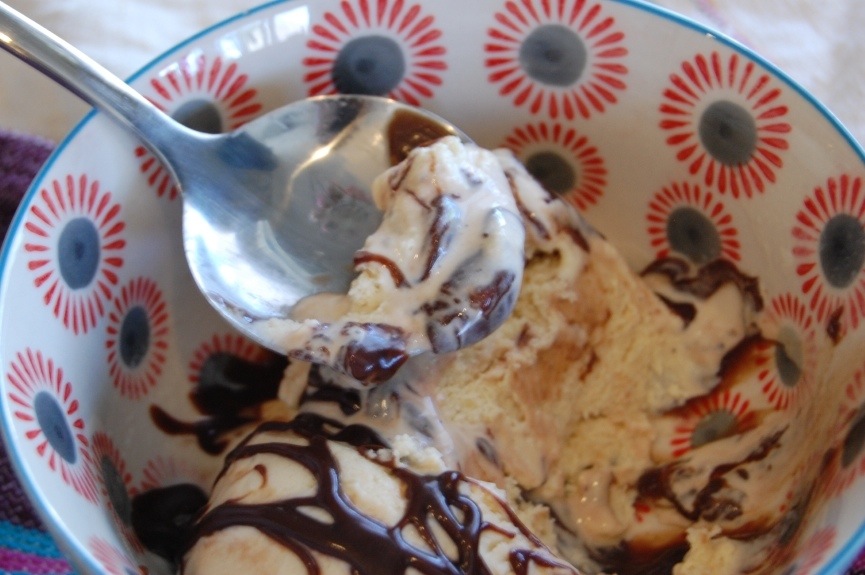
The summers of my youth could be described in three flavors. Grape juice, cheddar cheese and homemade honey vanilla ice cream. Being from a long line of beekeepers meant that my family had learned to incorporate the very nectar of their labors into almost every food they ate.

I have mentioned that as a young child, a spoonful of honey was a snack. A few drops of pollen, a special treat.

But nothing compared to my grandma’s honey ice cream. And nothing ever will.

I have tried to replicate it the best I could. I also wanted to make it a bit less rich. I believe my grandmother used mostly cream. I decided to use half milk. Half cream.

If you have never had honey ice cream, well, I don’t know if you should try it now. You will never go back. It is that good.

Seriously knees-dropping-to-the-ground-as-you-pay-homage-to-a-passing-bee good.

The person who invented the saying “you’re the bee’s knees,” may or may not have been referring to this phenomenon after just having eaten honey ice cream.

I mean, that makes sense right?

Well, it makes more sense than comparing someone to bee’s knees. Which, while they are quite cute and fuzzy for knees, do not come close to comparing to this treat.

Let’s make some heaven!

Ingredients:

2/3 cup honey
2 cups milk
2 cups heavy whipping cream
1 tsp. vanilla extract
Caviar from one vanilla bean
5 egg yolks

Directions:

Pour your milk and cream into a large pot on the stove. Add your honey. Turn heat to medium-low.

While that is heating up, separate five egg yolks. Whisk the egg yolks for two minutes continuously. Or bust out your stand mixer if you have one. And let it do the work for you on medium speed for two minutes.

20140626-124836.jpg

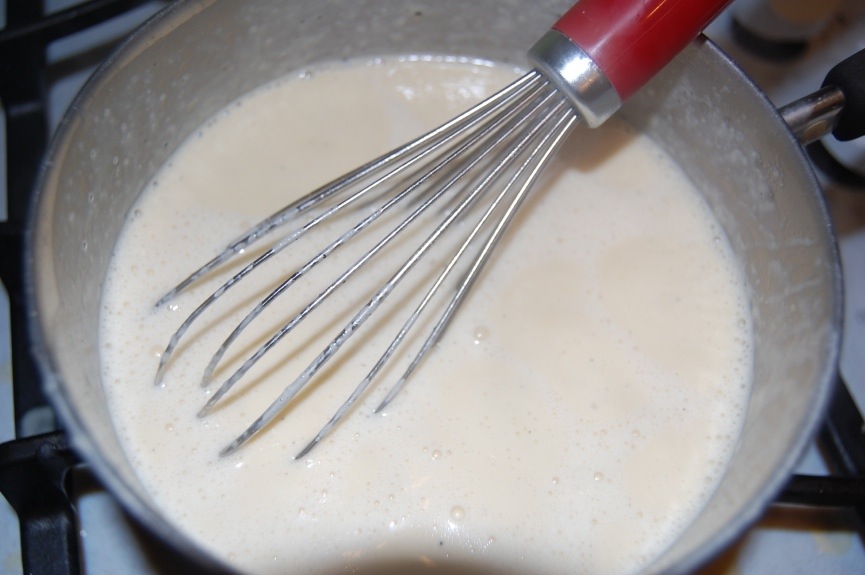
Add the caviar of a vanilla bean to the steeping milk mixture. Whisk. When milk mixture comes to a light boil, turn heat to low. Very slowly add a ladleful (about 1/2 a cup) to the egg yolks while you whisk them. Now add that mixture back into the hot milk mixture. With a wooden spoon, stir continuously until the mixture begins to thicken. This should be about three minutes.

Turn heat off. Strain mixture through a fine mesh strainer. Add vanilla extract. Stir.

Cover bowl and refrigerate at least two hours to overnight.

20140626-124807.jpg

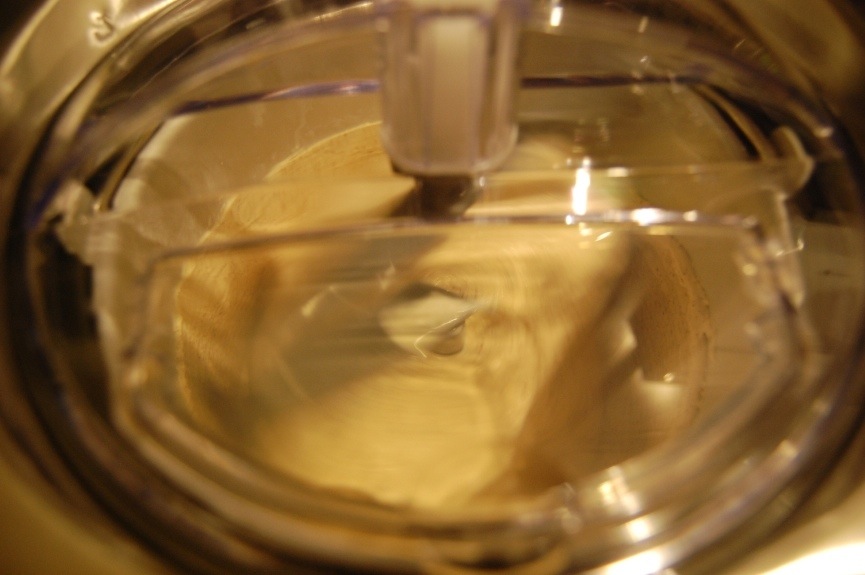
Follow your ice cream maker’s churning instructions. For my machine, I simply dump in the chilled ingredients.

20140626-125008.jpg

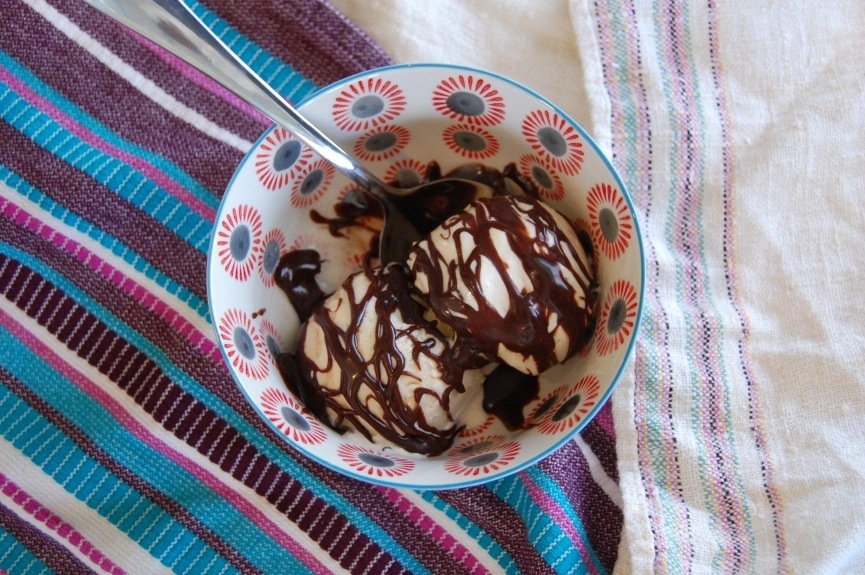
Freeze your ice cream in a freezer-safe container. And then indulge the next day. I like mine covered in Trader Joe’s Fudge Sauce.

20140626-124914.jpg

I warn you. You will never look at vanilla ice cream the same way again.

Or a bee for that matter.

Now let’s get some padding for those knees.

20140626-211706.jpg

*I adapted the vanilla ice cream recipe that came with my Cuisinart Ice-100 (a super fancy name for a big ol’ ice cream maker. The link is an affiliate link) to incorporate honey. Seriously, next time your husband makes the brilliant mistake of not asking for anything for Christmas, you might want to get him one of those babies. I might love it more than David Beckham.

The Lord Of The Pizzas

20140525-191548.jpg

No. This pizza is not really “Lord of the pizzas.” Nor am I, “Lord of the pizzas.” In fact, the title was simply in reference to some silly movie quotes throughout this post.

Blame my thighs. They lord over everything around here.

One of my favorite things to make at home is homemade pizza. We take the term “homemade” a little loosely in our house. We made it in our house. But everything is bought and put together. As in pre-made. And put together.

As in my lazy soul continues to be happy.

And my thighs continue to rule them all.

Isn’t that how the saying goes?:

“One thigh to rule them all. One thigh to wine them.
One thigh to eat it all and in the kitchen dine them.”

Or somethin’ like that.

I have tried almost all of the different store’s pre-made pizza dough. And I know which dough is my favorite. Safeway’s pizza dough can’t be beat. And I will not use any other pizza sauce except for Pastorelli. As for the cheese, I use whatever I can get on sale.

So, my ingredient list has my preferred labels for the pizza I make at home.

With school being out for the summer soon, I know my kids will want to be in the kitchen cooking more. I wanted to post this in case you, too, want to trick get your kids to cook dinner for you this season.

This would be great for second breakfast, too.

20140525-191619.jpg

Ingredients for two pizzas:

2 Safeway Select Traditional pre-made (but not precooked) pizza balls of dough (usually found next to their pre-made take and bake refrigerated pizzas and usually $1 each)
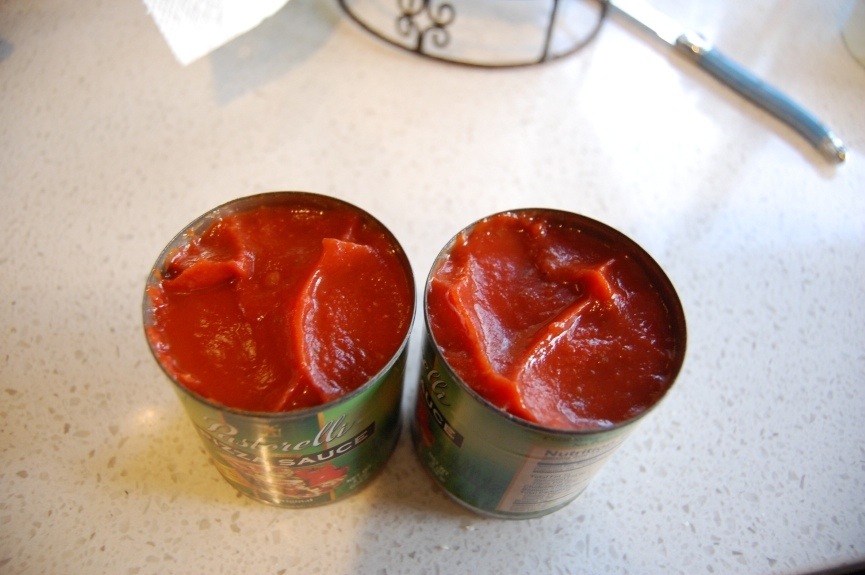
2 8 oz. cans of Pastorelli Pizza sauce (you can use a 15 oz. can and split it in half. I buy the two little cans so each child has their own can to work with)
4 cups shredded mozzarella cheese

Optional:

We use:

1/2 cup feta cheese
1/2 bag pepperoni
1/3 cup chopped sun dried tomatoes

Any other topping you like. Maybe Po-ta-toes.

Directions:

Let refrigerated pizza dough rest on counter for thirty minutes before using.

Preheat the oven to 425 degrees.

Since I have two children, I let each of them roll out one ball of dough. Stretch the dough. Pull the dough. You really cannot hurt it. The more you work pizza dough, the better it gets.

20140525-191704.jpg

My kids do all of the following instructions. What do I do? Well, somebody has to drink the wine.

I always have them make it in a rectangular shape. This is so the finished product fits on my baking sheets.

The baking sheets should be lightly oiled with olive oil.

Once the dough is made into the desired shape, place each pizza dough on a baking sheet.

20140525-205838.jpg

20140525-191801.jpg

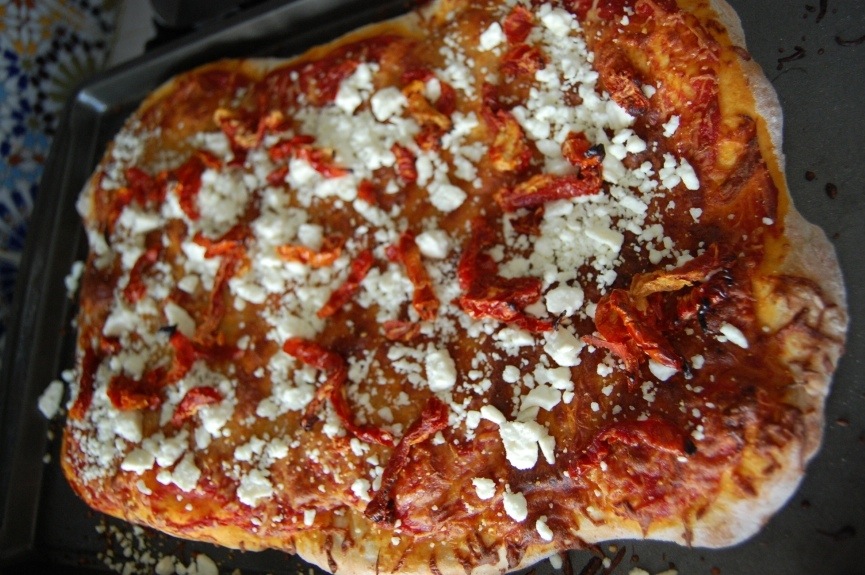
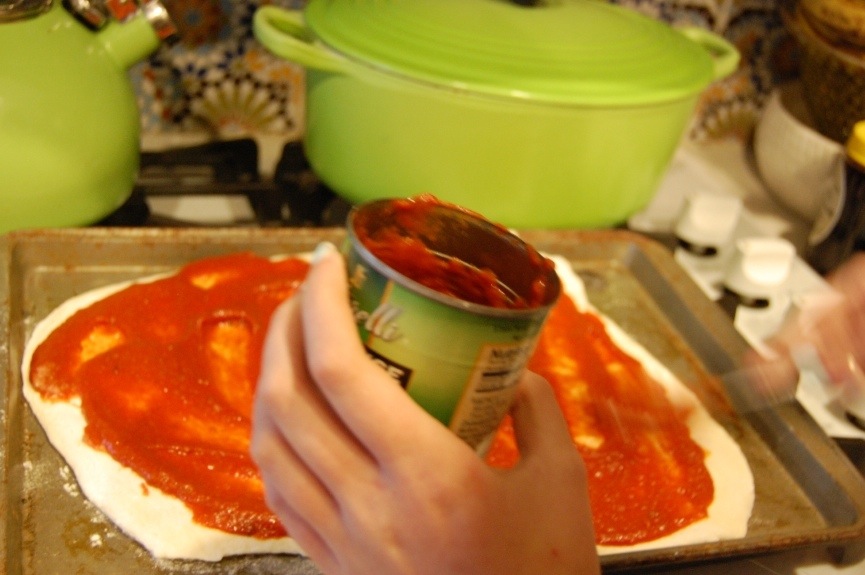
Pour one can of pizza sauce on to each pizza dough. Sprinkle two cups of cheese onto each pizza. Then top with your ingredients. One of our children likes plain cheese. The other, pepperoni. And our whole family likes sun dried tomatoes and feta.

20140525-192131.jpg

Those last two ingredients are not added until there are only two to three minutes left to the baking time. I want them warmed up but sun-dried tomatoes burn very quickly, so you can not put them on at the beginning. I feel like feta dries out if I put it on for the entire baking period because the flakes are so small. But you can definitely add it for the entire baking time if you prefer.

20140525-192026.jpg

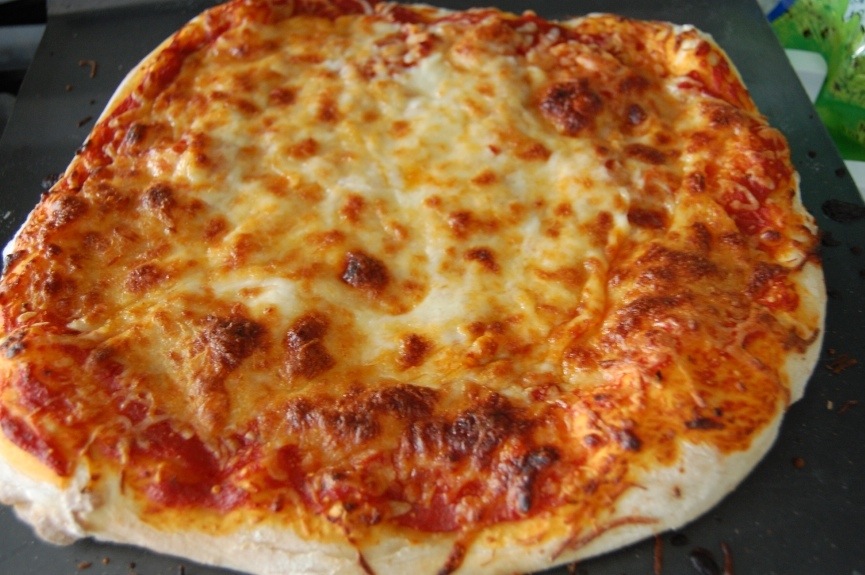
Bake pizzas for 13-15 minutes. The cheese should be melted but not brown.

Let the pizza rest for 3-5 minutes. Cut the pizza into slices.

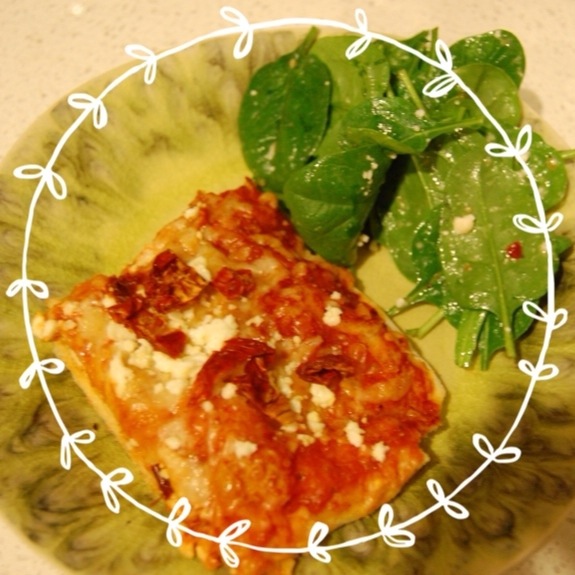
Plate the pizza.

Serve the pizza with salad. I use this easy recipe.

20140525-192554.jpg

Homemade pizza. Spinach salad. Red wine.

It doesn’t get any better than that.

Isn’t that right, my precious?

Summertime Pasta

20140511-214617.jpg

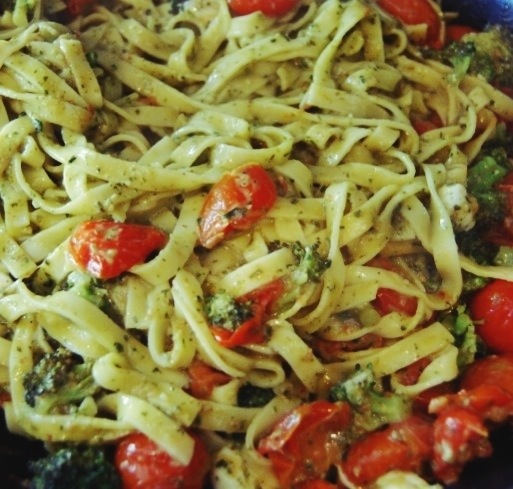
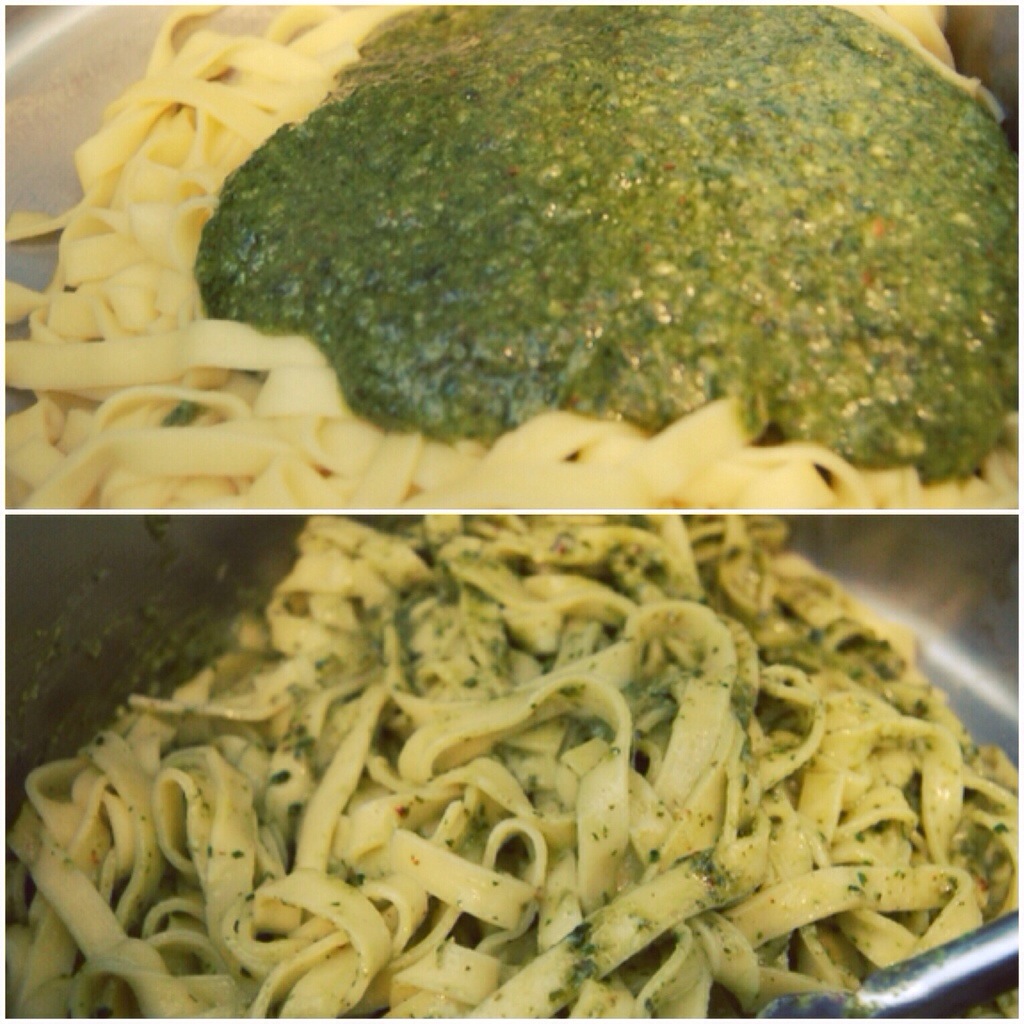
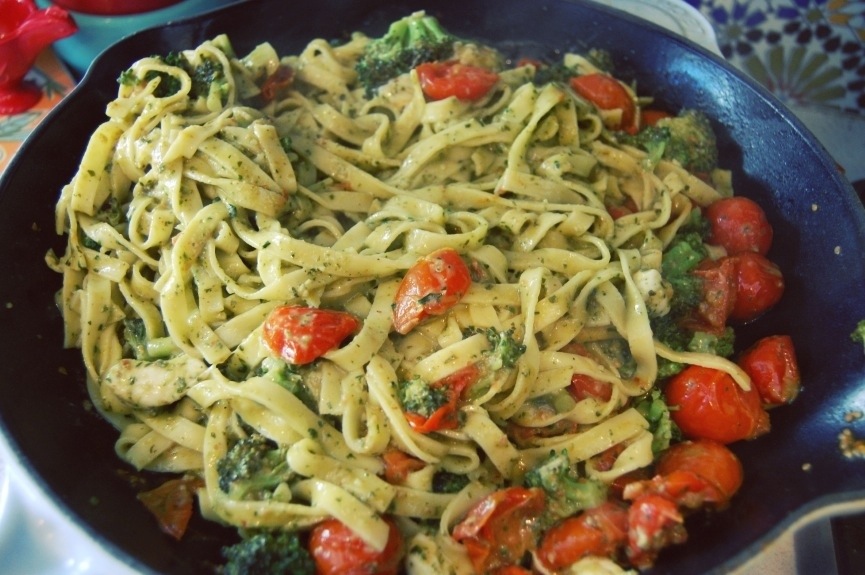
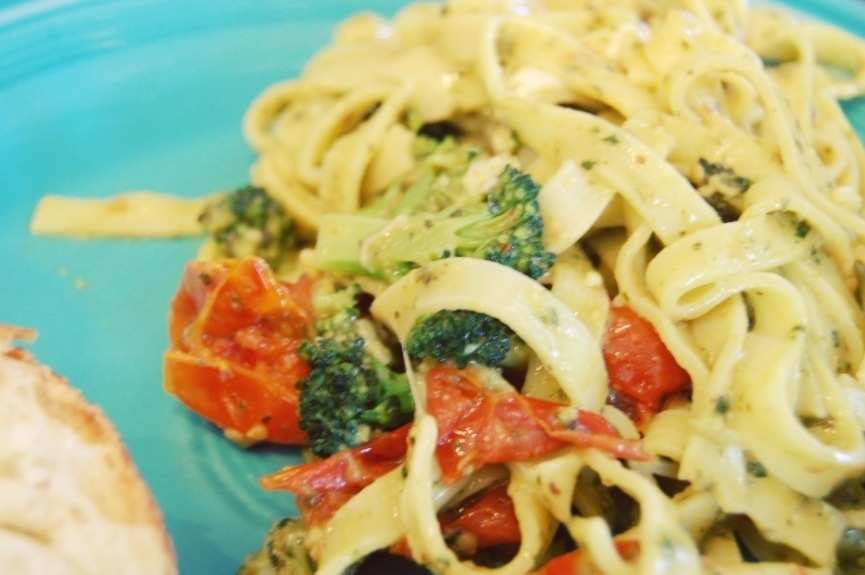
This really should be called, “Cherry Tomato Broccoli Pesto Pasta.” But that’s a mouthful! This pasta reminds me of everything I love about summer. It is fresh. It is quick. It is easy. There is not any meat in the dish, but you do not miss it. My family loves this.

I recently indulged in a similar pasta dish at a local Italian restaurant. I wanted to try to recreate it at home. I searched for a recipe, but the closest I could find was this yummy one. The following recipe is loosely adapted from that one.

20140511-210309.jpg

Ingredients:

1/4-1/2 tsp. red pepper flakes
1/4 cup white wine (I always use Riesling and it is fine. Any white non-bubbly wine will do)
1 clove of crushed garlic (or a handy dandy frozen cube)
6 oz. refrigerated pesto (pick your favorite. A bad pesto will ruin this dish)
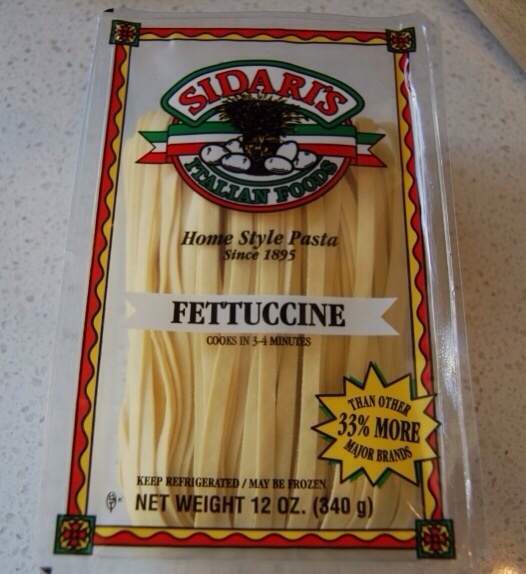
1 12 oz. package fresh linguine (if you cannot find this a regular package of dried linguine is fine)
2 pint size containers of cherry tomatoes
3/4 tsp. salt
2 Tbsp. Olive oil
1 head of brocolli chopped (or one small steamable all ready chopped package)
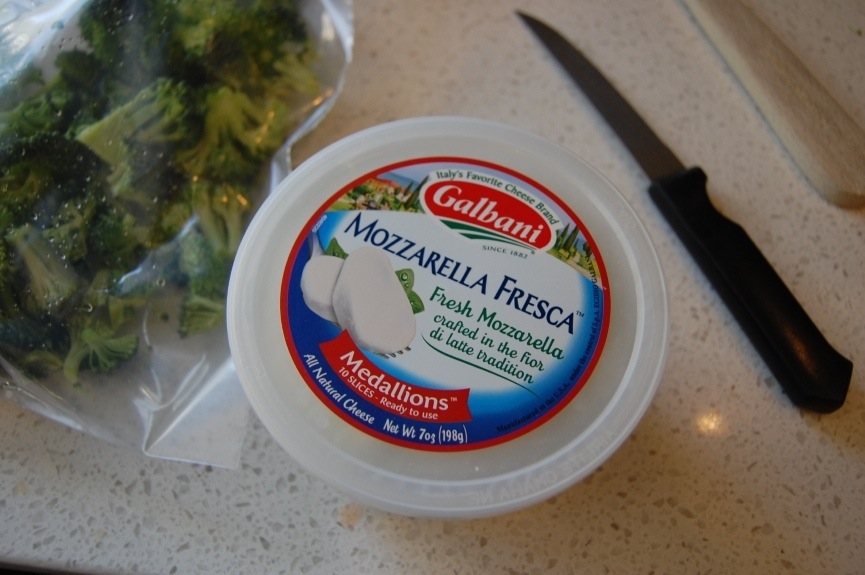
5 small slices fresh mozarella (cut again into thirds)

20140511-200058.jpg

First things first. Chop your broccoli heads up into large bite sized pieces and place into a large sealable gallon sized plastic bag. Or you could simply buy a small package of steam-able brocolli. I normally do that, but this time, my store was out. Seal the chopped broccoli crowns, place them in the bag and set aside.

Boil water in a large pot.

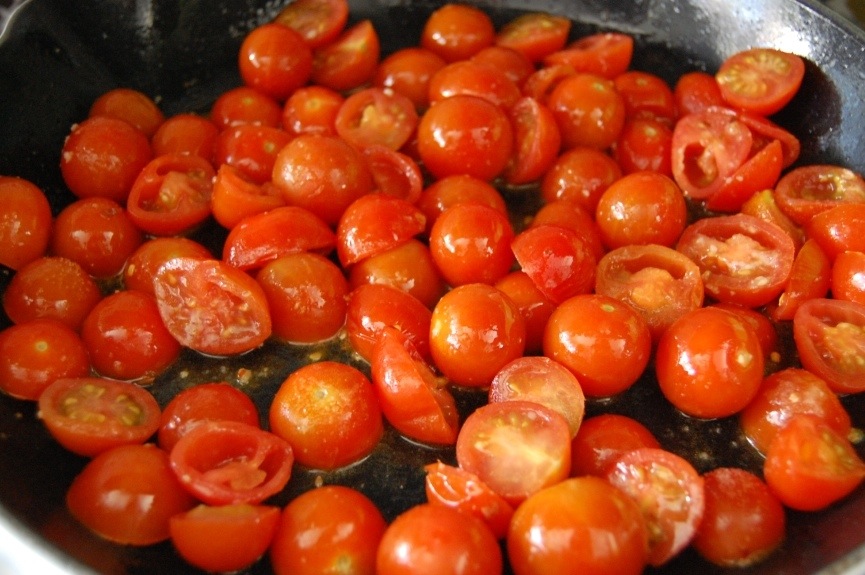
Chop three-quarters of your cherry tomatoes into half. Also cut mozzarella slices into bite sized pieces and set mozzarella pieces aside.

20140511-195011.jpg

In a large skillet, heat up the olive oil over medium-low heat. Add garlic and cook one minute. Add halved cherry tomatoes and remaining whole tomatoes into the skillet. Add salt and red pepper flakes. Let simmer twelve minutes. Stir occassionally.

20140511-220645.jpg

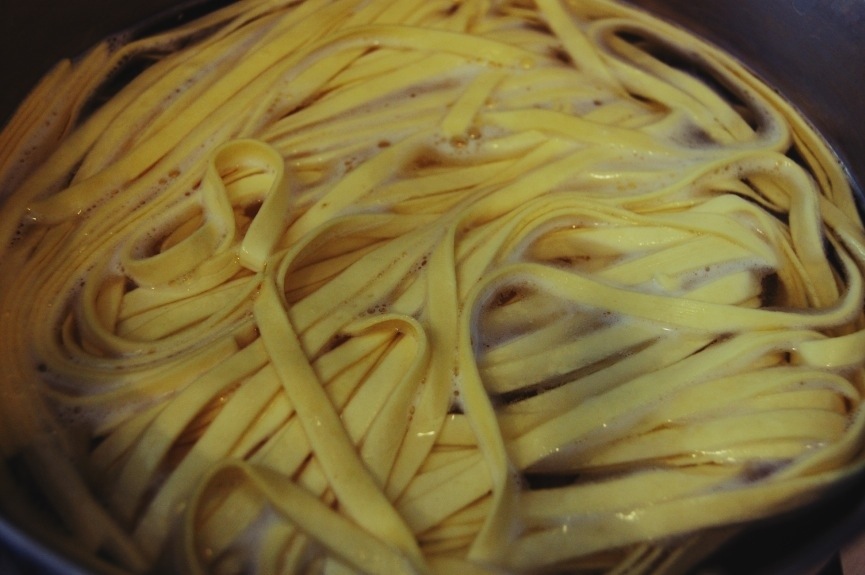
In the meantime, boil noodles according to the directions on the package. I prefer to use fresh pasta found in the refrigerated section. It cooks faster and generally just tastes better. But you can use boxed pasta, just be aware of the time difference. Before draining pasta, carefully reserve a cup of the pasta water and set aside. Drain the pasta and return the drained pasta to the pot it boiled in (with no water in it).

Pierce broccoli bag with fork two times. Microwave the bag for three and a half minutes on high.

20140511-220829.jpg

After the tomatoes have simmered for twelve minutes, add wine and let simmer for two more minutes.

20140511-215823.jpg

Add a little of the pasta water (about 1/4 cup) and broccoli. Mix.

20140511-215220.jpg

Add pesto to the drained noodles. Add enough pasta water to make it easier to stir (about 1/4 cup. Do not add all of your reserved pasta water).

20140511-220419.jpg

Add pesto noodles to the cherry tomato/broccoli mixture. Stir. Before plating add mozzarella to the pan and quickly mix. You do not want your mozzarella to melt too much.

20140511-214940.jpg

Plate. And eat up! If you have picky kids, and they are old enough, I recommend letting them carefully cut the tomatoes and mozzarella when you are preparing this dish. It will make them feel like they made the dish and they will be more inclined to eat it. Both of my kids always have seconds. ; )

Enjoy! We will be eating this yummy pasta all summer! It just tastes fresh and happy!

P.S. Please do not forget to enter the Blog Giveaway. It ends on the 15th! Thank you!

This post was edited using the fun Afterlight app. It makes the colors richer in the photos.