Cheesy Salsa Chicken Empanadas

Makes 70 Empanadas

IMG_2535.JPG

The name “empanada” has always made me smile. I think being a gnome lover has me appreciating the “imp” phonetic beginning of the word. These empanadas are small little appetizer sized delights. Or for a gnome or an imp, a complete meal.

I have been making these empanadas for what seems like forever. I had originally seen Paula Dean make them on her show. This recipe is adapted from hers. Over the years, I have changed them a bit to reflect how I like them to taste. This recipe makes seventy empanadas plus enough mix left over for a dip. This is enough for three meals. The empanadas freeze well and I always freeze a batch and give a batch to my sister because they are her favorite things that I make. The empanadas are time consuming. However, you will be making three meals in one cooking effort. So, I think it all evens out.

Besides, I am not one to overexert myself for anything. Even food. Heck, the other day I drove down to my mail box and it is literally one house away. It does not get any lazier than that. Although, in my defense it was not the effort of the walk but rather the sordid fact that I was on my second day in the same pajamas that forced me to drive and avoid the neighbors. I couldn’t be bothered to shower or change. Wait. That probably doesn’t make the story any better… What I am trying to say is, if I can do it, then you definitely can to.

IMG_2536.JPG

Ingredients:

3 pounds of salsa chicken (recipe here, a separate 4-6 hour cooking time is involved)
8 oz. softened cream cheese
5 packages of refrigerated pie crust (with two rolled doughs a piece)
3 cups shredded mexican cheese
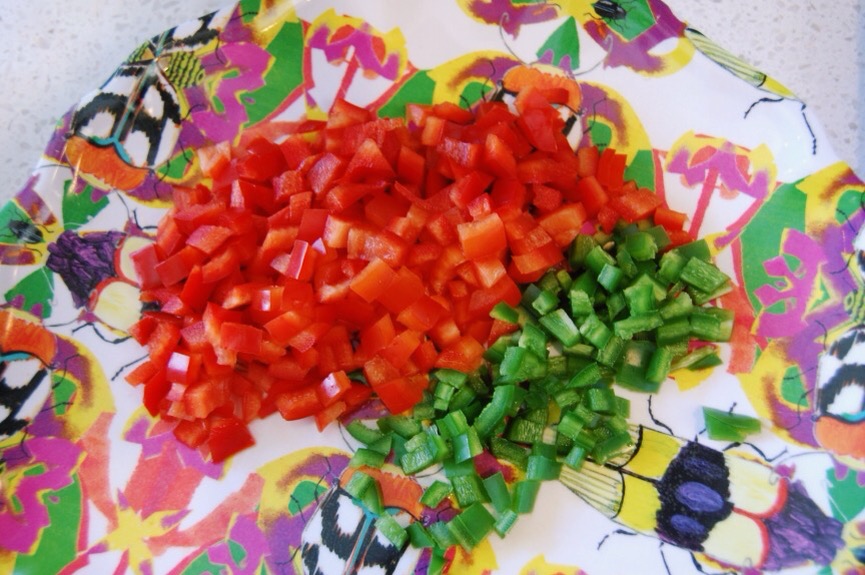
1 finely diced seeded jalapeño
1 finely diced red bell pepper
4 oz. can green chiles
1/2-1 tsp. salt
1/4 tsp. ground black pepper
3 Tbsp. Olive oil

Optional toppings:

Hot sauce
Sour cream
Chopped Cilantro

Directions:

Make my salsa chicken in the crockpot.

When the chicken’s cooking time is finished, leave it in the crockpot for the eight minutes it is going to take to sauté the jalapeño and red bell pepper.

Take pie crusts out of refrigerator.

Preheat oven to 350 degrees F.

IMG_2539.JPG

Sauté the jalapeño and red bell pepper in olive oil over medium heat until soft. Usually this takes seven to eight minutes. Add green chiles with juice and sauté an additional minute.

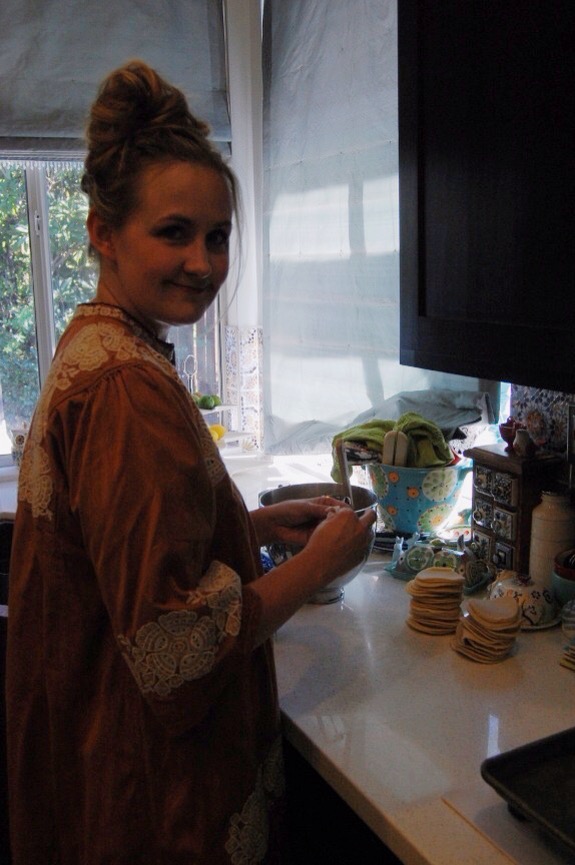
Remove cooked chicken from the crockpot. I set mine into the bowl of my Kitchenaid Stand Mixer. If you do not have one of these, put it in a very large bowl. Mix chicken with a bit of its cooking liquid (be sure to remove bay leaf) until nice and moist (approximately 2/3 cup).

All right. I am not sure how to explain the next step without it sounding weird.

Here it goes.

I think you probably started to suspect what might be coming when I had you put the chicken in the mixing bowl.

We’re going to mix the chicken.

To smitherines.

I know.

Just trust me.

One of the best meals I have ever eaten was at a restaurant in Cozumel. Now maybe it was the strawberry margarita the size of my head that accompanied it, but I think not. That might explain the mariachi band on the ceiling, but delicious food? Nah. The chicken enchiladas I had there were amazing. The chicken was mixed like we are about to do here. It all worked out. If you want, I’ll wait for you to grab a margarita before we get started.

Are you ready now?

Good.

IMG_2537.JPG

Now either mix the chicken mixture in your stand mixer on medium speed or with a hand mixer in a bowl on medium speed. Mix until it looks like the above. About two minutes.

IMG_2538.JPG

Add sautéed vegetables along with 1/2 of the oil and liquid they cooked in into the chicken. Add cream cheese. And mix on medium speed until incorporated for one minute.

Add cheese, 1/2 tsp. salt and pepper. Mix with a spatula into chicken mixture. You don’t want the cheese whipped by the mixer. It kind of gets lost into pieces and won’t live up to its full potential. Taste mix. Add more salt as needed.

IMG_2545.JPG

Now lay your pie crusts onto a flat surface and use a biscuit cutter to cut circles in the dough. I get seven circles out of one sheet. If you are not lazy, you could save the scraps and roll them out for more empanadas. I am wasteful. And do not. Extra effort and all of that.

IMG_2540.JPG

Put them into a stack.

Because it is pretty.

Like a doughy imp throne.

IMG_2544.JPG

Now scoop up a small amount of filling, about one and a half to two Tbsp. I use one of those small handy scoops. And place in the center of a circle of dough.

IMG_2546.JPG

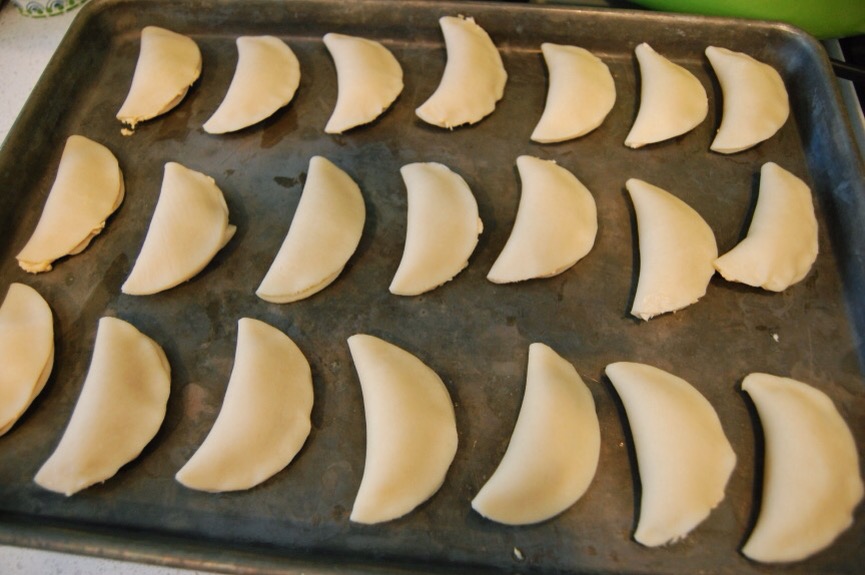
You will start to get the hang of how much filling to put inside based on the ease of closing the circle into a crescent shape. Fold circle in half and place on cookie sheet.

IMG_2541.JPG

Repeat until cookie sheet is full leaving space around each empanada.

IMG_2547.JPG

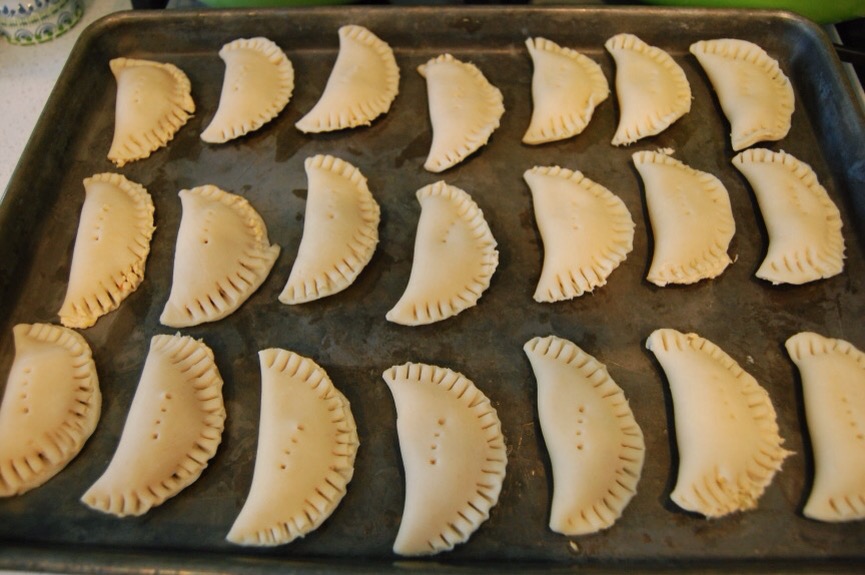
With a fork, crimp the edges of the empanada and poke it once in the middle to allow for the steam but also because it is pretty.

IMG_2548.JPG

Put tray into refrigerator for fifteen minutes to set.

Repeat empanada creation on to a separate cookie sheet.

IMG_2551.JPG

Remove original cookie sheet from refrigerator. Bake if you are eating right away. If not, place empanadas gently into a large gallon sized bag. I put twenty three in each one. Refrigerate if using within the next day. If freezing for a later use, place empanadas lying in a single layer in freezer. Not clumped together. You could always place cookie sheet in freezer for fifteen minutes and then put in baggies so they will not stick. Again, extra effort. I skip that step.

Keep alternating the two cookie sheets and empanadas until all are prepared.

IMG_2550.JPG

Bake the ones you are eating right away for twenty five minutes.

IMG_2549.JPG

Serve warm with optional toppings. I also present it with salad.

Now go have that margarita (or second one if you had to get over the shock of our chicken preparation)! And build your imp a new throne. You’re eating his old one. And left him with nada.

Fish Tartan

I try to not have two posts about clothes going up back to back, but I have been so ill for the last week, I have this one all ready to go. I apologize if you do not like outfit posts. Also, I may or may not post this weekend depending upon my medication kicking in or not. I do have other outfit posts ready to go, but I feel bad putting too many of those up in a row. I’ll just have to wait and see. Now on to the clothes…
IMG_0539.JPG

My husband took one look at my outfit. His forehead furrowed. His mouth set.

Finally after five minutes of inner contemplation, he turned to me and bravely said, “I don’t get it.”

“What don’t you get?”

“Your top and bottom half our country but the dress has nothing to do with that.”

IMG_0544.JPG

I just laughed.

Because I knew he would not be the only one who saw this outfit that way.

IMG_0542.JPG

I have really wanted to explore more with plaid this season. Wear it differently. Unexpectedly.

IMG_0541.JPG

And it does not get more unexpected than a dress filled with giant fish.

IMG_0533.JPG

The Anthropologie Indigo Shoal Dress was one of my absolute favorite buys a few years ago. It is actually my daughter’s favorite item in my closet. I dread the day she can fit into it, because I do not know that I will see it again.

IMG_0536.JPG

Nobody does flannel like Johnny Was (very similar flannel here). I love that they add embroidered details to their pieces (similar non-flannel shirt on sale here). Johnny Was sizing runs large. I get this question a lot, so I figured I would place it here. This is a small. I typically always wear a size small in this brand. I found my top at Nordstrom Rack either last year or the year before. Besides Johnny Was’s sale section on their site, and eBay, I think this is the best place to find the brand at a discount. I have said it before, but I adore that Johnny Was carries standard and plus sizes. Bravo to them! Last year they had an awesome Black Friday Sale that I hope they repeat this year.

IMG_0537.JPG

Do you ever pair two things together that nobody else around you understands? Are you wearing a lot of flannel this season? What about fish? Fish and flannel. Hmmmm. Maybe I’m on to somethin’… Or maybe it’s just the prescription drugs.

Please do not forget to enter My Anthropologie Necklace Giveaway. It ends soon!

Restyling The Bermeja Tunic Dress For The Fall

IMG_9607.JPG

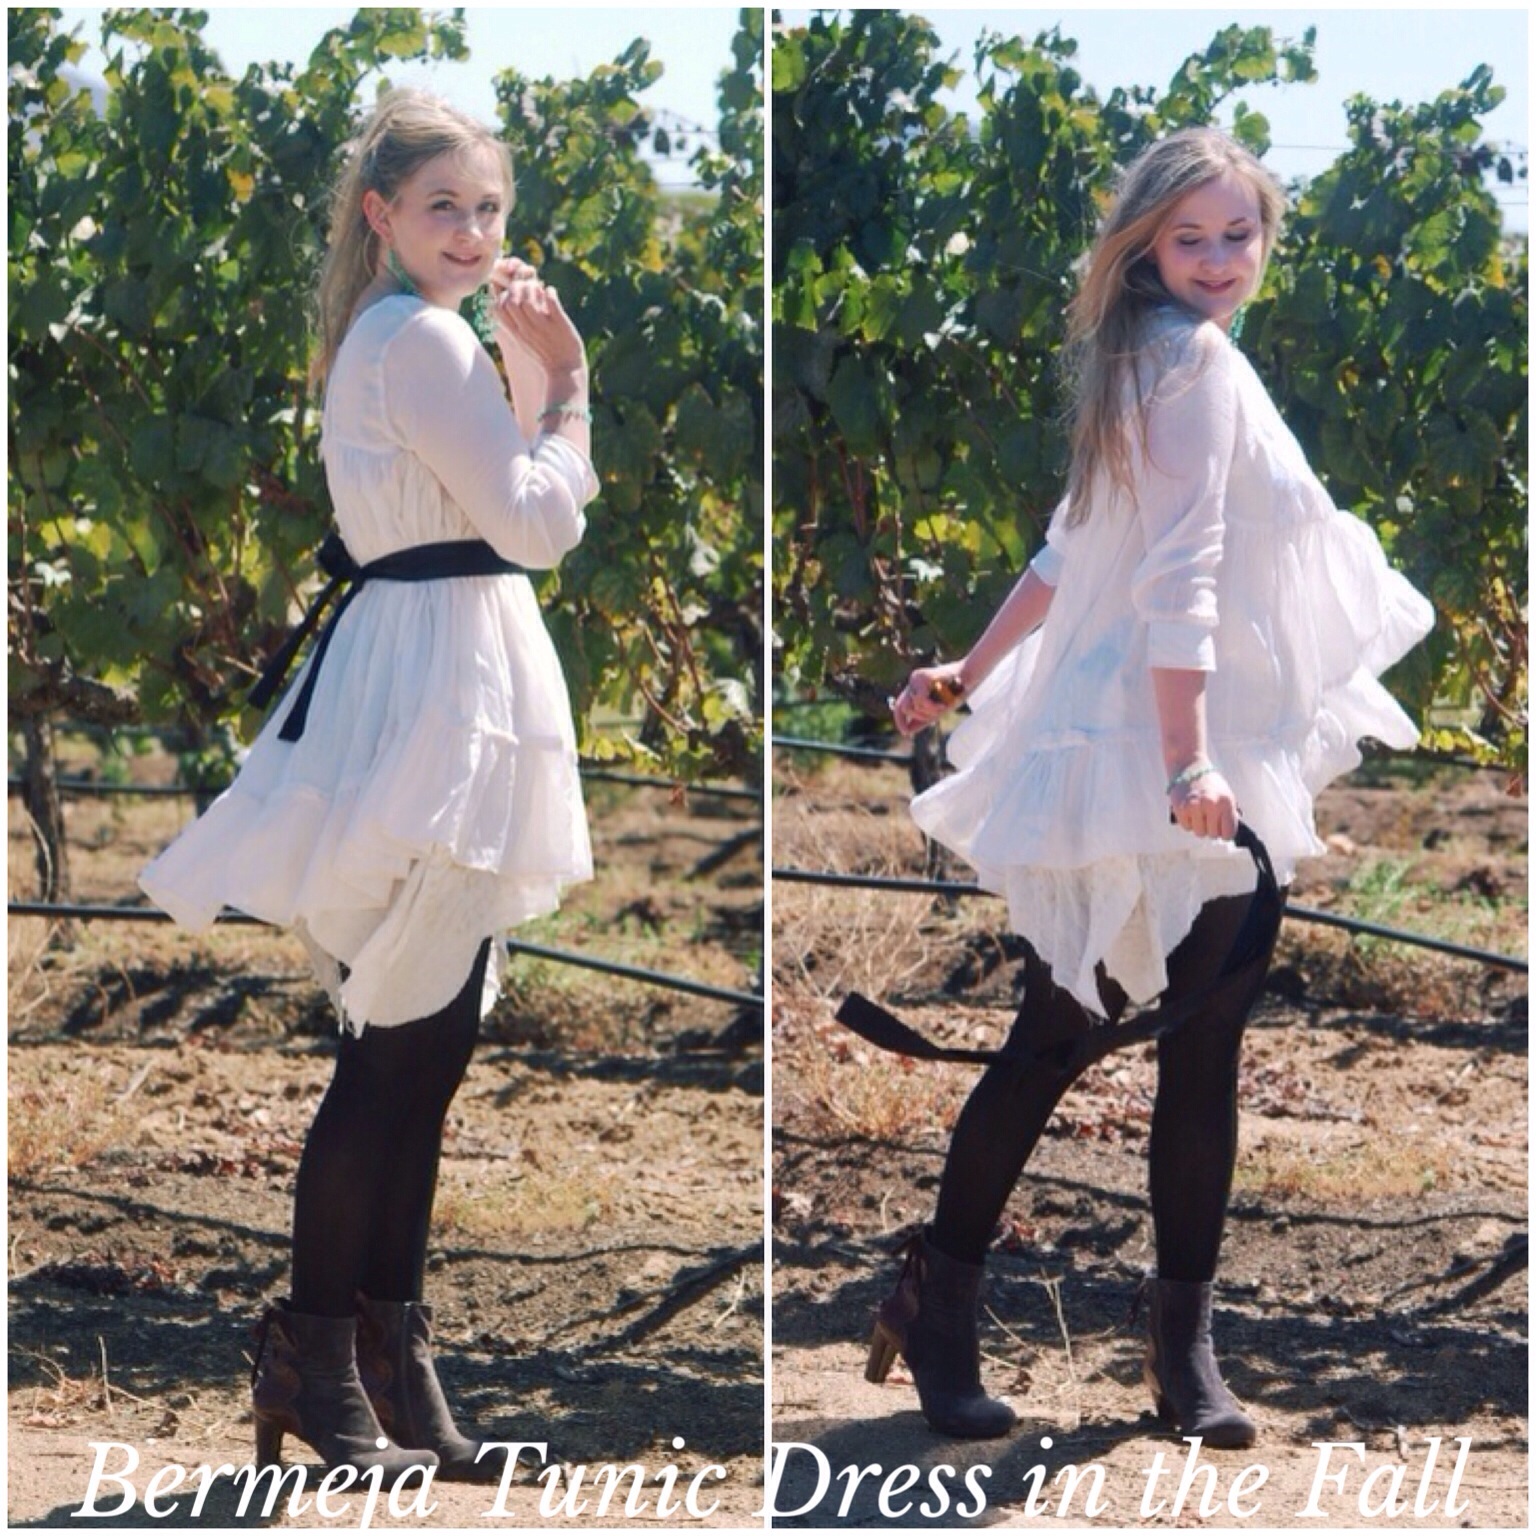
This post really could have been called, “creating an outfit with items in your house.” I wanted to show two easy ways I have found to wear the Bermeja Tunic Dress in a different season (other post with this dress can be found here).

IMG_9580.JPG

If you do not own this dress, no worries, this look can be created with any ol’ white dress (similar dress here). And if you do not have a white dress, get one. That is an order. Well, unless you are a nun. Then you are all ready in an order. And you should probably skip the white dress. Black looks good on you. Love your habit.

IMG_9572.JPG

I wanted to show a day and night transitional look with this dress. Only, unlike other blogs that show the daytime look first (for some such odd reason being that day comes before night. But does it really?). I like to be contrary. I am doing it opposite.

Such as the opposite colors of the styling of this dress.

Nuns, I’m on to something here, I can just feel it. Don’t ya think?

IMG_9581.JPG

For my evening look, I pulled my hair up into a fun pony tail. Slipped on some huge turquoise chandelier earrings (old from World Market) and added a black ribbon around my waist.

I am not sure where the ribbon came from.

I was looking for my black belt.

I could not find it.

I found this ribbon stashed in my underwear drawer.

The end.

IMG_9582.JPG

Except this leads to many questions.

Nuns, you might want to look away now.

Such as, why was a ribbon in my underwear drawer?

Where did it come from?

Was it part of a box of chocolate?

What? You don’t hide chocolate in your underwear drawers?

Next, you will tell me you don’t keep salami in your boots. And I know that to be a lie. How could you lie in front of these nuns?

And the most important question, who ate my darn chocolate?

IMG_9573.JPG

I paired both looks with black tights and high heeled booties.

IMG_9585.JPG

For my daytime look, I simply pulled my ponytail out and undid the bow.

‘Cause I am truly a styling genius lazy heathen.

IMG_9577.JPG

Underneath the dress dwells my slip from Free People. I kind of hate the slip the Bermeja Tunic Dress originally came with. It was way too short to actually cover parts best left unseen with any practicality. I could not find a different white slip, so this uneven ragged edge little number got some use.

IMG_9599.JPG

If you are an even-hemmed kind of gal (or fella), then this look must be driving you crazy.

But I am not, nor have I ever been an exact measurement sort of gal.

Not level headed.

Nor even tempered.

I will have nun of that.

My point being, you can wear any slip underneath this dress and it will be fine.

IMG_9611.JPG

Speaking of grabbing things from around the house.

Yes, we were speaking of such things.

Keep up. These voices in my head don’t just speak to themselves.

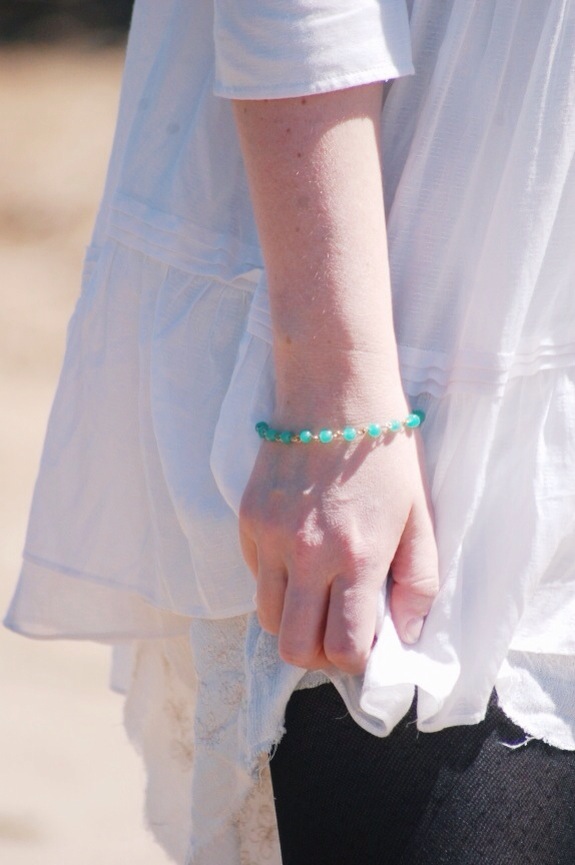
I loved the chandelier earrings that I wore with this dress and I really, really wanted a turquoise beaded bracelet to pair with them. But I do not own a turquoise beaded bracelet. However, I do own a vintage turquoise beaded sweater clip (I will have a post coming up soon about sweater clips. They are awesome). I just clasped it together at the ends around my wrist and it created a bracelet.

Nuns, take note. I made a bracelet in less than one second with my own hands.

It is a miracle.

IMG_9594.JPG

Not as miraculous as this scenery. If we were not completely trespassing, I would have stayed longer. But isn’t it beautiful? Truly worth some jail time.

Besides, I just confessed.

To a nun.

I’m all good now.

I’m a pretty calm rebel.

Probably because nobody cared.

The owners saw us and just waved. ‘Cause they must have known about my miraculous bracelet. Those types of achievements get around.

IMG_9583.JPG

Not that I am bragging. Wouldn’t dream of it. Besides, that is not my favorite sin.

IMG_9575.JPG

You have a favorite sin?

IMG_9598.JPG

Yep. Shhhhhhh. Don’t tell the nuns. I don’t make a habit of committing it.

On purpose.

With regularity.

Accidentally.

Every day.

So, what is it? Greed? Gluttony? Envy? Lust? Wrath? Sloth (Oi)? Pride?

IMG_9589.JPG

Sorry. I’ll never tell.

You can’t get it out of me.

It would take a miracle.

It’s The Little Things: Wave Iron

20140802-155934.jpg

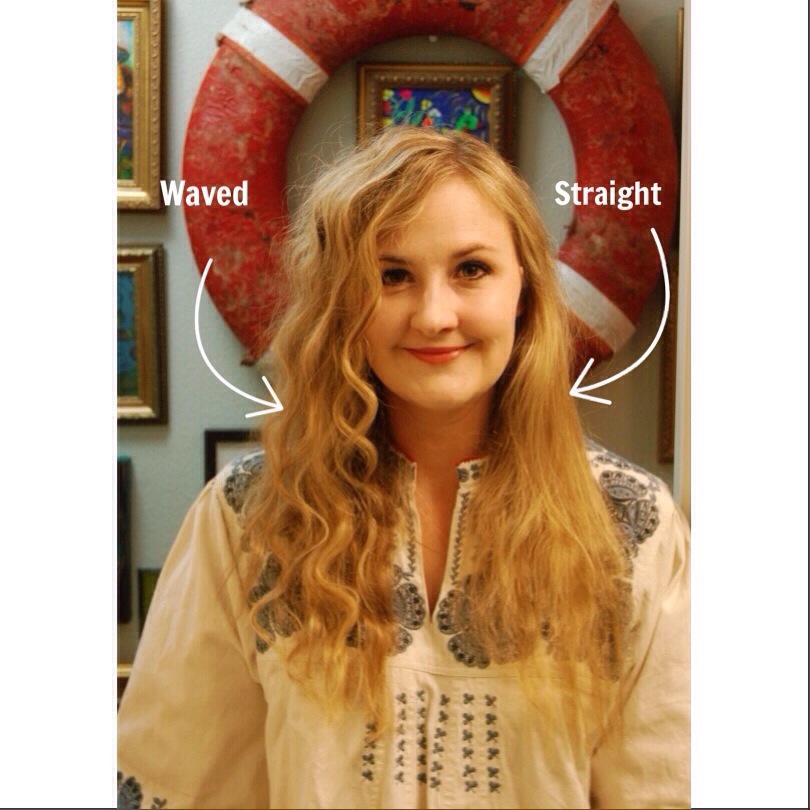
I first learned about the wave iron on a girls’ trip I took to New York City with a bunch of friends four years ago. One of the girls is a genius at doing hair. She did my hair with the wave iron. I was skeptical because I thought it would be like a crimper. But it isn’t. It simply produces soft waves. The waves all of us girls in the eighties wanted. The ones we used to have to get through perms.

I was hooked from the moment she did my hair.

I used to do my hair with the wave iron all of the time, but I lost my wave iron two years ago.

20140802-160442.jpg

I only recently purchased the Pro Beauty Tools Professional Speed Waver from Amazon. It was under $15 so I figured if it did not work, it was not a big deal.

Well, I loved it.

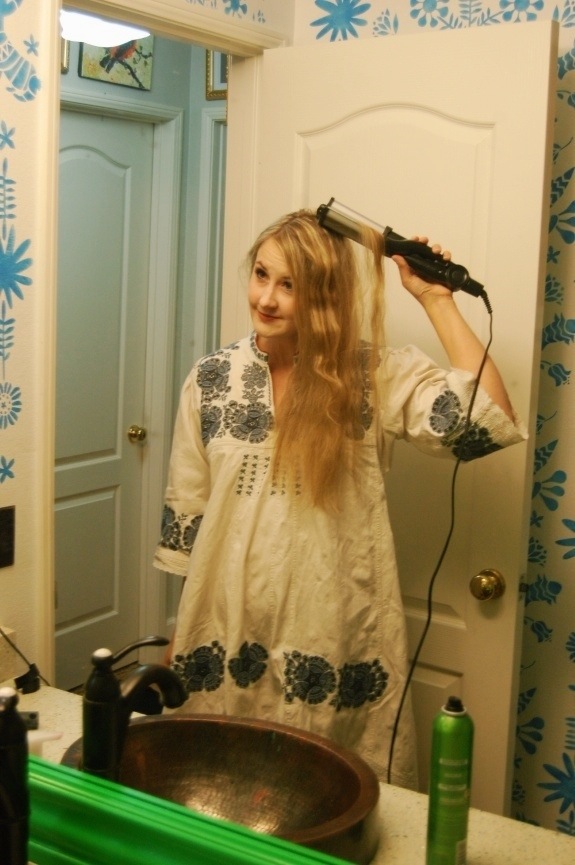
Here is how I use it. Wait! Before I begin, I want it noted that my mirror is not dirty, but rather, when they installed my countertop last year, they reinstalled the mirror with some sort of glue that is now eating through the mirror and causing those marks. I think it looks vintagey, so I do not mind it:

20140802-160543.jpg

I have very thin hair. It took me nine minutes to wave my entire head. I never use the wave iron with clean hair. The wave is too soft. I like to use it with one day old clean hair. Does that make sense?

I turn the wave iron onto a setting that is not the lowest but just a little hotter than the lowest setting. You do not want to use the highest setting. This wave iron gets hot and your hair has a greater potential of frying if it is set at that.

20140802-160613.jpg

First I start with a small section of hair and I place the top section of the hair near the root into the wave iron. I count quickly to ten (not in the thousandths, just one, two, three…). When you first try it, count to five to see if it works at a lower number. You do not want to burn your hair!

20140802-162322.jpg

Then move the wave iron down to an unwaved section and count again. Do this until you reach the end of that section of hair. Because ends of hair are usually the driest, I only count to five at the ends. They have a greater potential to burn off with heat so I do not want to chance it. Plus it looks more beachy with the ends slightly not as wavy as the rest of the hair. I always do one half of my head before I do the other half.

20140802-160655.jpg

20140802-160738.jpg

Pretend you’re a mermaid and make a fish face. Yes, this part is necessary. Trust me. Your hair will not turn out if you do not do this.

20140802-160817.jpg

Repeat all over head. Then do not forget to unplug your wave iron (this message is to myself because inevitably five minutes after we have left the house, we have to turn around to check to make sure I have unplugged my devices. Be better than me!).

20140802-160850.jpg

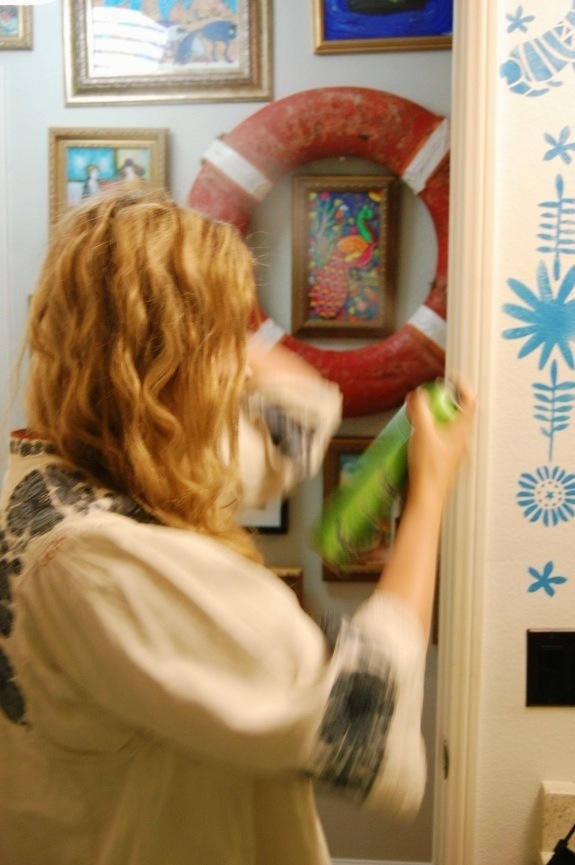
Spray with hairspray.

20140802-160918.jpg

Make a funny face.

20140802-161125.jpg

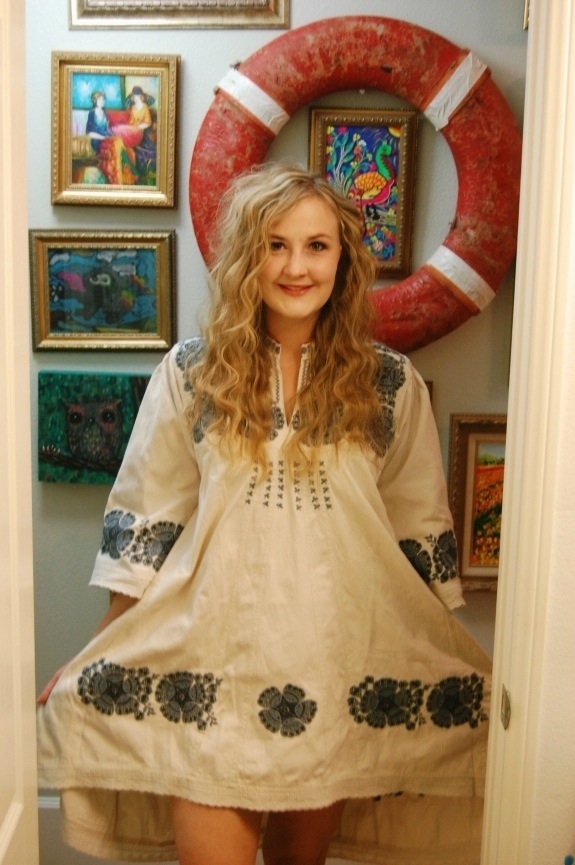
Enjoy your waves! These are nice the next day, too. The wave is softer and more beachy then. Plus the wave hides dirty hair pretty well. I touch up a section if it needs it.

I do not use this all of the time. Any kind of heat is not good for your hair. So, use sparingly. I used mine five times before I reviewed it here because I wanted to make sure I would recommend it.

I do. With that said, as with any product your experience may vary. And as with any beauty tool, please use with caution and at your own risk.

I purchased this wave iron with my own money. I was not compensated for writing this post. However, the link above is an affiliate link. Purchasing the wave iron from the link will provide a small commission for this blog.

Do you have a wave iron? How often do you use it? I use mine about once a week, but I can usually get two to three days of wave from that one day.

It’s The Little Things: Changing Your Hair In A Fun Impermanent Way.

*The dress in the photos was styled and ironed previously in this post here.