Holiday Spaghetti Wreaths

20131217-220105.jpg

It wouldn’t be Christmas without spaghetti. Wait. What?

Let me start over.

It wouldn’t be Christmas without me trying to make some kind of crazy fun dish that the kids can remember. This one beats tuna fish sandwiches dyed red and green…

But just by a bit. ; )

I wanted to do something special with my leftover spaghetti the other night. Well, as special as leftover spaghetti can be. With Christmas here, I had a fun idea. I wanted to make individual Christmas wreath ramekins filled with…spaghetti leftovers.

Frugal and fun?!

Happy day!

20131217-215548.jpg

Ingredients:

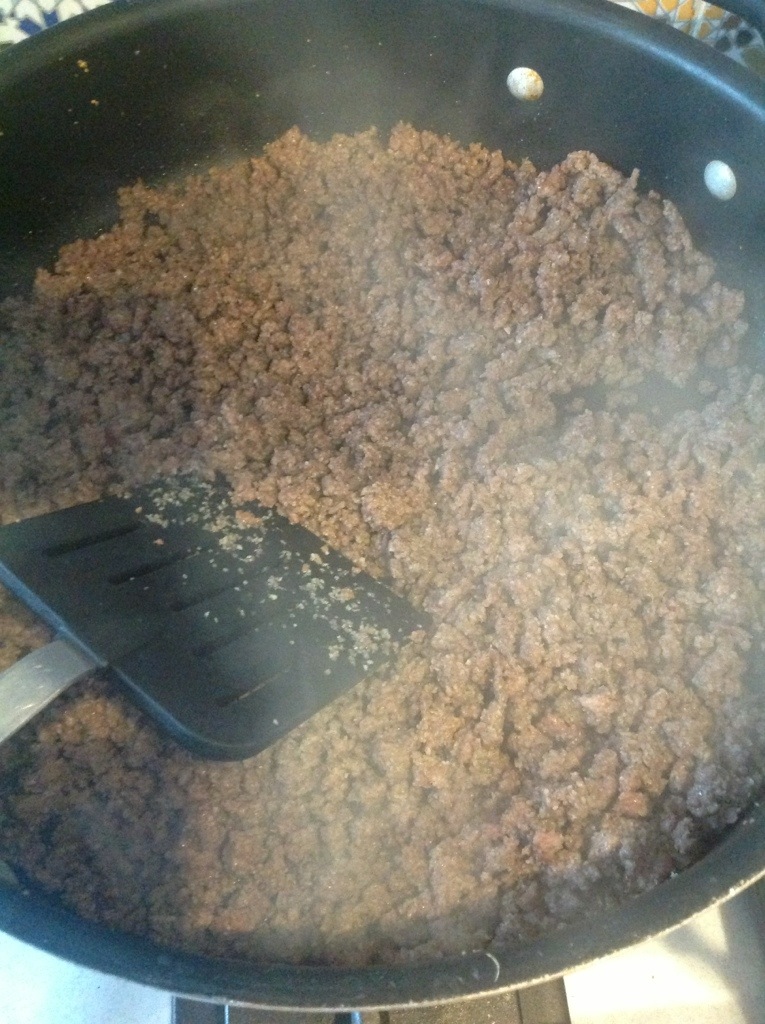
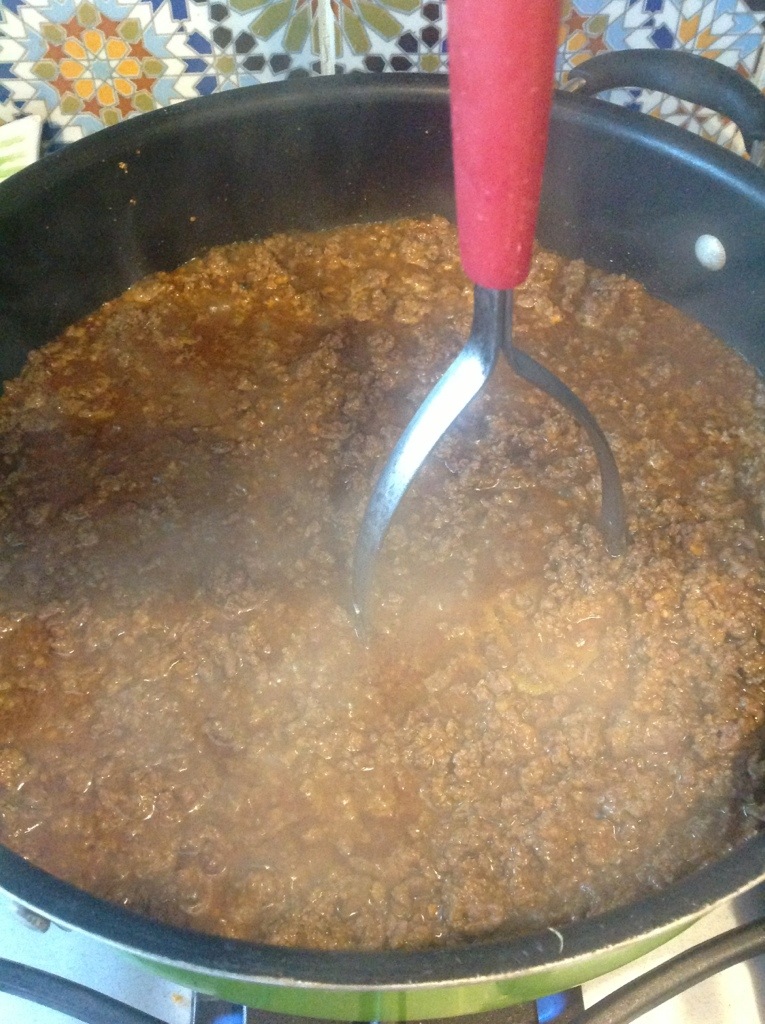
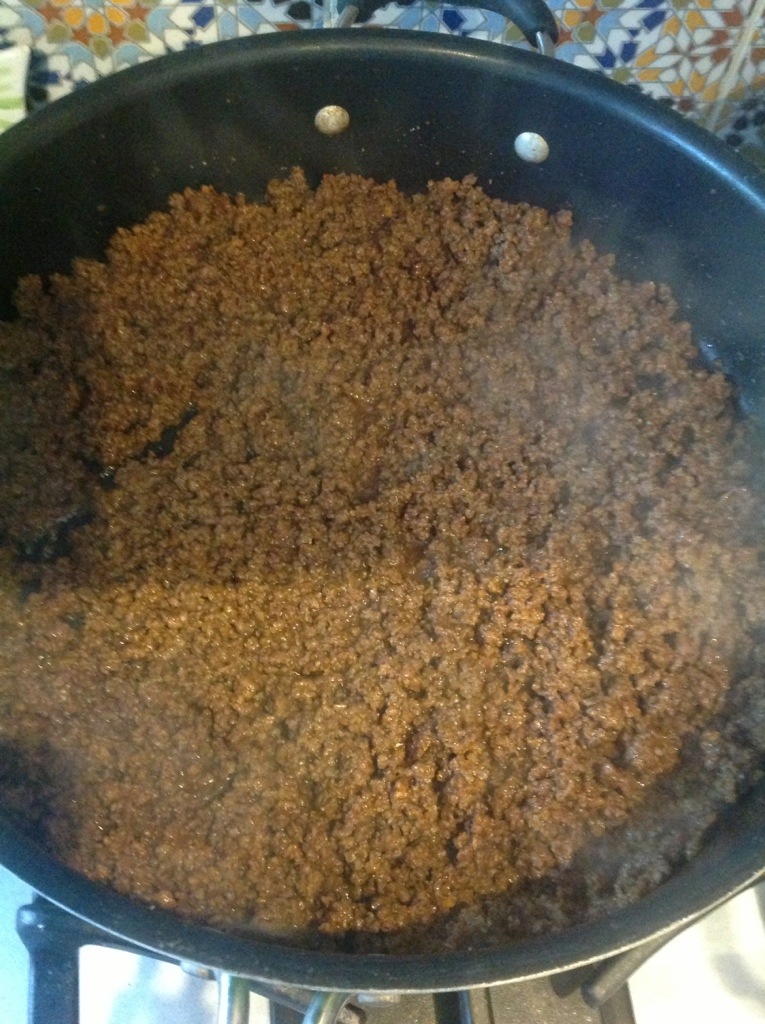
Leftover spaghetti (I would say this is 2 jars pasta sauce with 1/2 pound cooked ground meat, 1/2 package spaghetti noodles)
1/8 tsp. crushed red pepper flakes
1/2 diced red bell pepper
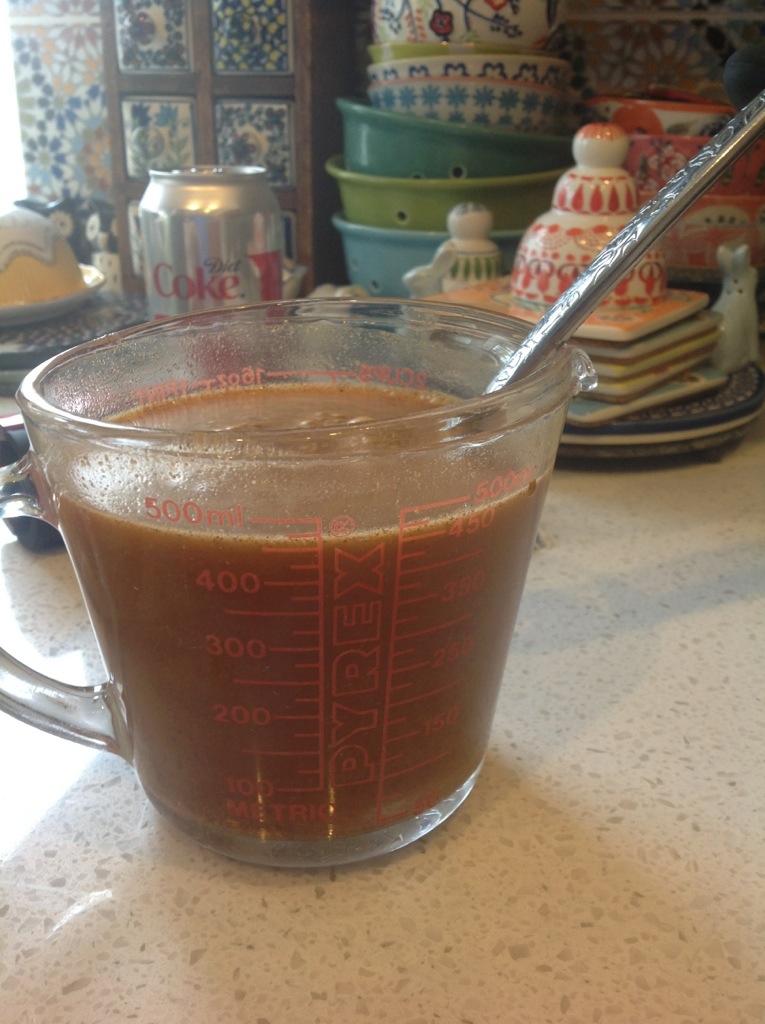
1/4 cup red wine
3 Tbsp. Olive oil
1 clove of minced garlic (I use 1 tablet from frozen packet)
1/2 block (4 Tbsp.) softened cream cheese
1/2 of a real mozarella cheese ball sliced into 1/2″ slices

Topping:

5 Tbsp. Butter
1/2 cup + 2 Tbsp. Bread crumbs
1/4 tsp. italian seasoning

Optional:

Anything green to use as filler on plate around your round ramekin. I used broccoli. It makes another pretty wreath.

Preheat oven to 350 degrees.

20131217-215638.jpg

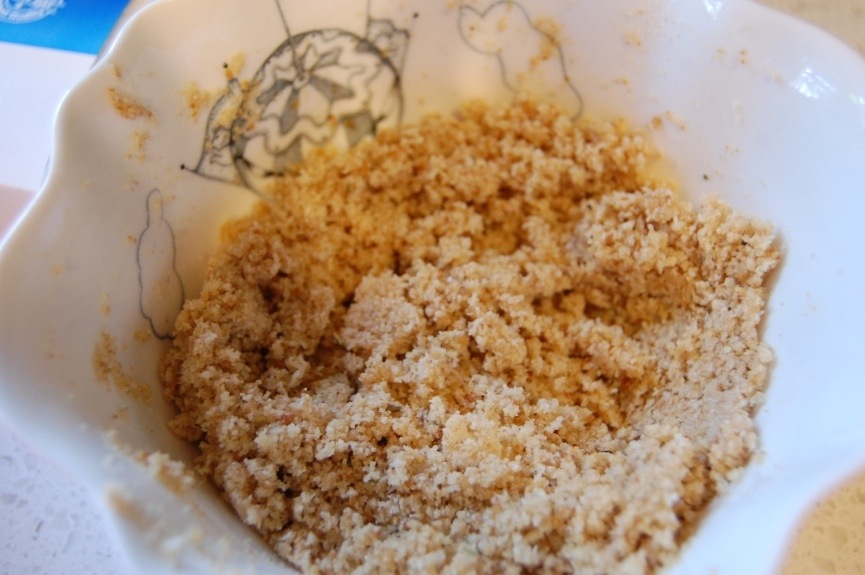
In a small bowl, mix up your melted butter, bread crumbs and italian seasoning.

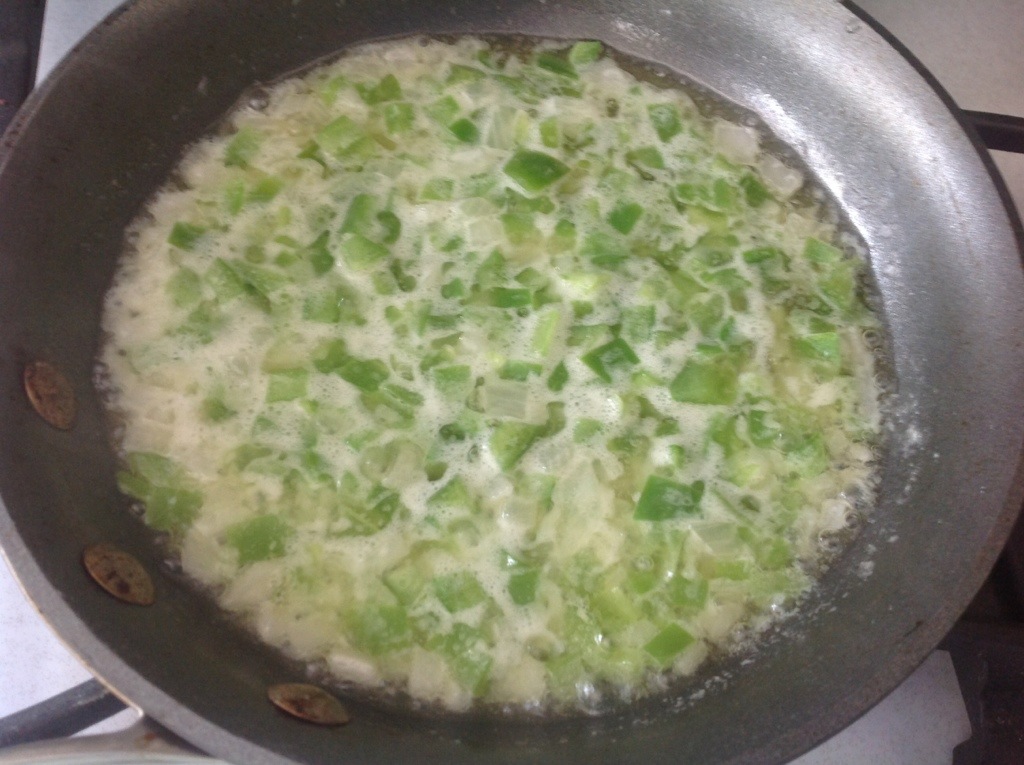
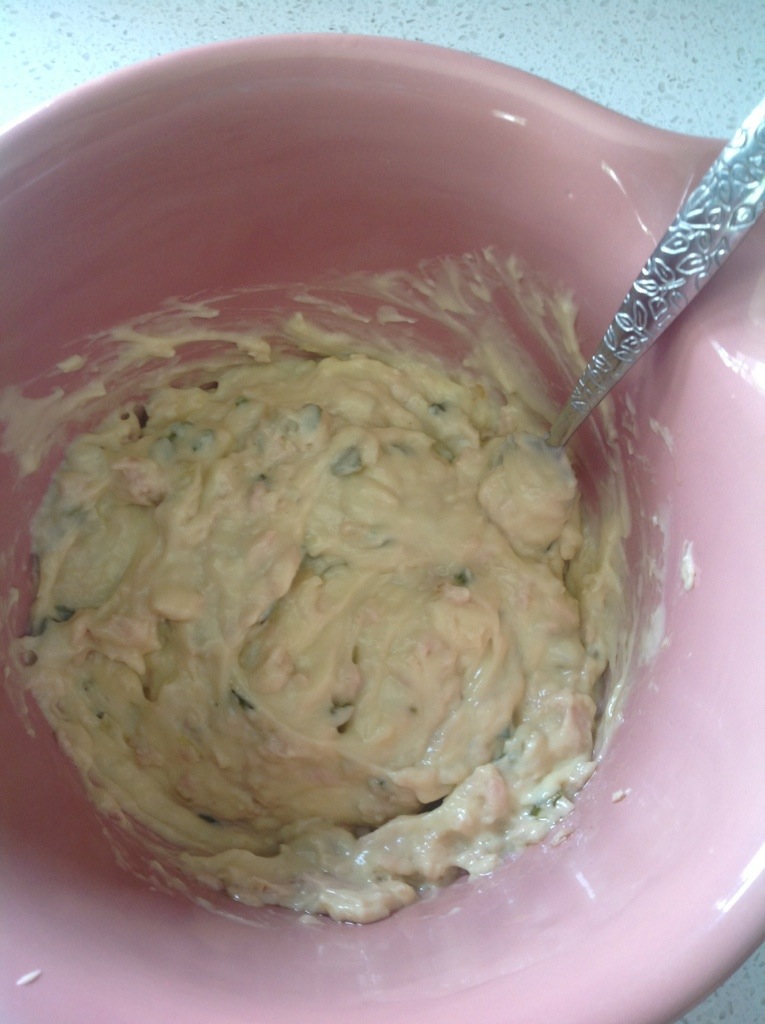
I sautéed my bell pepper in the olive oil for approximately seven minutes. Then I added the garlic and cooked the mixture for another minute. I added the wine and let that simmer for a minute.

20131217-215858.jpg

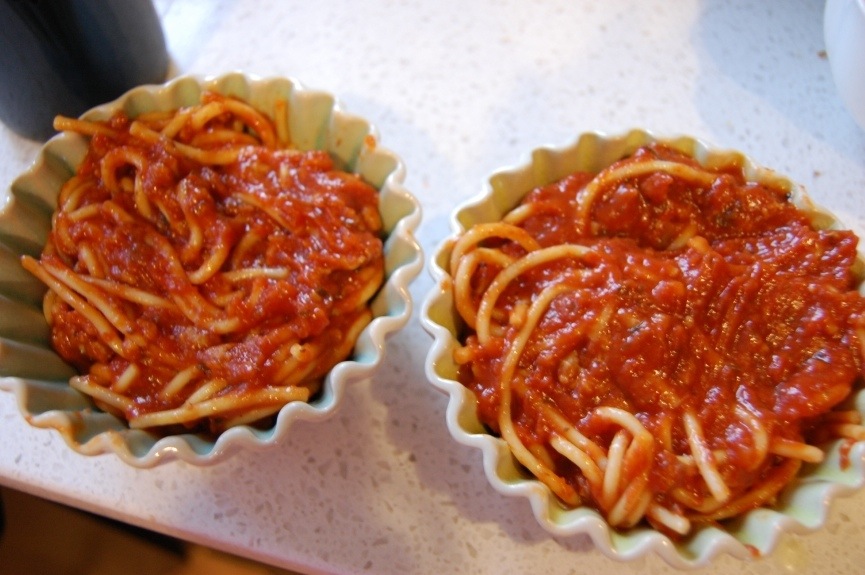
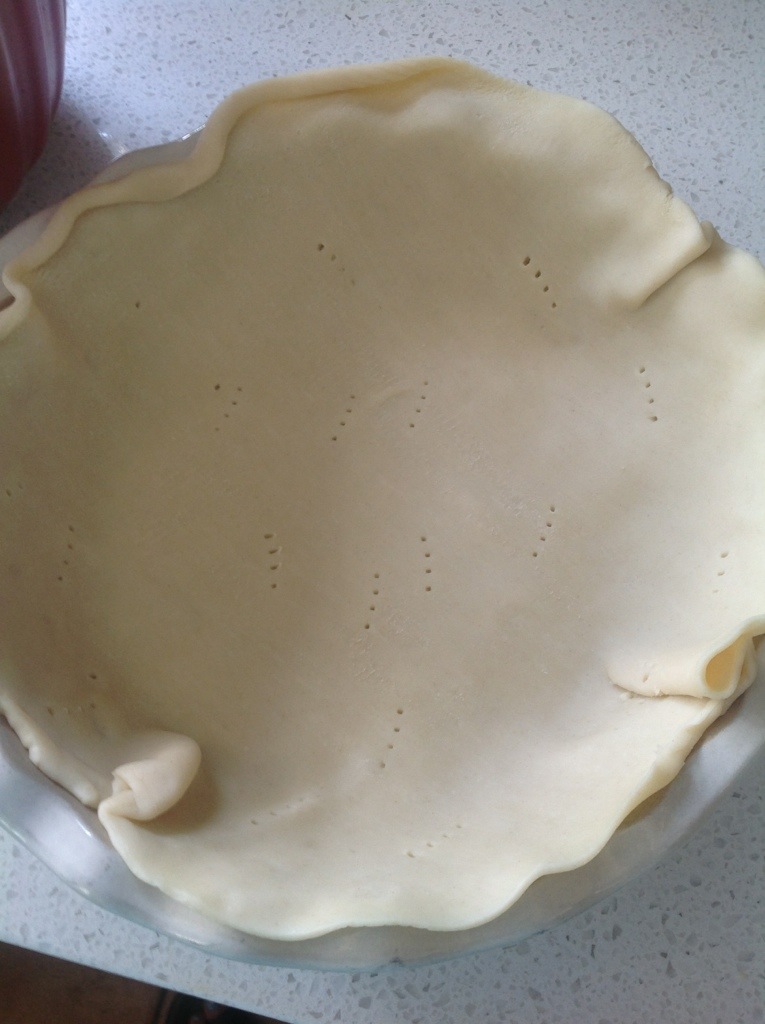
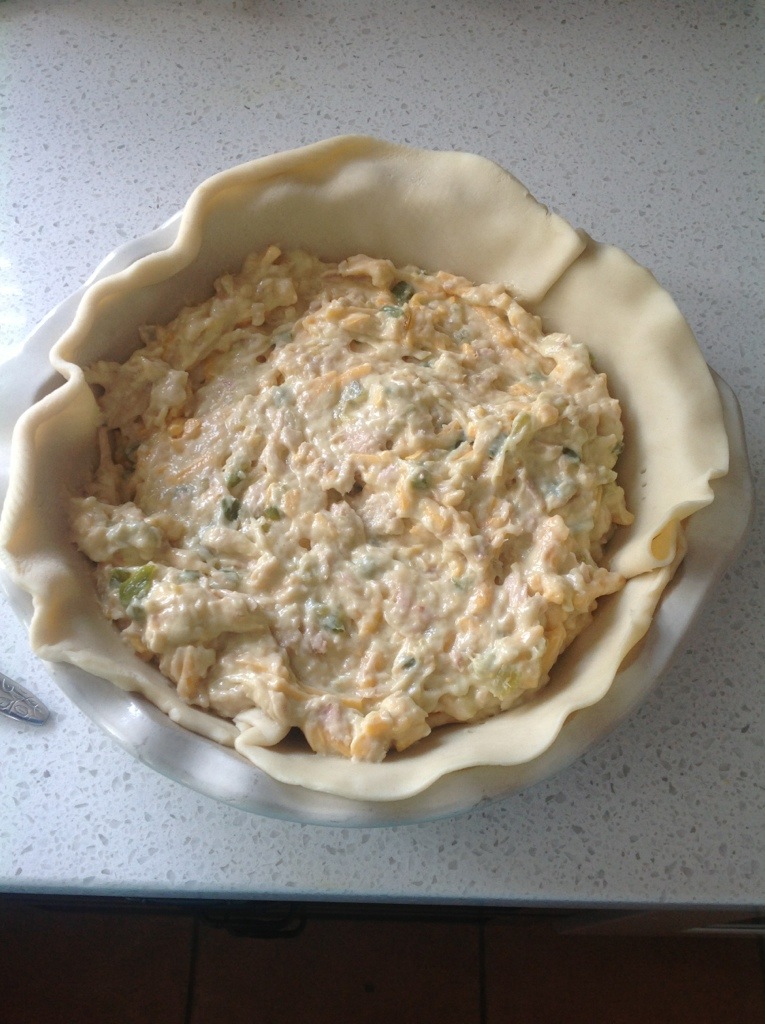
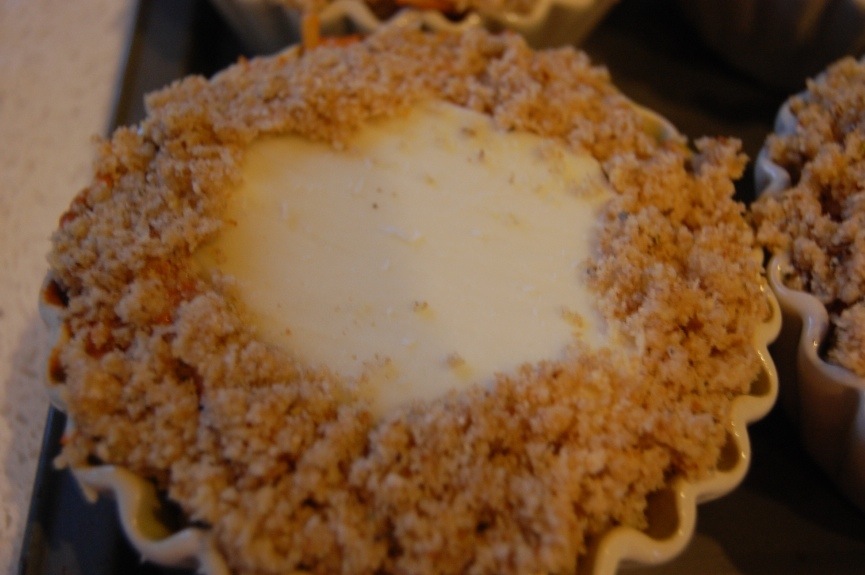
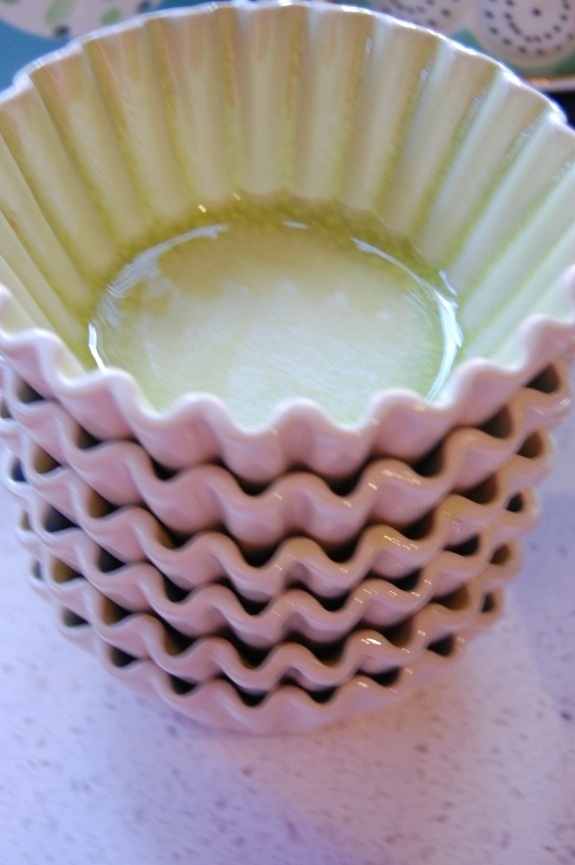
I mixed the cream cheese, leftover spaghetti sauce and noodles, and bell pepper mixture together. I plated the ingredients into individual round ramekins.

20131217-215825.jpg

20131217-220018.jpg

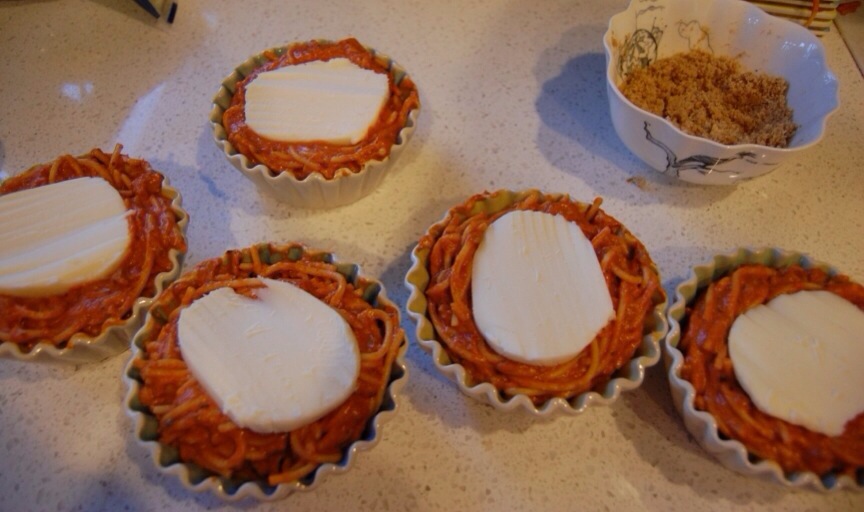
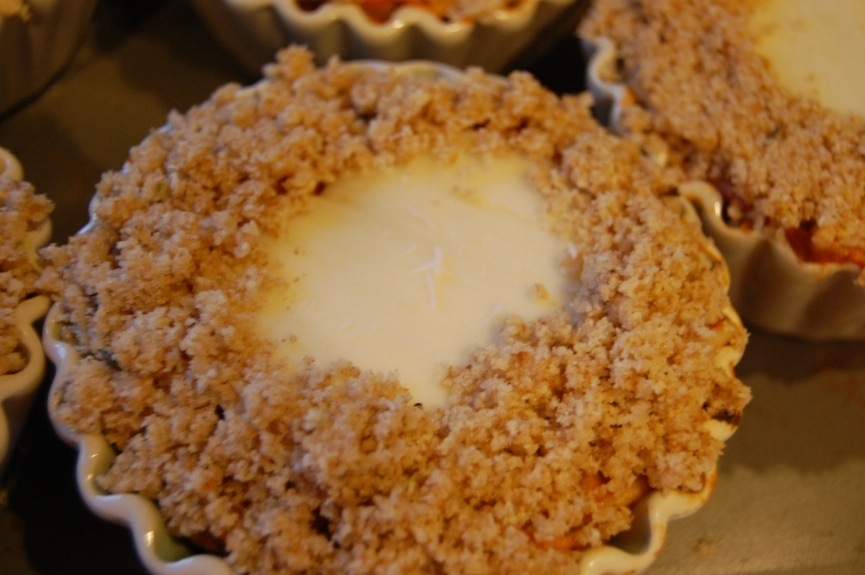
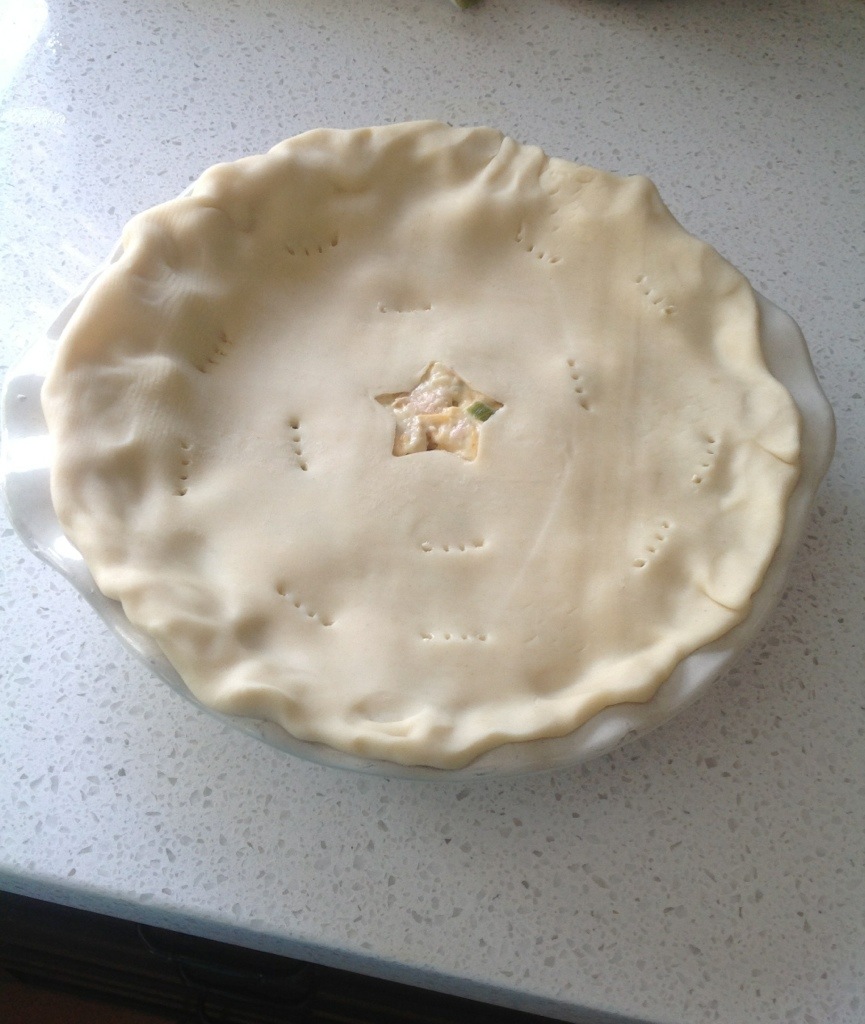
I placed a slice of mozzarella cheese on top. Then I placed the bread crumbs into a circle around the cheese.

20131217-222327.jpg

Place the ramekins onto a baking sheet and bake for 20-25 minutes until cheese is melted.

Turn oven to broil. Broil for approximately one minute until bread crumbs are golden brown. Be careful! You do not want your cheese to burn!
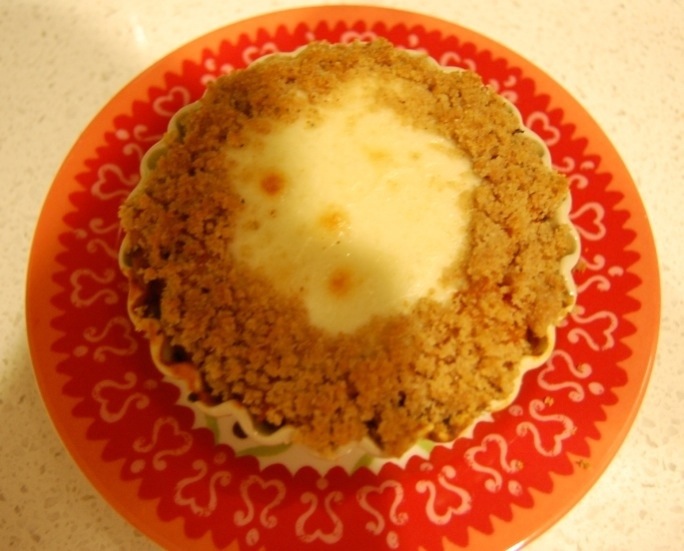
20131217-221835.jpg

Serve up on plates.

20131217-221129.jpg

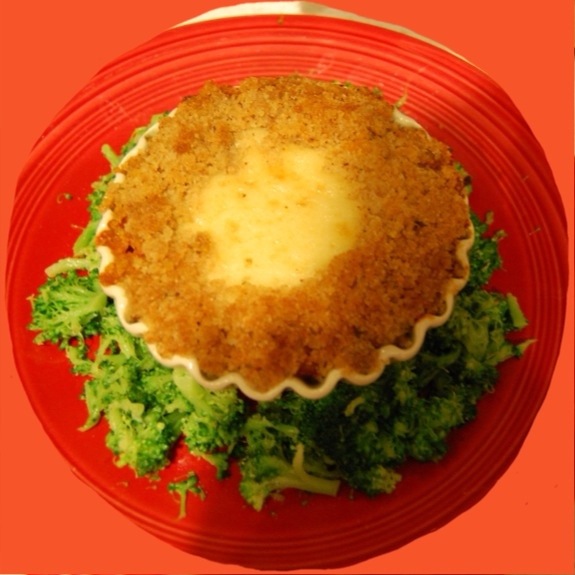
You can also add an additional wreath of green vegetables of your choice around the ramekin for an extra wreath layer. And an extra opportunity to fill your kids tummies (or your own) with an extra vegetable.

I won’t tell if you don’t.

Enjoy!

Waste Not, Want Yes: Tacos and Taco Casserole

20130930-115706.jpg

Okay. Who doesn’t have tacos in their regular menu rotation? It is a staple, right?

I like my tacos finely ground. I also like to make a casserole with the leftover meat the next day. The casserole recipe is from my lovely friend Bridgette! Thank you Bridgette! You’re the best.

Tacos

Ingredients:

1.5 lbs. ground meat (I prefer 93/7 ground beef)
White corn tortillas (I buy the 30 count package and make home made tortilla chips with the rest.)
3 cups shredded cheese (I like the Mexican four cheese. It is approximately 1 cup for tacos and 2 cups for casserole, but feel free to use less.)
Taco seasoning (I use around 1/2 more than they recommend. So, for this batch, 1 and 1/2 packets of taco seasoning. I just buy the large jar at Costco and measure it out.)
Water according to taco packet directions
10 oz. green enchilada sauce
1 Tablespoon Worcestershire sauce
1 tsp. Garlic powder
Pinch salt
1/2 cup vegetable oil

Optional Extras:

Shredded lettuce
Diced tomatoes
Sour cream
Chopped Cilantro

Optional Sides:

Salad
Mexican rice
Refried beans

20130930-114613.jpg

Heat vegetable oil in a small skillet on medium heat. Cook corn tortillas until slightly crispy. Fold over after thirty seconds in hot oil. Let simmer in oil on each side until lightly crisp.

Remove tortilla to paper towel lined plate. Repeat until you have enough taco shells that you need. Make a layer with paper towels every four-five tortillas. For my family of 4, I fry up 9. Turn off heat.

Cover tortillas with paper towel. Set aside.

20130930-115001.jpg

In a large skillet, brown meat over medium high heat. Add Worcestershire sauce, pinch of salt and garlic powder at this time.

20130930-114705.jpg

Mix taco seasoning and water.

20130930-115115.jpg

20130930-115232.jpg

Break meat up with spatula until crumbly and brown. Turn heat to low. Add taco seasoning/water mixture. Use a potato masher to get meat more finely crumbled. Let simmer for 8-10 minutes repeating with the potato masher as needed.

20130930-203618.jpg

Turn off heat. Serve meat in taco shells with cheese and optional toppings. And serve with optional sides. I served these with rice and salad.

Now, save the rest of your taco meat for the next day in the refrigerator. You could also prepare the following recipe the same night and just refrigerate the whole casserole until the next day. I vary what I do based on how tired I am.

Taco Casserole

This is my sweet friend Bridgette’s recipe:

The next day,

Preheat oven to 350 degrees. If you have a convection oven, 325 degrees.

20130930-115356.jpg

Take a small casserole dish and pour a small amount of enchilada sauce into the bottom. I prefer green.

20130930-115429.jpg

Layer tortillas on top of the sauce. I just tear mine to fit into the pan.

20130930-115458.jpg

20130930-115526.jpg

Layer half of your leftover taco meat on top of the tortillas. Pour 1/3 of your enchilada sauce on top. Top with 1/3 of your cheese.

Repeat with the next layer, starting with tortillas.

20130930-115622.jpg

For the final layer. Start with tortillas. Pour remaining enchilada sauce on top. Pour remaining cheese on top.

Cover with aluminum foil and bake covered for 25 minutes. Uncover. Bake 5-10 minutes longer until cheese on top is completely melted and the edges of the casserole are bubbling.

Remove from oven. Turn off oven.

20130930-120319.jpg

This is how I served it up. Thank you Bridgette for this recipe! I love it!

Enjoy!

Tuna Pie

20130613-162021.jpg

Yes, tuna pie.

It is my favorite.

Dish.

Ever.

I am a freak.

When I was a young lass, a friend was planning a surprise party for me, she called my best friend to see what to serve at my party. She wanted to serve my favorite dishes.

My best friend responded, “Well, I do not know what you are going to serve. All I know is, she likes tuna pie.”

This answer still makes me laugh. Hysterically. Because I imagine being the person receiving that response and the questions and images it inspires.

But I digress…

My grandmother used to make this for me. My mother would make this for me.

My grandmother and mother used to make homemade pie crust and fold cheese into the edges to make the most amazing crust. Folks, I am lazy. If you choose to be ambitious, that would take this pie to the next level.

20130612-153943.jpg

Tuna Pie (makes one pie)

Ingredients:

Package of refrigerated pie crust (I prefer Pillsbury. Choose the pie crust that can be rolled out. Not the frozen kind).
2 cups sharp cheddar cheese
2 cans of white albacore tuna in water, drained
2 cans of cream of celery soup (and yes, it must be cream of celery. Not cream of anything else. It will not taste good.)
1/2 stick of salted butter or 4 tablespoons
1 green bell pepper seeded and diced
1/4 cup chopped onion
1/8 tsp. ground pepper

Preheat oven to 375 degrees.

Place refrigerated pie crusts on counter at room temperature while you perform the following tasks:

20130612-154027.jpg

Melt butter in a skillet. Place onions and green pepper in skillet on medium heat. Cook until soft, about eight minutes. Turn off heat.

20130612-154108.jpg

In a separate bowl, mix drained tuna, cream of celery soup, and pepper. When onions and green bell pepper are soft, add them directly to this mixture. Do not drain. Add that glorious flavored butter to the tuna creation.

Mix.

20130612-154149.jpg

Add shredded cheese.

Mix.

I forgot to add pepper to my pie! Maybe I should have read my recipe first! Be better than me. Season.

20130612-154233.jpg

Open pie crust package. It should now be malleable. If it is not, wait five more minutes before you handle it.

Place one layer of pie crust on the bottom of the pie pan. Pierce with fork.

20130612-154307.jpg

Pour tuna mixture into the pie pan.

Cut a pretty shape into the remaining pie crust with a small cookie cutter.

Place over tuna mixture. Crimp edges. Pierce with fork.

20130612-154354.jpg

Isn’t this lovely? You would never know it was a tuna pie.

20130613-162108.jpg

Bake in the oven for 50-55 minutes.

Let cool for 15 minutes before serving. It’s not going to be pretty when you slice it. Hey! You’re eating tuna pie. This is the least of your worries.

20130620-140003.jpg

20130620-140253.jpg

This pie is even better reheated the next day. You have to eat it by the next day. Tuna products are bad after that.

My husband despises this pie. It’s okay. My dad despises this as well. My mother still cooked it. Thank God! So, I cook it when my husband is at work. The kids and I love it.

If you love tuna, make this! Enjoy! If you hate tuna, look away! While I enjoy!

Have a great day!

I shared this on Savvy Southern Style

And My Romantic Home