Meatloaf Muffins

IMG_0957.JPG

I feel the same way about meatloaf that I do about meatballs. Ugh! The name! It really is gag inducing. I will eat a bite of it and be enjoying it, but then it always happens… I start to think, “I am eating a loaf of meat.” A shaped form of meat. M. E. A. T. And then I will push it to the side and eat my mashed potatoes. Which, really isn’t winning any name contests of its own anytime soon.

I sure know how to sell a recipe, don’t I?

Well, this is all to say my husband LOVES meatloaf.

Loves.

And I like to make him happy. Making him happy makes me happy. I am hoping when he reads this he will remember this meal and my sentiments and not the dress that came in the mail today.

So, sometimes I form a mashed-together-pile-of-meat into a loaf. Just for him. I’m a keeper.

Still selling this recipe, aren’t I? Bear with me.

A few years ago, I made a batch of spicy meatloaf muffins (that recipe is not the one featured here). The kids liked the meatloaf made in muffin tins. I liked not having to cut a loaf of meat. Swallow. Breathe. And the other day I decided to make meatloaf muffins again using a variation of my meatball recipe. Would that make these meat muffins? There has to be a better name!

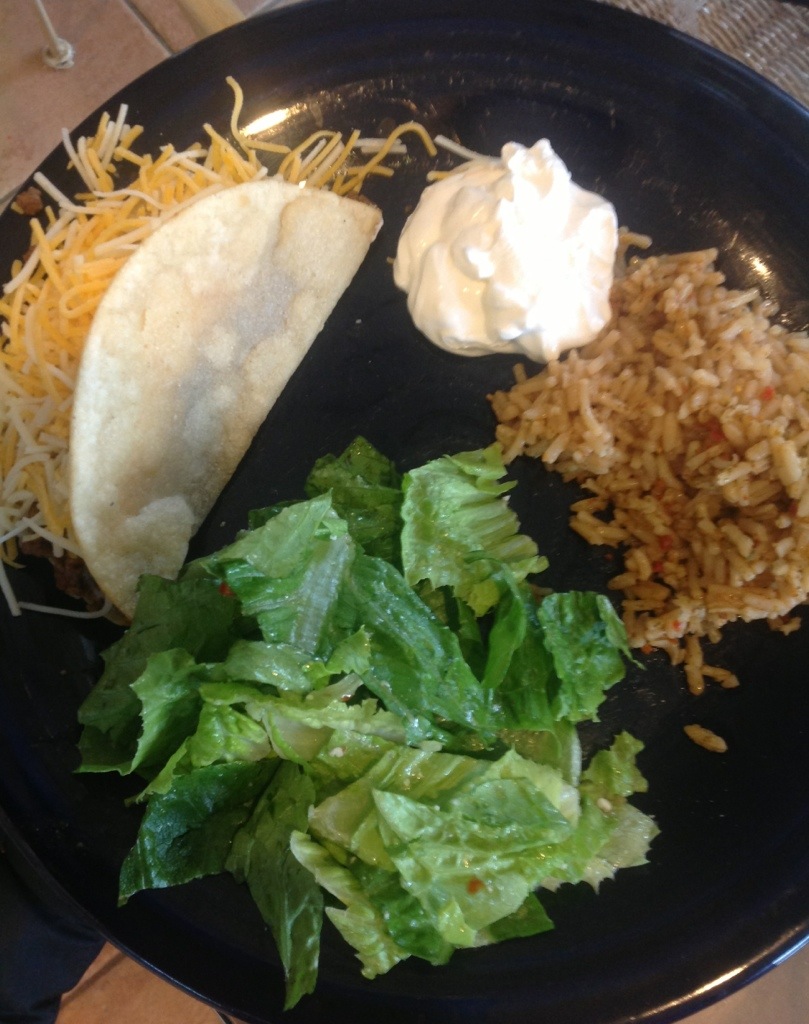
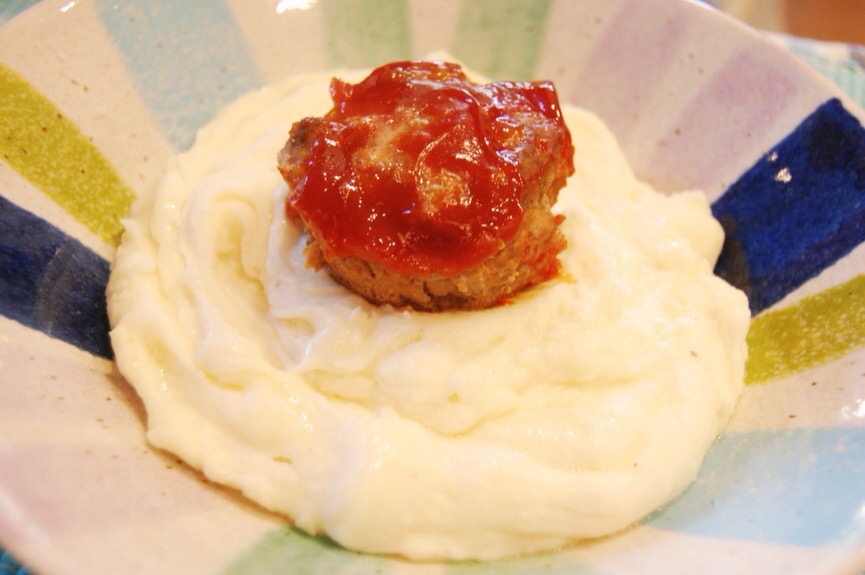
I served the meat muffins over mashed potatoes and it was so good. My husband actually groaned. And in a good way, not in a, “these recipe names are disgusting,” way that you are doing now.

I will absolutely keep making these little round suns of meaty happiness over clouds of potatoes. They are easy. They are fun. And everyone liked them.

Ingredients:

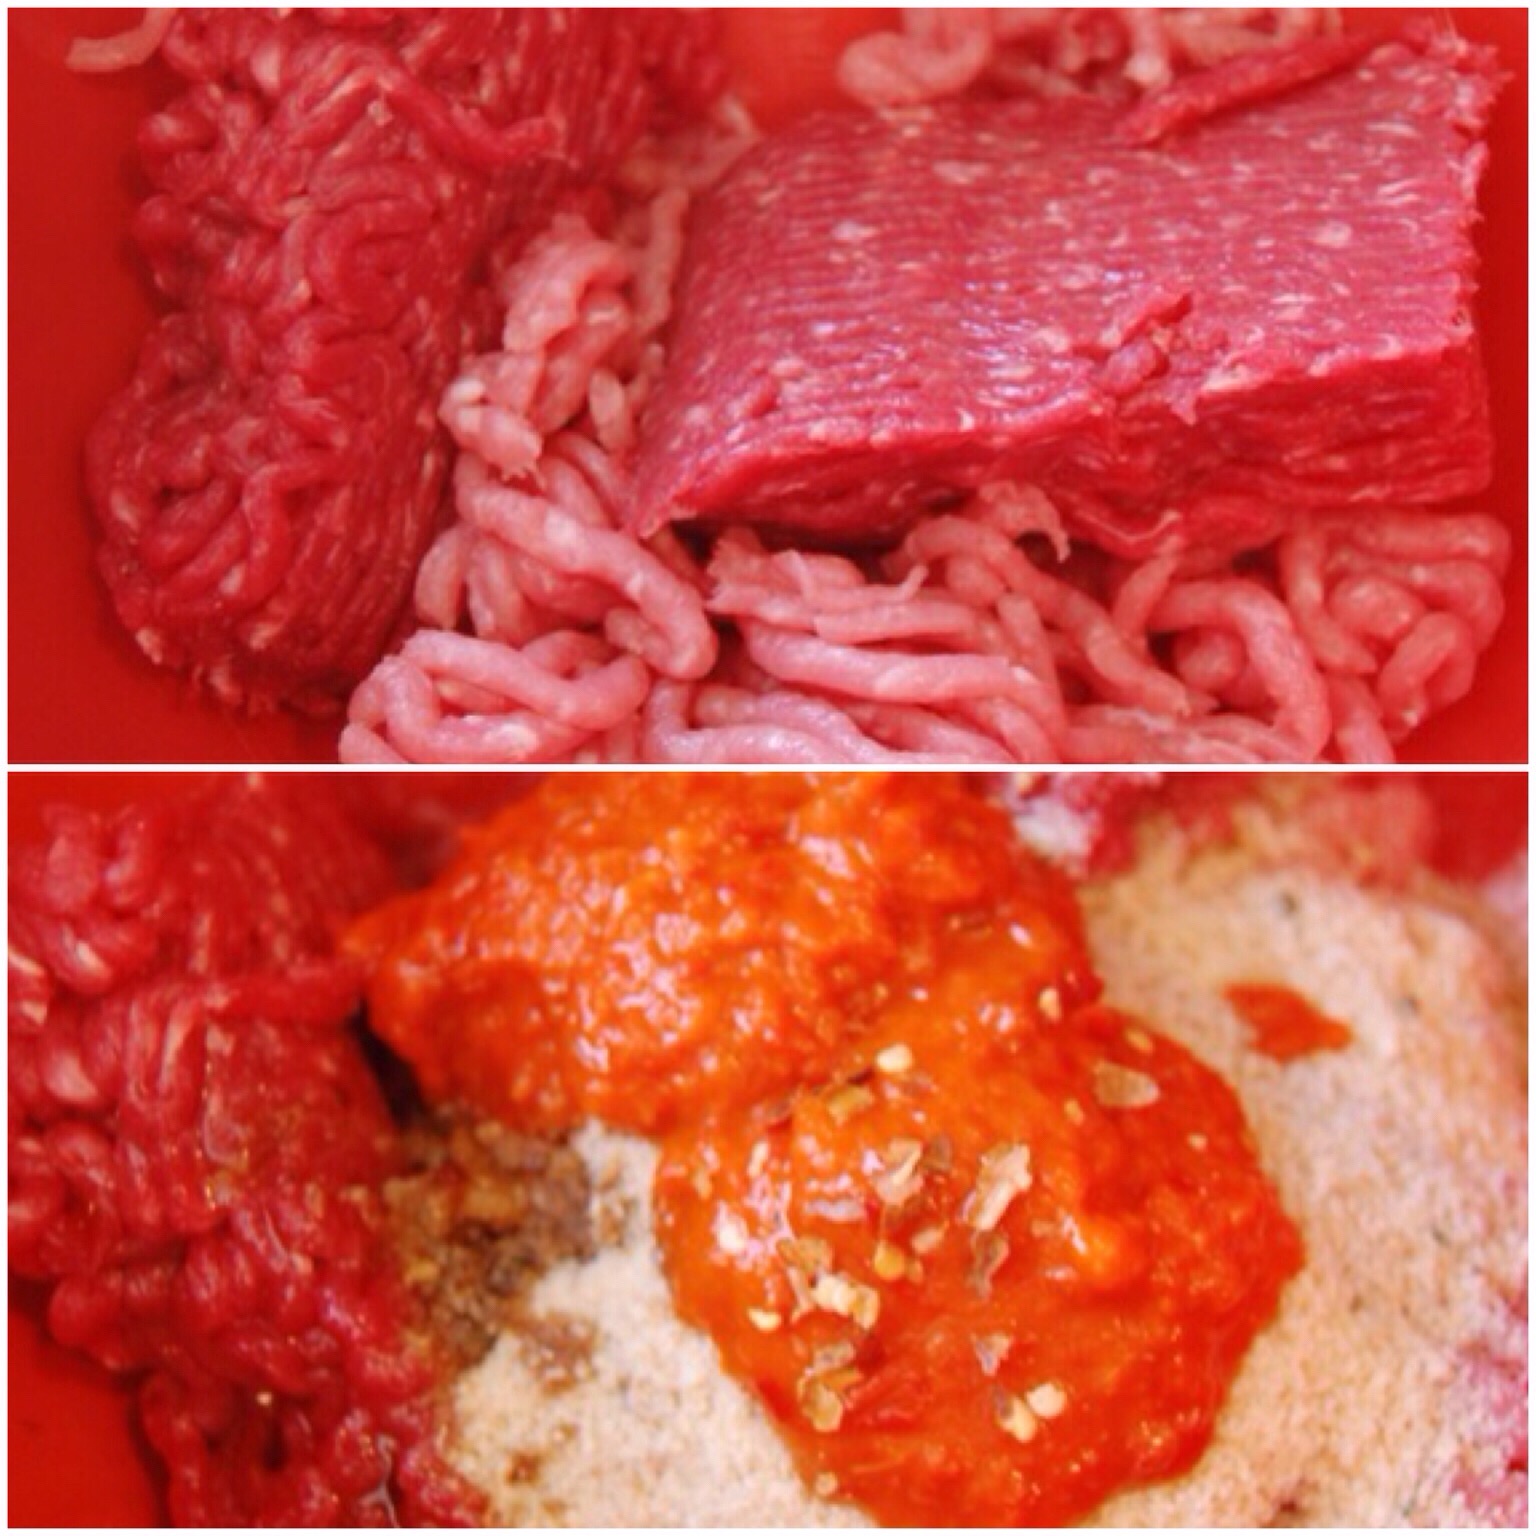
1/2 pound ground pork
1/2 pound of ground beef (I like 96/4 so that there is not a huge layer of fat on top of the meat at the end. I hate that!)
1/2 tsp. salt
1/4 cup dried Italian bread crumbs
1 egg
1/4 cup diced Onions cooked sautéed in 2 Tbsp. butter
Pinch chili flakes
2 Tablespoons of Dalmatia My Mom’s Red Pepper Spread (any kind of red pepper spread is good. I also really like the one Trader Joe’s carries)
1 tsp. worcestershire sauce
1 clove or 1/2 tsp. of minced garlic (sautéed at the last minute with the onions)
1/4-1/2 cup ketchup

Directions:

Preheat oven to 400 degrees F.

Grease muffin pans. This will yield eight meatloaf muffins.

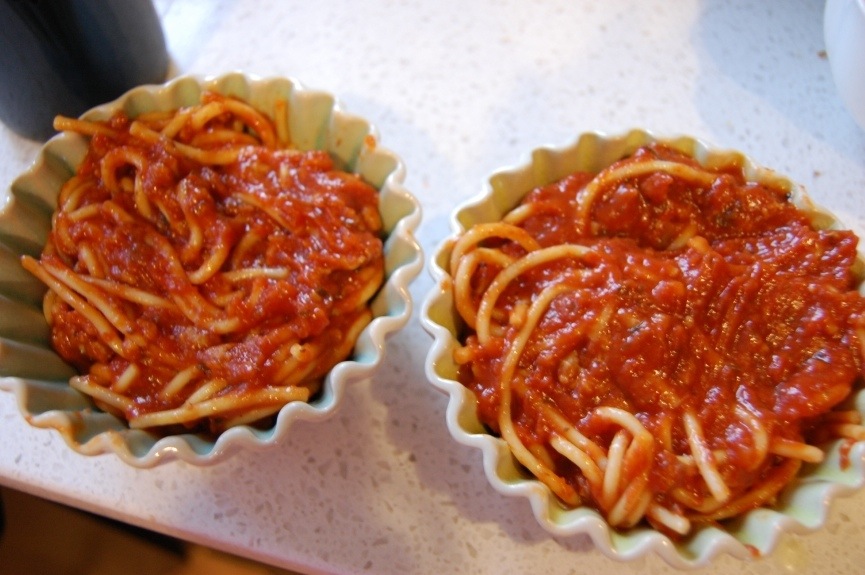
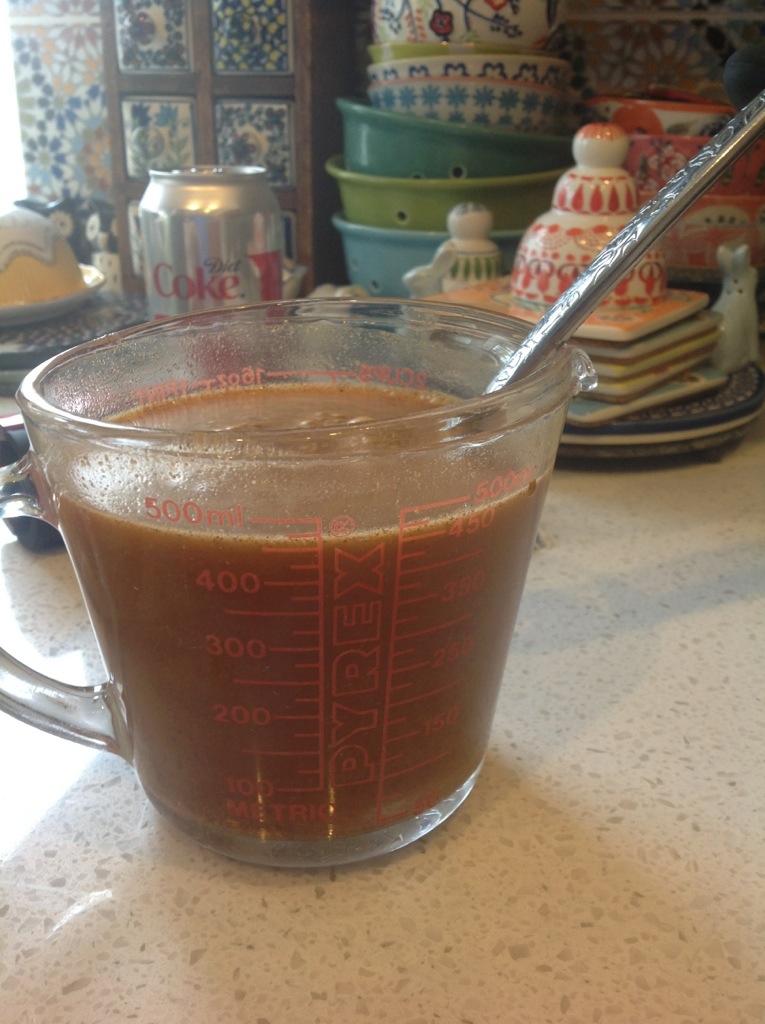
Your package of meats are probably about one pound each. If that is true, split each package in half and save the remainder of the meats for another meal. I used mine as a substitute for the whole pound of meat in the coffee ground spaghetti recipe that I love. It was delicious.

IMG_0973.JPG

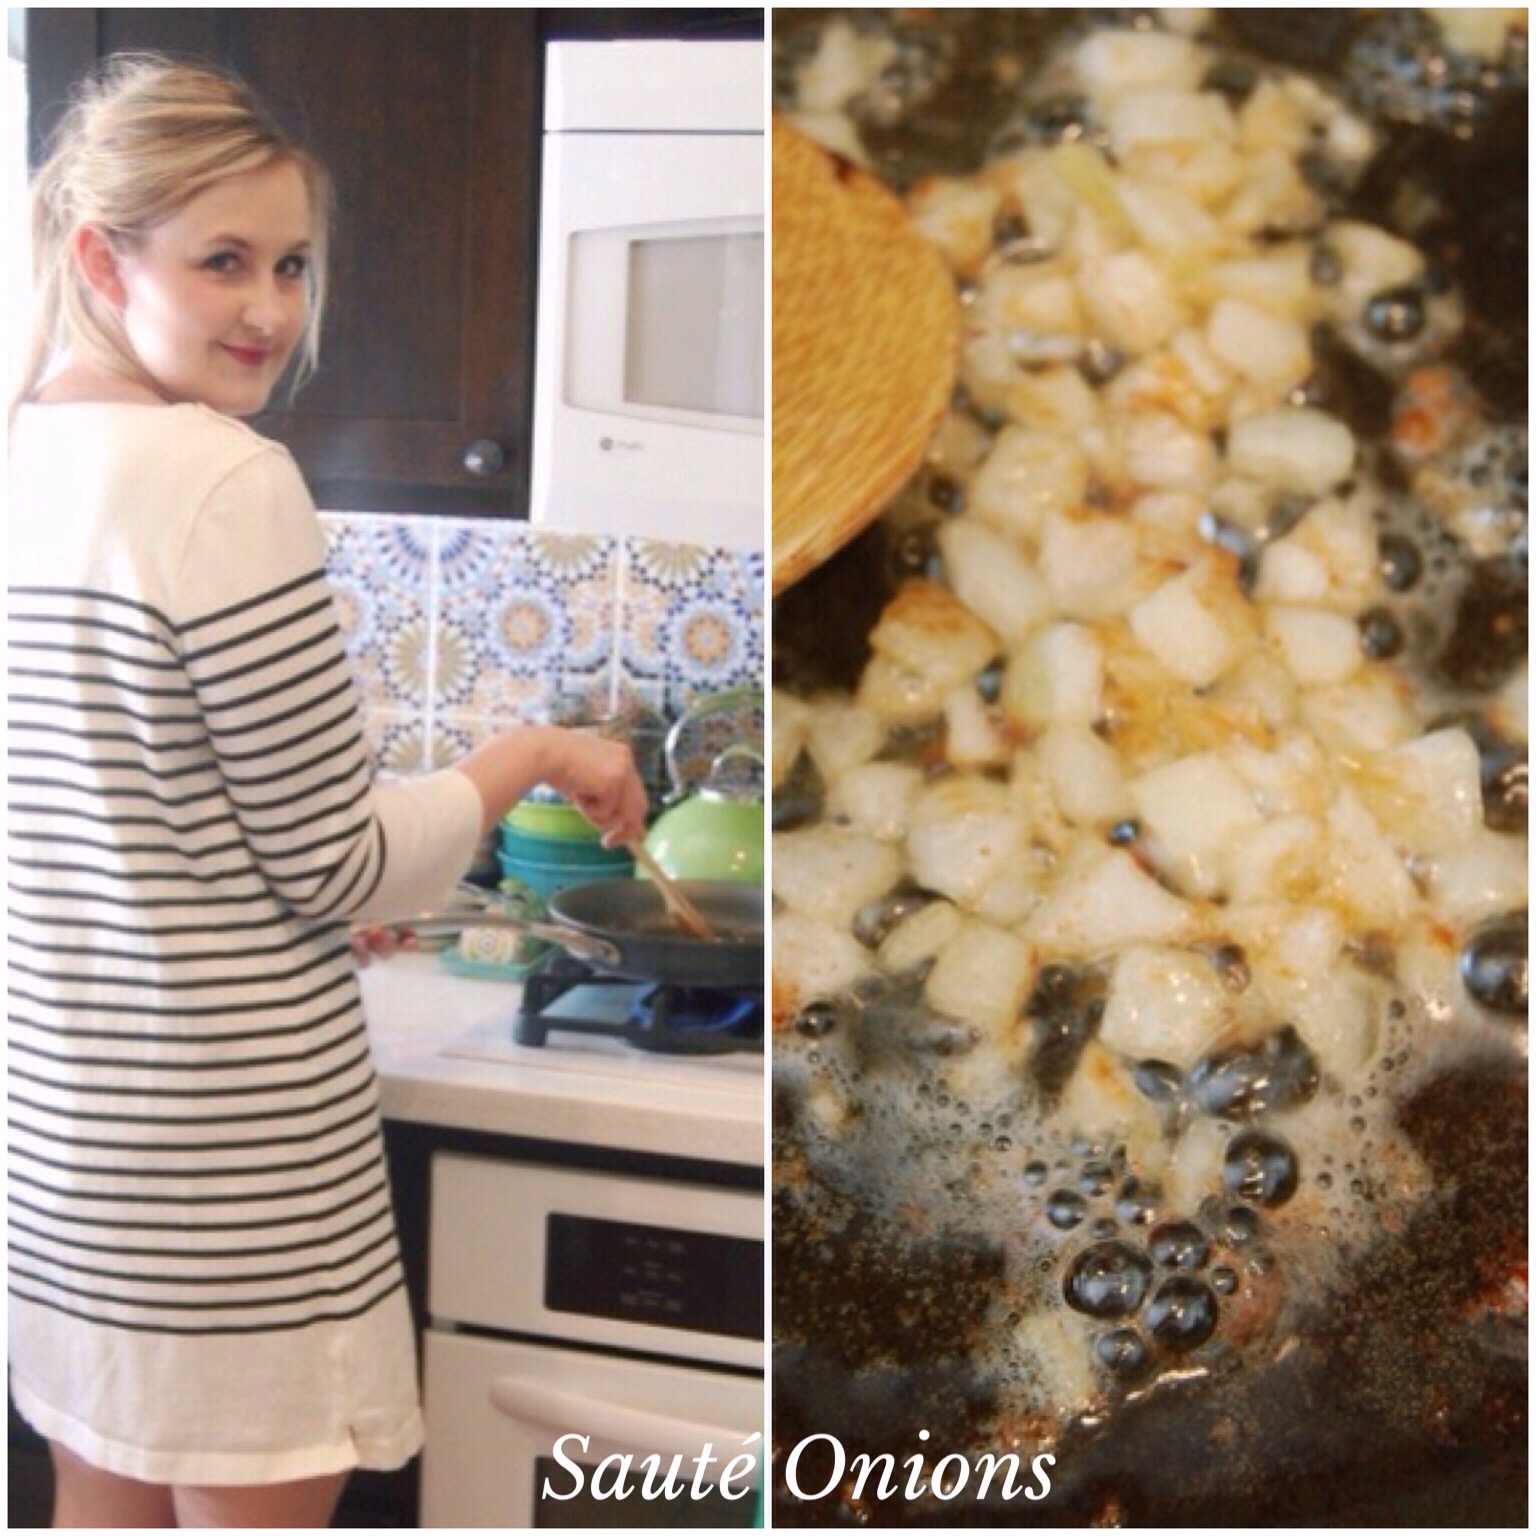
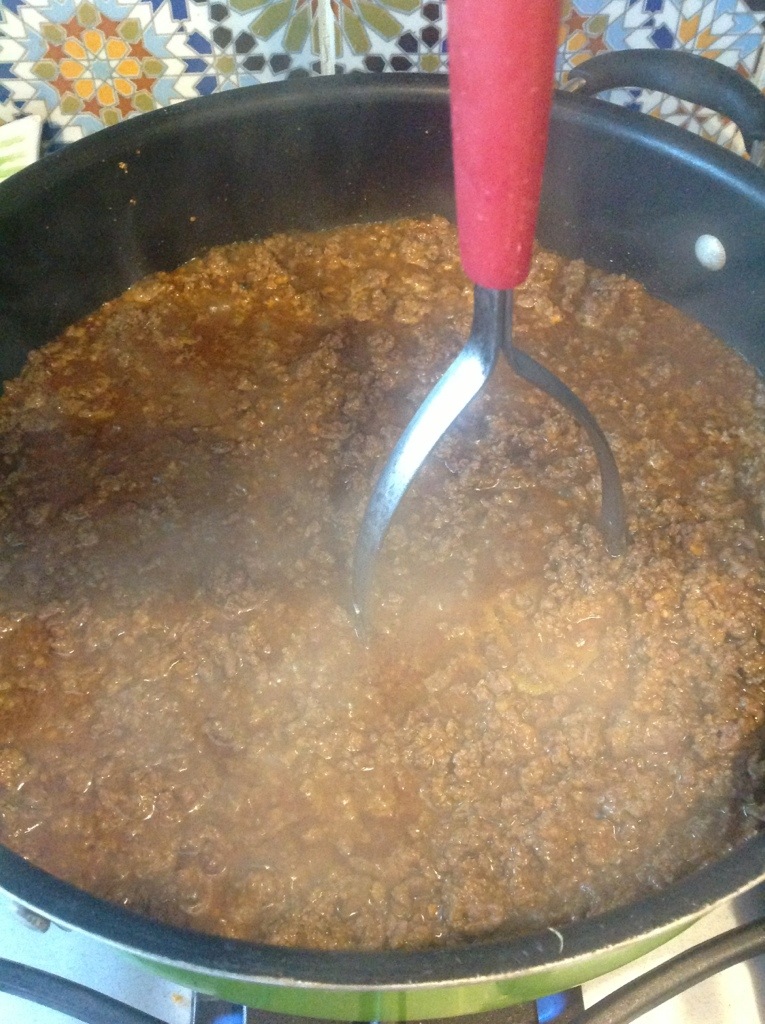
In a small pan, sauté onions in the butter for 7 minutes. Add garlic and sauté for an additional one minute.

IMG_0974.JPG

Add butter, garlic and onions to a large mixing bowl. Allow to cool for five minutes.

IMG_0975.JPG

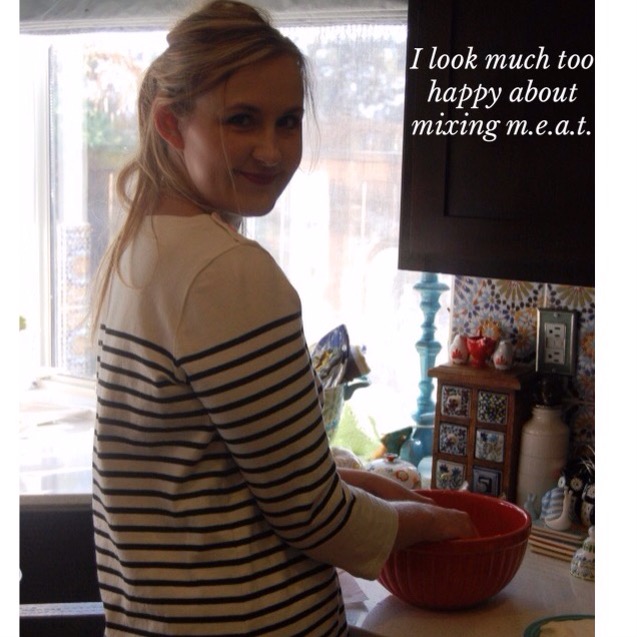
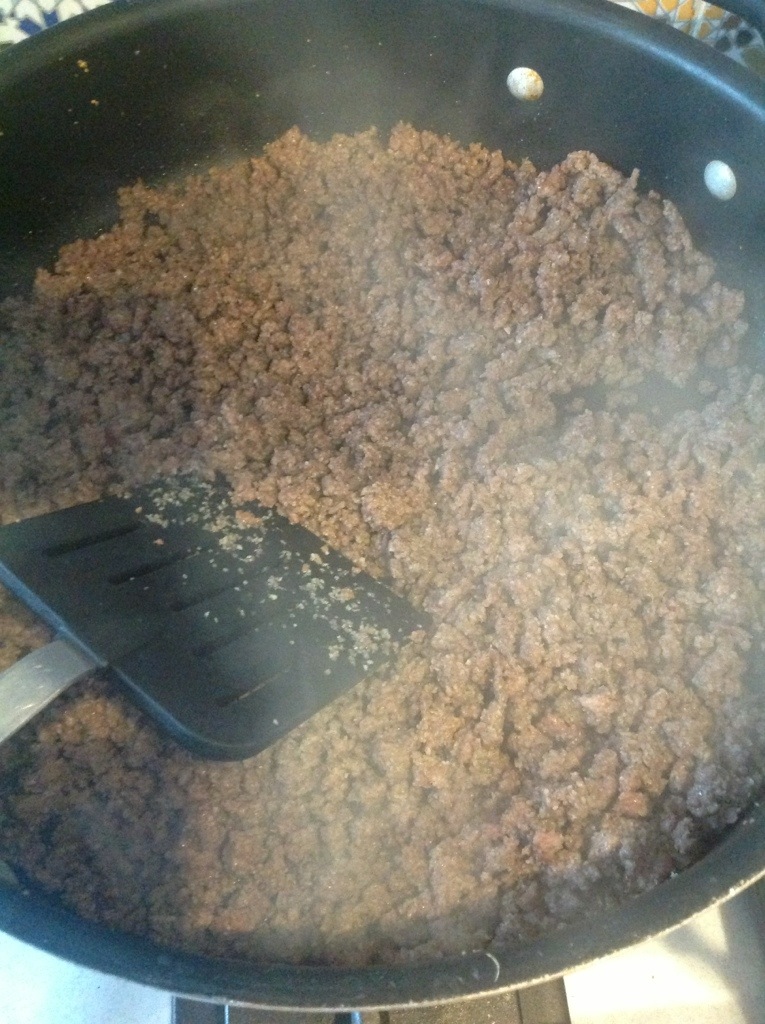
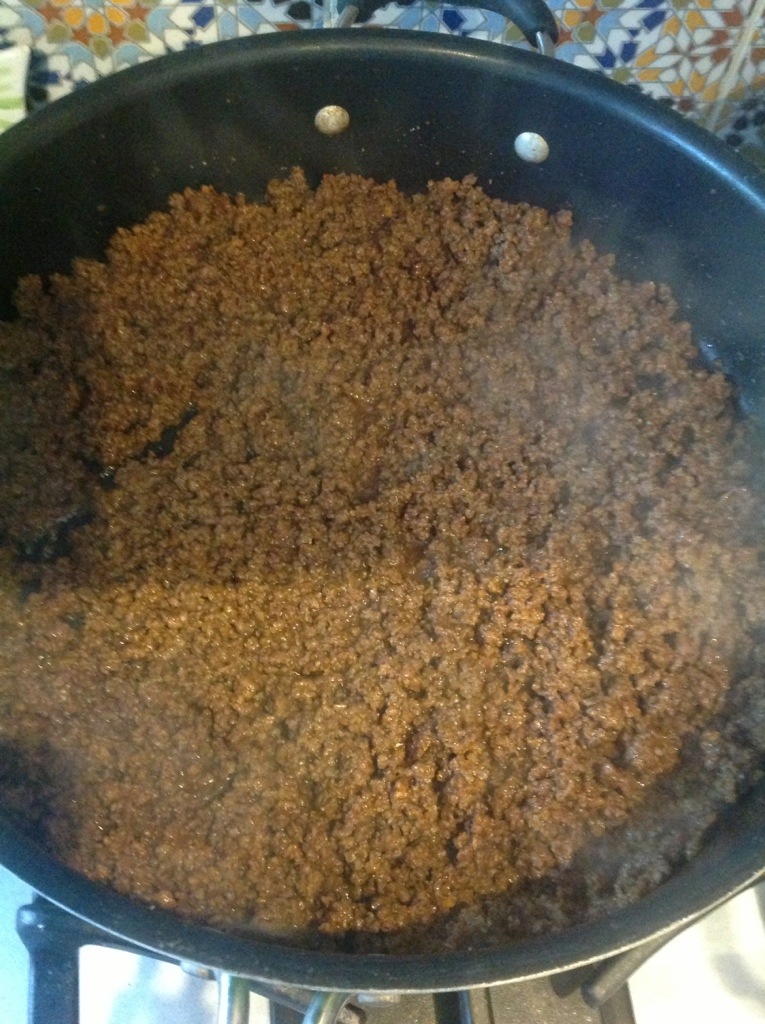
Add all remaining ingredients except ketchup and mix with hands until incorporated. You do not want to over mix. Just make sure everything is together.

IMG_0954.JPG

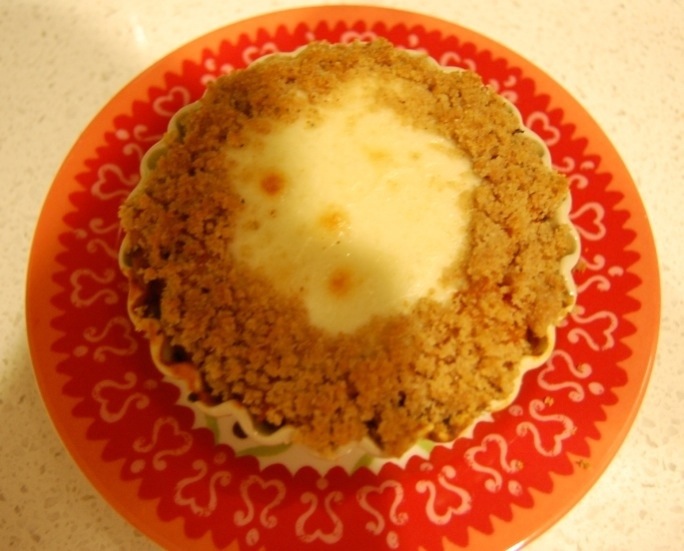
Now with an ice cream scoop, scoop meat into muffin pan.

Repeat until all meat is in the pans. Now layer ketchup over each muffin so that no meat pokes through.

IMG_0976.JPG

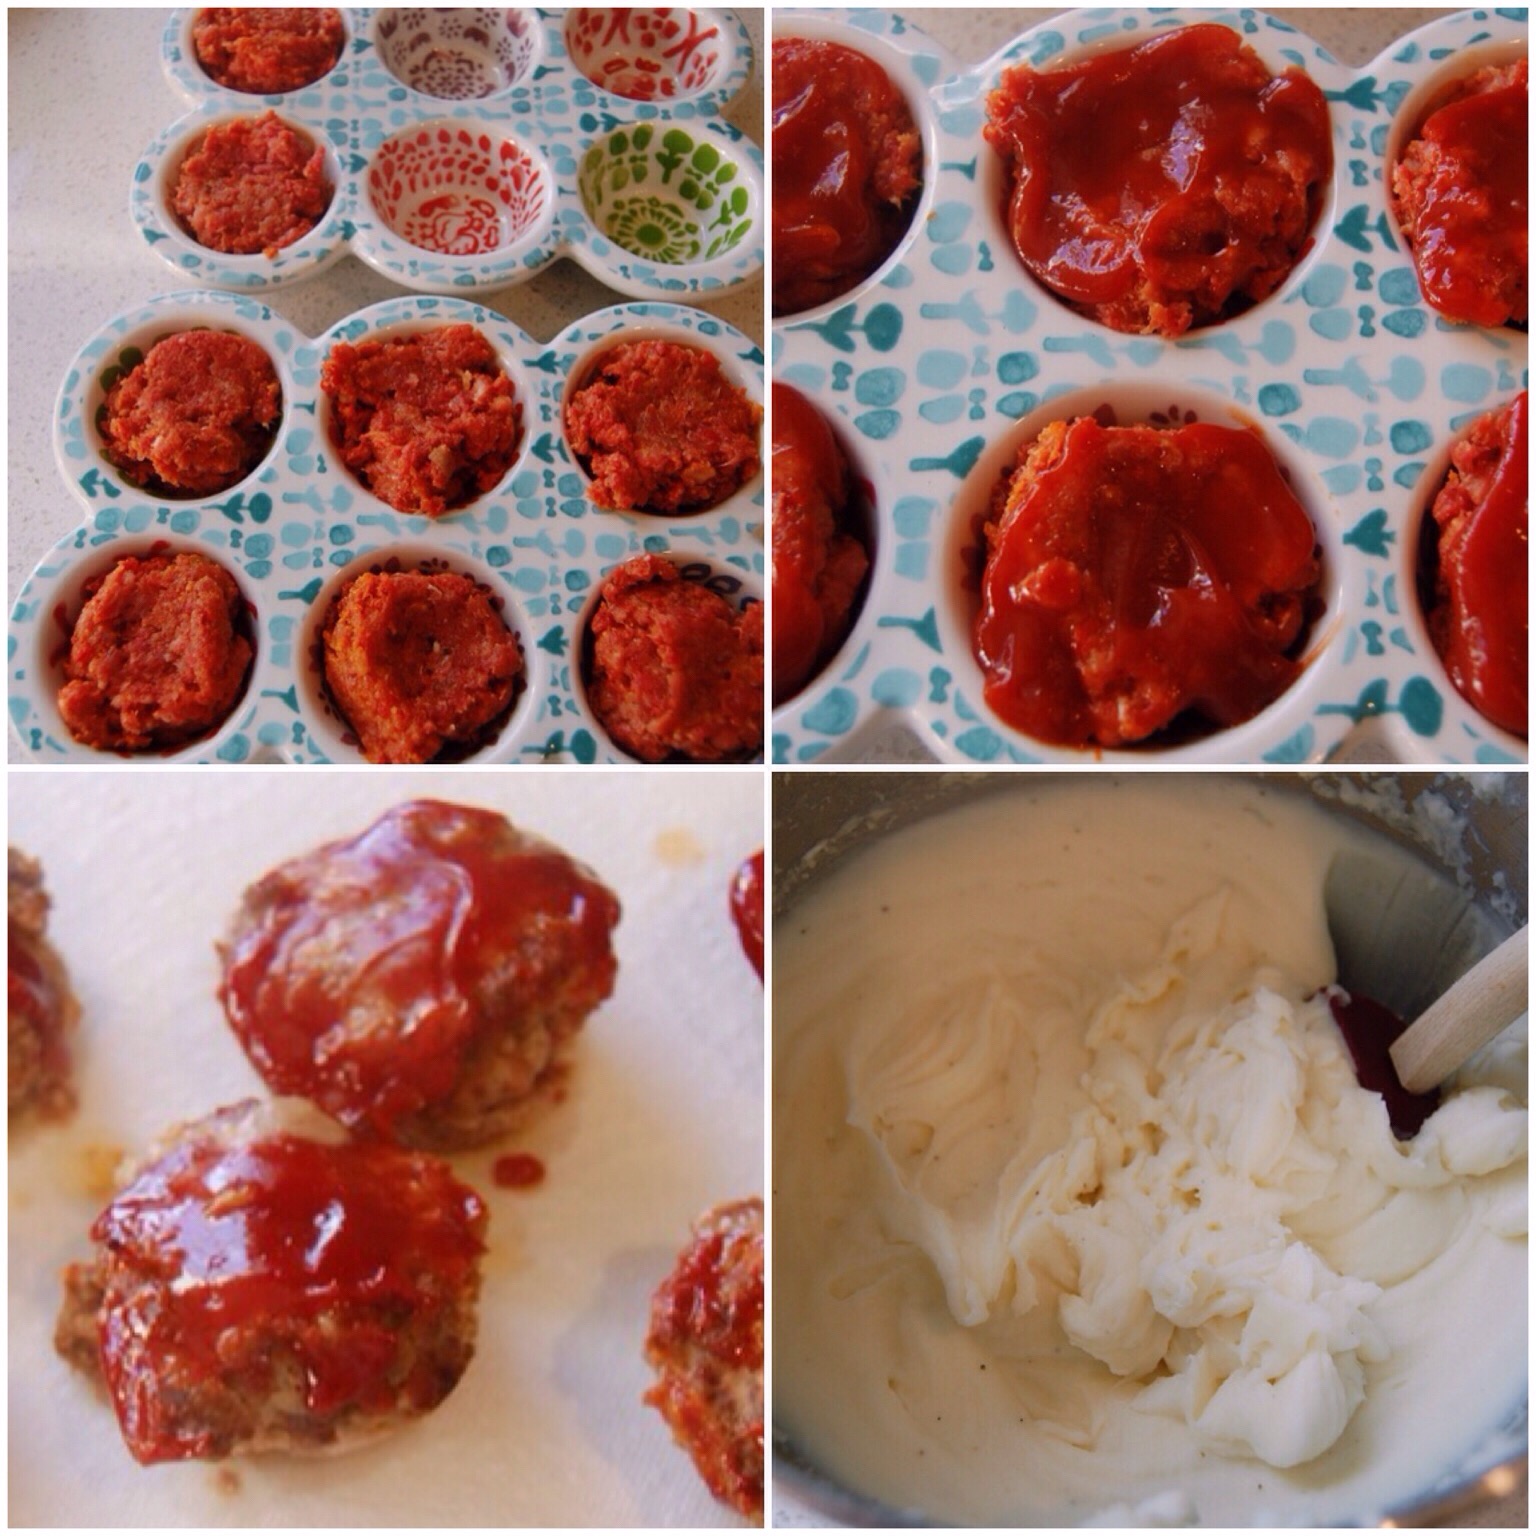
Place in oven and bake for twenty-twenty five minutes. I removed mine at twenty two minutes and cut open one to make sure it was done inside. I know this goes against every culinary rule (but, I mean really, we’re making meatloaf muffins here. How technically accurate do I need to be?), but I rest my meatloaf muffins on a paper towel for two minutes because I do not like the excess fat.

IMG_0964.JPG

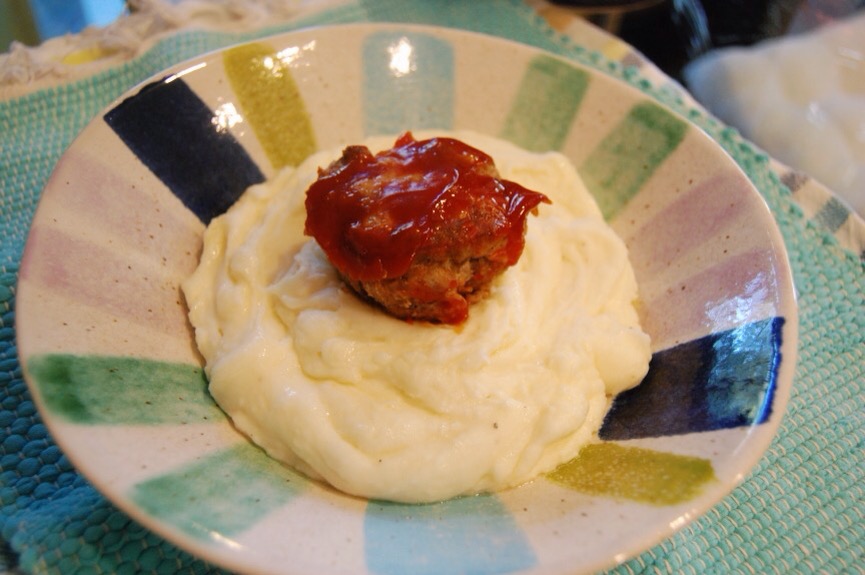
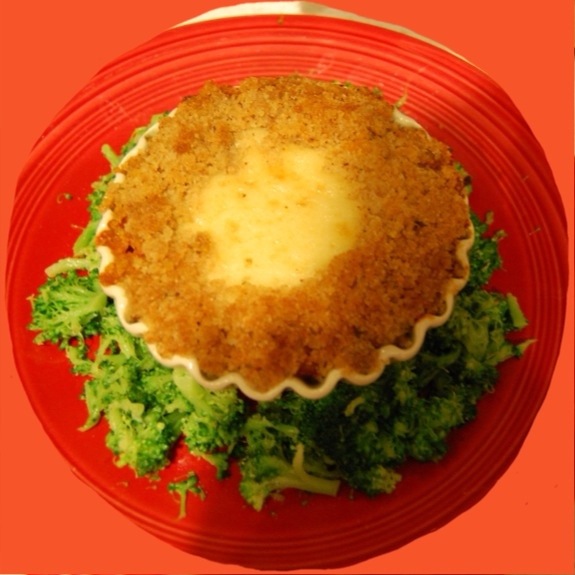
I served mine on top of mashed potatoes.

And it was good, despite the flaw of its name. It had a perfect blend of flavors and the creamy mashed potatoes brought it all together. I am actually craving them as I write this. I am a meatloaf convert. Let’s just keep this between us.

Shakespeare once wrote,

“A rose by any other name would smell as sweet.”

Well…

“Meatloaf by any other name will still taste of meat.”

Hmmmm… still not sure I’m sellin’ these right.

Holiday Spaghetti Wreaths

20131217-220105.jpg

It wouldn’t be Christmas without spaghetti. Wait. What?

Let me start over.

It wouldn’t be Christmas without me trying to make some kind of crazy fun dish that the kids can remember. This one beats tuna fish sandwiches dyed red and green…

But just by a bit. ; )

I wanted to do something special with my leftover spaghetti the other night. Well, as special as leftover spaghetti can be. With Christmas here, I had a fun idea. I wanted to make individual Christmas wreath ramekins filled with…spaghetti leftovers.

Frugal and fun?!

Happy day!

20131217-215548.jpg

Ingredients:

Leftover spaghetti (I would say this is 2 jars pasta sauce with 1/2 pound cooked ground meat, 1/2 package spaghetti noodles)
1/8 tsp. crushed red pepper flakes
1/2 diced red bell pepper
1/4 cup red wine
3 Tbsp. Olive oil
1 clove of minced garlic (I use 1 tablet from frozen packet)
1/2 block (4 Tbsp.) softened cream cheese
1/2 of a real mozarella cheese ball sliced into 1/2″ slices

Topping:

5 Tbsp. Butter
1/2 cup + 2 Tbsp. Bread crumbs
1/4 tsp. italian seasoning

Optional:

Anything green to use as filler on plate around your round ramekin. I used broccoli. It makes another pretty wreath.

Preheat oven to 350 degrees.

20131217-215638.jpg

In a small bowl, mix up your melted butter, bread crumbs and italian seasoning.

I sautéed my bell pepper in the olive oil for approximately seven minutes. Then I added the garlic and cooked the mixture for another minute. I added the wine and let that simmer for a minute.

20131217-215858.jpg

I mixed the cream cheese, leftover spaghetti sauce and noodles, and bell pepper mixture together. I plated the ingredients into individual round ramekins.

20131217-215825.jpg

20131217-220018.jpg

I placed a slice of mozzarella cheese on top. Then I placed the bread crumbs into a circle around the cheese.

20131217-222327.jpg

Place the ramekins onto a baking sheet and bake for 20-25 minutes until cheese is melted.

Turn oven to broil. Broil for approximately one minute until bread crumbs are golden brown. Be careful! You do not want your cheese to burn!

20131217-221835.jpg

Serve up on plates.

20131217-221129.jpg

You can also add an additional wreath of green vegetables of your choice around the ramekin for an extra wreath layer. And an extra opportunity to fill your kids tummies (or your own) with an extra vegetable.

I won’t tell if you don’t.

Enjoy!

Waste Not, Want Yes: Tacos and Taco Casserole

20130930-115706.jpg

Okay. Who doesn’t have tacos in their regular menu rotation? It is a staple, right?

I like my tacos finely ground. I also like to make a casserole with the leftover meat the next day. The casserole recipe is from my lovely friend Bridgette! Thank you Bridgette! You’re the best.

Tacos

Ingredients:

1.5 lbs. ground meat (I prefer 93/7 ground beef)
White corn tortillas (I buy the 30 count package and make home made tortilla chips with the rest.)
3 cups shredded cheese (I like the Mexican four cheese. It is approximately 1 cup for tacos and 2 cups for casserole, but feel free to use less.)
Taco seasoning (I use around 1/2 more than they recommend. So, for this batch, 1 and 1/2 packets of taco seasoning. I just buy the large jar at Costco and measure it out.)
Water according to taco packet directions
10 oz. green enchilada sauce
1 Tablespoon Worcestershire sauce
1 tsp. Garlic powder
Pinch salt
1/2 cup vegetable oil

Optional Extras:

Shredded lettuce
Diced tomatoes
Sour cream
Chopped Cilantro

Optional Sides:

Salad
Mexican rice
Refried beans

20130930-114613.jpg

Heat vegetable oil in a small skillet on medium heat. Cook corn tortillas until slightly crispy. Fold over after thirty seconds in hot oil. Let simmer in oil on each side until lightly crisp.

Remove tortilla to paper towel lined plate. Repeat until you have enough taco shells that you need. Make a layer with paper towels every four-five tortillas. For my family of 4, I fry up 9. Turn off heat.

Cover tortillas with paper towel. Set aside.

20130930-115001.jpg

In a large skillet, brown meat over medium high heat. Add Worcestershire sauce, pinch of salt and garlic powder at this time.

20130930-114705.jpg

Mix taco seasoning and water.

20130930-115115.jpg

20130930-115232.jpg

Break meat up with spatula until crumbly and brown. Turn heat to low. Add taco seasoning/water mixture. Use a potato masher to get meat more finely crumbled. Let simmer for 8-10 minutes repeating with the potato masher as needed.

20130930-203618.jpg

Turn off heat. Serve meat in taco shells with cheese and optional toppings. And serve with optional sides. I served these with rice and salad.

Now, save the rest of your taco meat for the next day in the refrigerator. You could also prepare the following recipe the same night and just refrigerate the whole casserole until the next day. I vary what I do based on how tired I am.

Taco Casserole

This is my sweet friend Bridgette’s recipe:

The next day,

Preheat oven to 350 degrees. If you have a convection oven, 325 degrees.

20130930-115356.jpg

Take a small casserole dish and pour a small amount of enchilada sauce into the bottom. I prefer green.

20130930-115429.jpg

Layer tortillas on top of the sauce. I just tear mine to fit into the pan.

20130930-115458.jpg

20130930-115526.jpg

Layer half of your leftover taco meat on top of the tortillas. Pour 1/3 of your enchilada sauce on top. Top with 1/3 of your cheese.

Repeat with the next layer, starting with tortillas.

20130930-115622.jpg

For the final layer. Start with tortillas. Pour remaining enchilada sauce on top. Pour remaining cheese on top.

Cover with aluminum foil and bake covered for 25 minutes. Uncover. Bake 5-10 minutes longer until cheese on top is completely melted and the edges of the casserole are bubbling.

Remove from oven. Turn off oven.

20130930-120319.jpg

This is how I served it up. Thank you Bridgette for this recipe! I love it!

Enjoy!