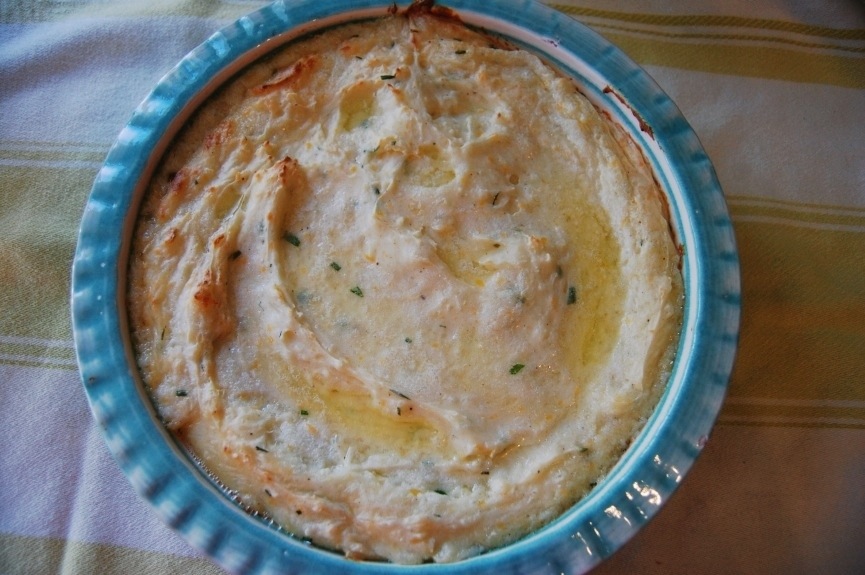
Baked Potato Casserole

Everyone should have certain go-to recipes that they can make quickly and feed a crowd. I feel it is important to always have a great potato recipe in your bag of tricks, especially for potlucks.

I found mine when I was thirteen.

My uncle’s best friend married a woman named Tara. Tara would bring this recipe to every Thanksgiving at my grandma’s house. I was one of Tara’s bridesmaids when I was thirteen.

20140722-203416.jpg

I made this recipe for my husband when we first started dating. And continued to do so for the next few months. In fact, this recipe was the basis for our very first fight. Do you want to hear about it or should I get right to the recipe? Oh, you want to see the recipe. Well, just skip this part then. I’m going to tell you anyway:

Sixteen years ago my husband and I were at the grocery store buying the ingredients for this dish. I started to grab eight potatoes. My husband (fiancé at the time) made a grievous error. He decided to question my reasoning.

I know.

He understands now that there is no reasoning with me. Because I have no reason.

Or rhyme, as it were.

“It’s just the two of us. Why do we need eight potatoes?”

“Because that is what the recipe calls for.”

“But why can’t we cut the recipe in half?”

“BECAUSE IT DOESN’T SAY TO!” Then I burst into tears and ran from the store. In my defense we learned I was pregnant later that day and so I like to think it was simply the hormones and not a weird irrational need to bake eight potatoes.

After that fight, I stubbornly never made this dish again until this month.

Sixteen years really isn’t so long.

At least in potato years.

Every marriage should be measured in potato years.

Let’s just get to the recipe. If you are making this you are going to want to prepare the baked potatoes well in advance of using them. So, time accordingly.

This recipe is so easy. I changed the original recipe just a little. I like it, because you do not have to cut potatoes into small pieces or boil them. And, guess what? In the pictures I halved this recipe. If you are making this for a small family, I recommend doing that. For a crowd, I use the full recipe. Okay. So, he was right. Darn.

Ingredients:

8 large baking potatoes
4 Tbsp. Cold Butter
1 16 oz. container of sour cream (2 cups)
2 cups shredded cheddar cheese
1 1/2 – 2 tsp. salt (I use 1 1/2 tsp. first and then add an extra 1/2 tsp. if it needs it)
1/2 – 1 tsp. ground black pepper (depending on your preference)
2 Tbsp. finely chopped chives
2 Tbsp. Finely chopped green onions

Directions:

Preheat oven to 375 degrees.

20140722-203453.jpg

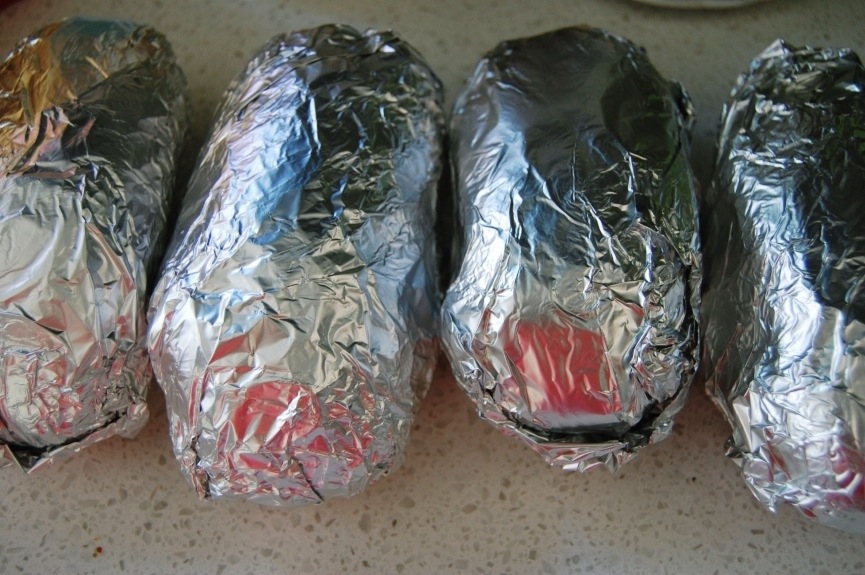
Wash potato. Dry potato. Pierce the potato with a fork two times and then wrap it up in foil. Repeat eight times.

Place the potatoes in the oven and bake for seventy five minutes. Once the potatoes are baked (give a slight squeeze, if it gives then it is ready, if not bake the potato a little longer), place the potatoes still in their foil in your refrigerator to cool. Turn off oven. They need to cool for at least three hours, but I often cool them overnight so they are ready the next day.

Take potatoes out of the refrigerator.

Preheat oven to 350 degrees.

20140722-203525.jpg

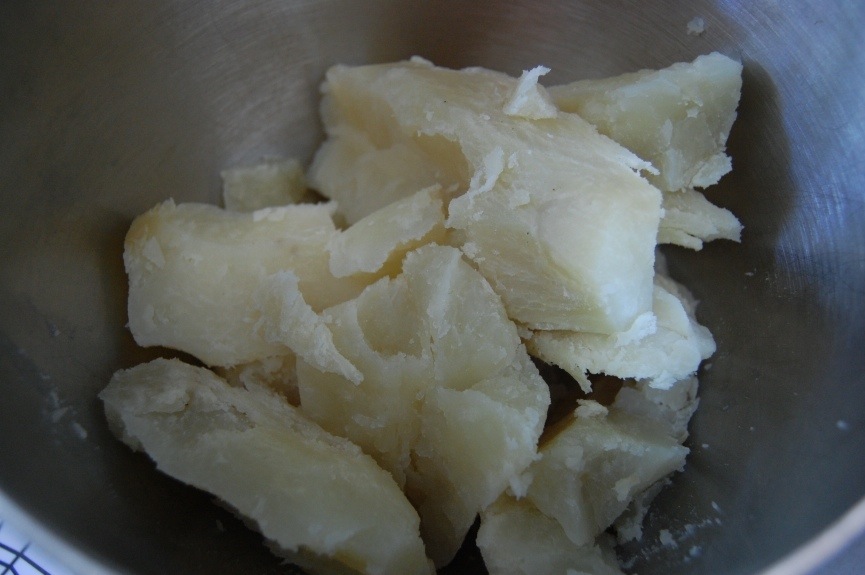
Remove foil and simply peel or cut the skin off of the potato. I just cut off each end and then cut the skin off. This is easy and quick.

Place in your mixing bowl for your stand mixer or in a bowl to beat with your hand mixer.

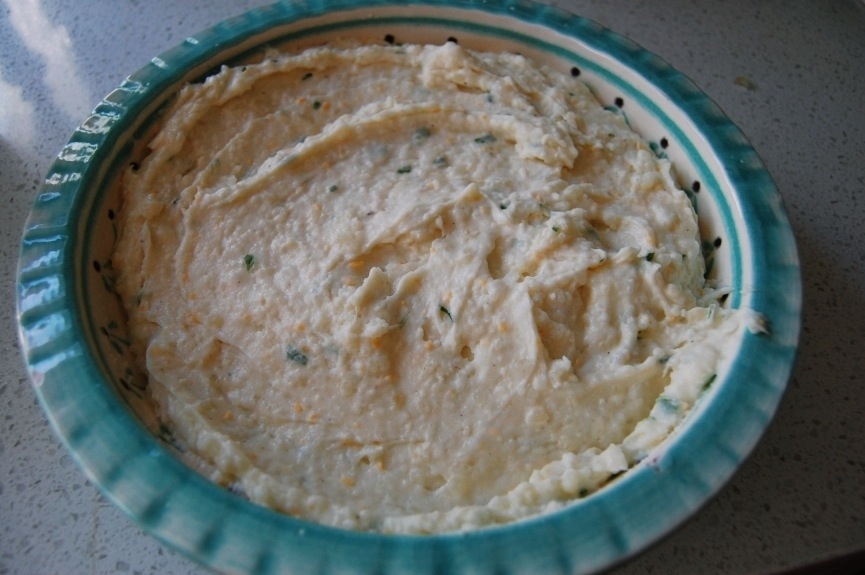
Beat potatoes on low setting (if you do it higher, potatoes will go everywhere). Add sour cream and beat on low for thirty seconds and then turn to medium speed. Add salt, pepper, chives, cheese and green onions. Beat for a few minutes until potatoes are broken down and all of the ingredients are incorporated. There will still be small chunks of potatoes, but not large ones.

20140722-203622.jpg

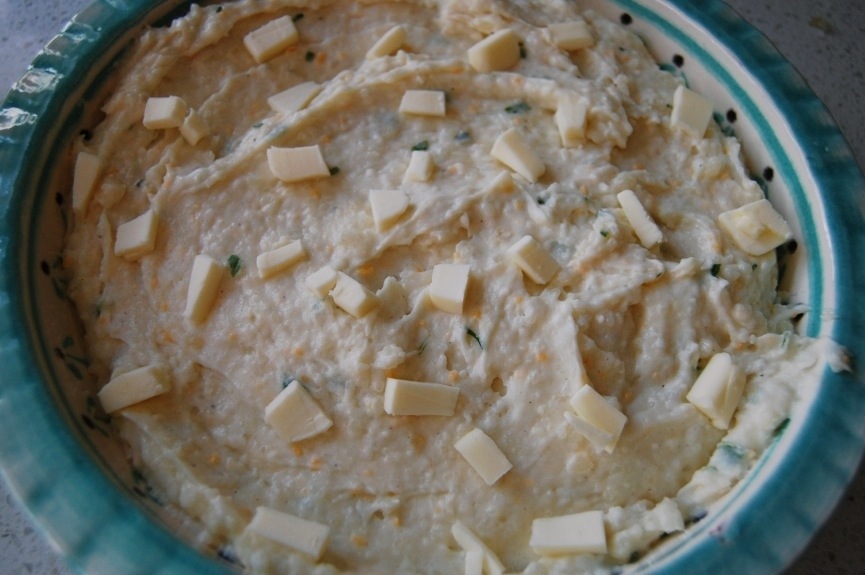
Pour potato mixture into a baking dish and smooth so it is even. Cut butter into small pieces.

20140722-203709.jpg

Dot the top of the potatoes with the butter.

20140722-203737.jpg

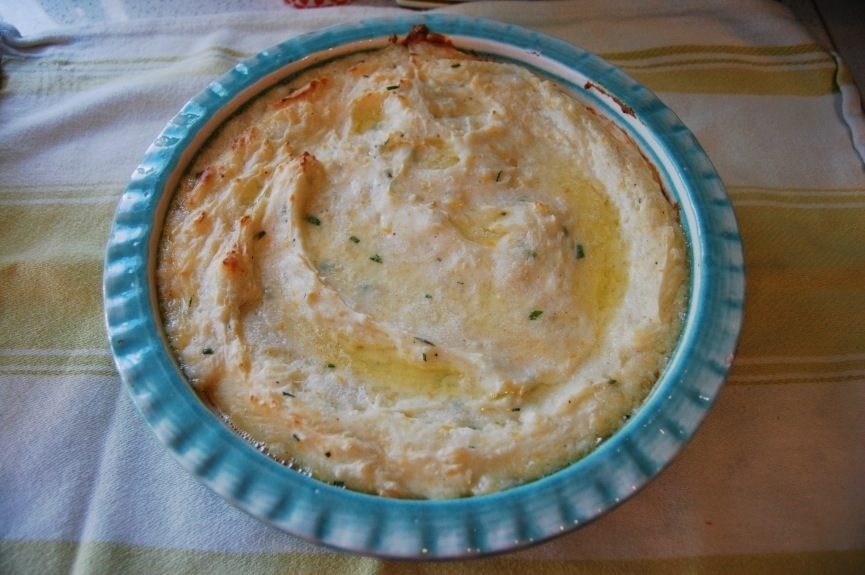
Place uncovered in the oven and bake for 30-35 minutes until edges are bubbling.

20140722-203857.jpg

Serve the potatoes.

And store marriage in a cool, dark place until ready to handle again.

P.S. I shared this on Savvy Southern Style.

And My Romantic Home.

Honey Vanilla Ice Cream

20140626-124736.jpg

The summers of my youth could be described in three flavors. Grape juice, cheddar cheese and homemade honey vanilla ice cream. Being from a long line of beekeepers meant that my family had learned to incorporate the very nectar of their labors into almost every food they ate.

I have mentioned that as a young child, a spoonful of honey was a snack. A few drops of pollen, a special treat.

But nothing compared to my grandma’s honey ice cream. And nothing ever will.

I have tried to replicate it the best I could. I also wanted to make it a bit less rich. I believe my grandmother used mostly cream. I decided to use half milk. Half cream.

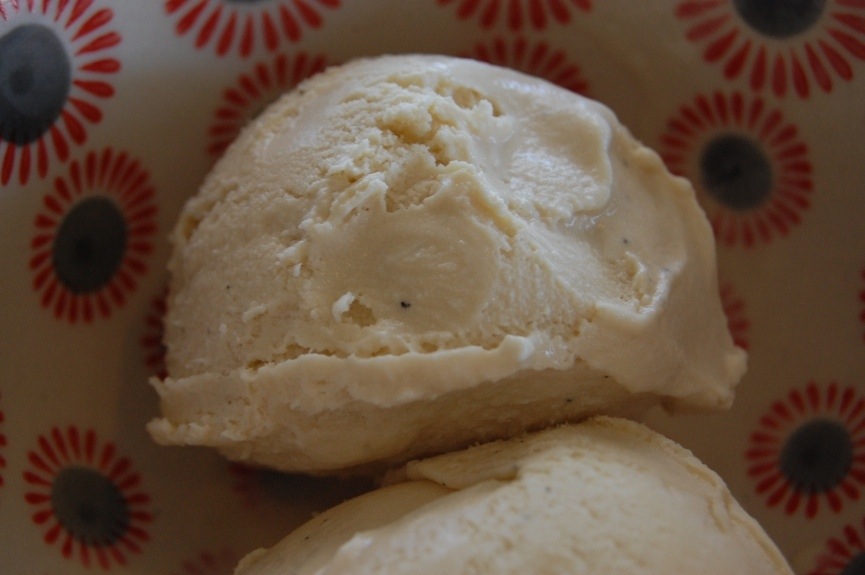
If you have never had honey ice cream, well, I don’t know if you should try it now. You will never go back. It is that good.

Seriously knees-dropping-to-the-ground-as-you-pay-homage-to-a-passing-bee good.

The person who invented the saying “you’re the bee’s knees,” may or may not have been referring to this phenomenon after just having eaten honey ice cream.

I mean, that makes sense right?

Well, it makes more sense than comparing someone to bee’s knees. Which, while they are quite cute and fuzzy for knees, do not come close to comparing to this treat.

Let’s make some heaven!

Ingredients:

2/3 cup honey
2 cups milk
2 cups heavy whipping cream
1 tsp. vanilla extract
Caviar from one vanilla bean
5 egg yolks

Directions:

Pour your milk and cream into a large pot on the stove. Add your honey. Turn heat to medium-low.

While that is heating up, separate five egg yolks. Whisk the egg yolks for two minutes continuously. Or bust out your stand mixer if you have one. And let it do the work for you on medium speed for two minutes.

20140626-124836.jpg

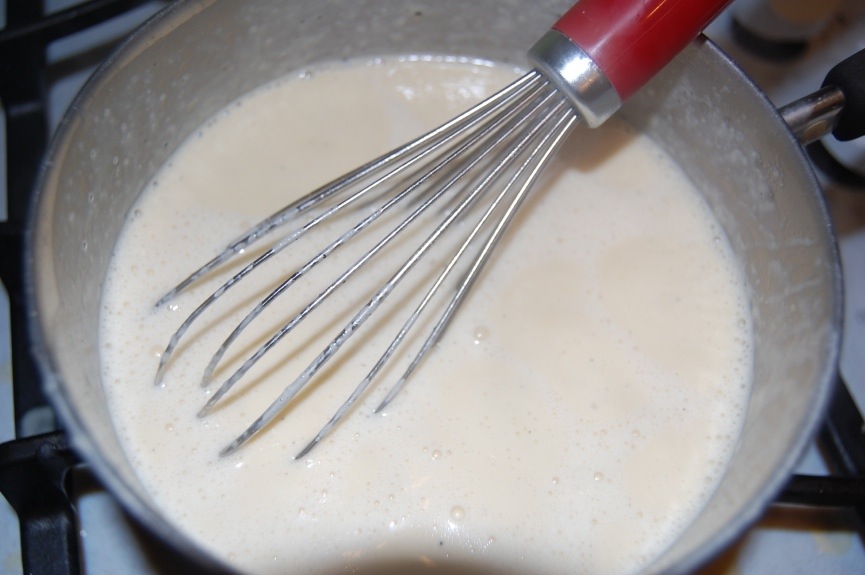
Add the caviar of a vanilla bean to the steeping milk mixture. Whisk. When milk mixture comes to a light boil, turn heat to low. Very slowly add a ladleful (about 1/2 a cup) to the egg yolks while you whisk them. Now add that mixture back into the hot milk mixture. With a wooden spoon, stir continuously until the mixture begins to thicken. This should be about three minutes.

Turn heat off. Strain mixture through a fine mesh strainer. Add vanilla extract. Stir.

Cover bowl and refrigerate at least two hours to overnight.

20140626-124807.jpg

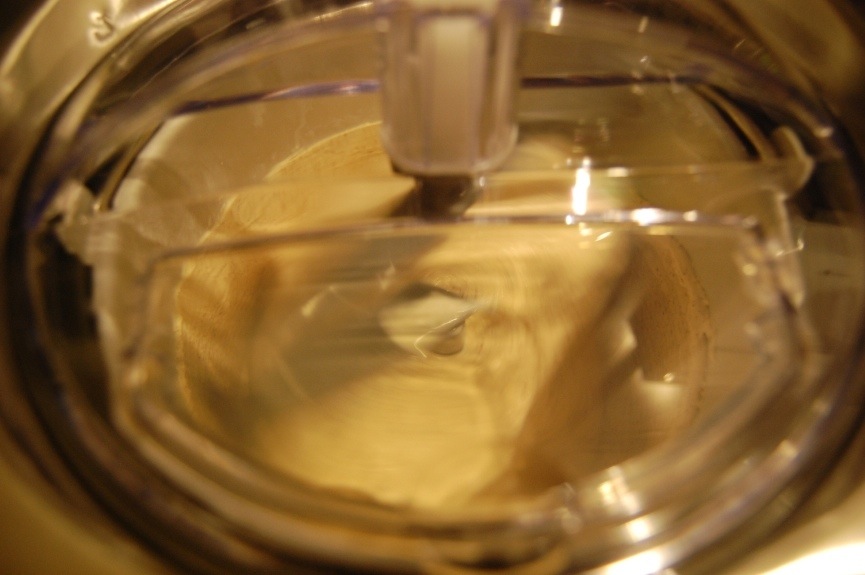
Follow your ice cream maker’s churning instructions. For my machine, I simply dump in the chilled ingredients.

20140626-125008.jpg

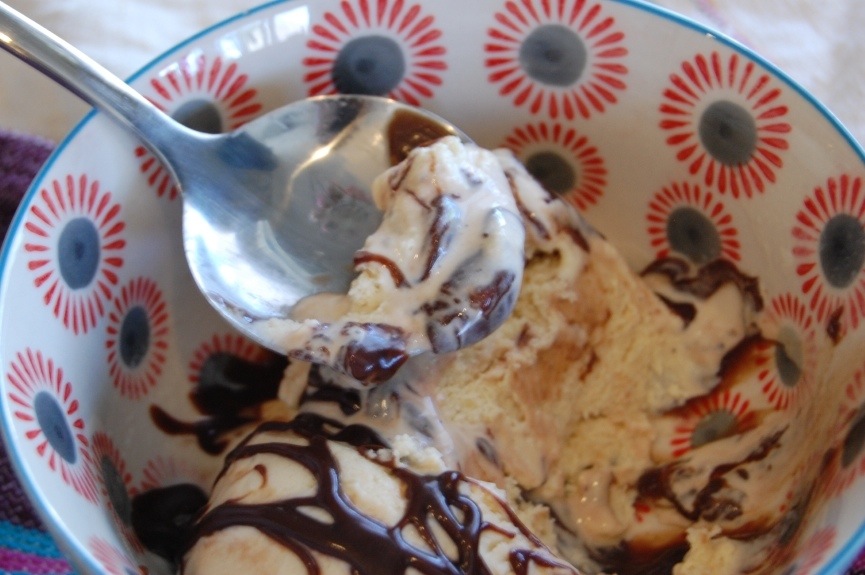
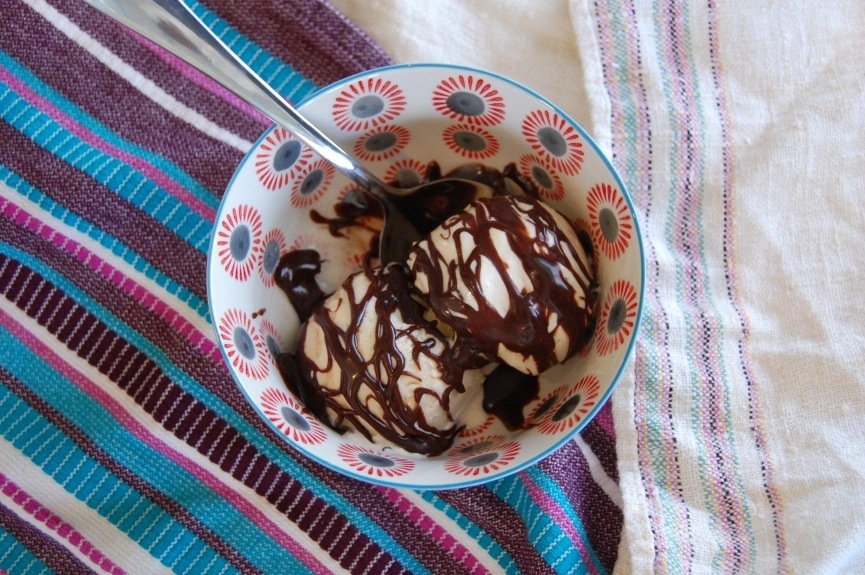
Freeze your ice cream in a freezer-safe container. And then indulge the next day. I like mine covered in Trader Joe’s Fudge Sauce.

20140626-124914.jpg

I warn you. You will never look at vanilla ice cream the same way again.

Or a bee for that matter.

Now let’s get some padding for those knees.

20140626-211706.jpg

*I adapted the vanilla ice cream recipe that came with my Cuisinart Ice-100 (a super fancy name for a big ol’ ice cream maker. The link is an affiliate link) to incorporate honey. Seriously, next time your husband makes the brilliant mistake of not asking for anything for Christmas, you might want to get him one of those babies. I might love it more than David Beckham.

Barbecamole! Crockpot Chicken Sandwiches

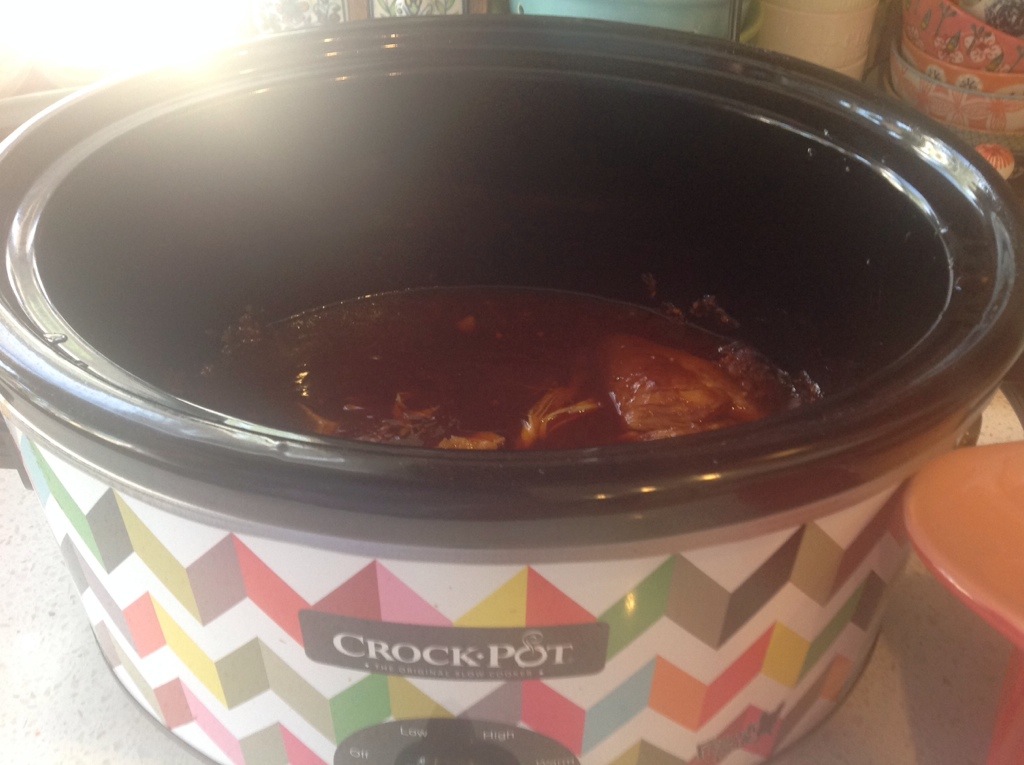
Barbecue chicken sandwiches are one of my favorite things to eat. I previously blogged about the recipe I use, here. They are just the easiest things to make. The chicken is simply made in a crockpot. Then it is shredded. Easy peasy! Lazy Dayzy!

This is the same recipe but I just added a little twist.

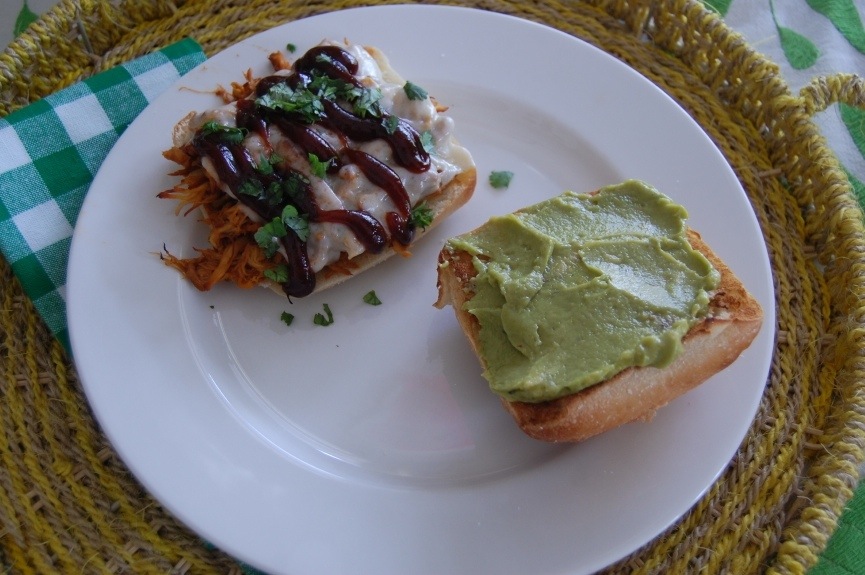
20140502-185627.jpg

I had some guacamole in my refrigerator that needed to be eaten before it expired the other day.

I had some leftover shredded barbecue chicken that was suffering from the same timed fate.

And I had an epiphany.

Oh, man. Barbecue. Chicken. Guacamole. Barbecue. Guacamole.

Barbecamole!

I had had a guacamole barbecue sauce at an event in October and could not get the flavor out of my mind.

And that is how the following recipe was formed.

And that is how a new word was formed.

And that is why my thighs. Are formed. From gluttonous decisions.

Ingredients:

Shredded Barbecue Chicken from this recipe
One pack of chibatta rolls
A slice of havarti cheese for each sandwich you plan to make
One bottle of your favorite barbecue sauce
Container of guacamole
3 Tbsp. Chopped cilantro

Directions:

Preheat oven to broil at 500 degrees.

20140502-185319.jpg

MaKe the barbecue chicken according to the linked recipe.

20140502-185454.jpg

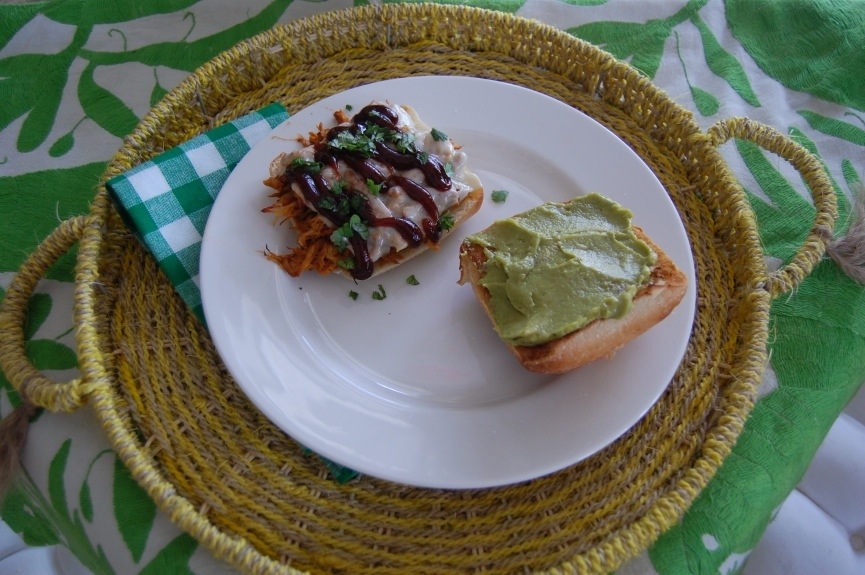
Take the chibatta rolls (I have also used regular rolls and they work fine, too. The chibatta is easier, because it makes a flatter sandwich. This makes it easier to eat) and cut them in half. Add the shredded barbecue chicken to the bottom half of the roll and leave the top half open. Place a slice of havarti cheese on top of the barbecue chicken and then place the tops and bottoms on a baking sheet and place the baking sheet into the oven underneath the broiler for thirty seconds to one minute depending on your broiler. You just want the top half lightly toasted and the havarti cheese melted.

Remove the baking tray from the oven. Pour a little barbecue sauce onto the melted cheese. Sprinkle chopped cilantro onto the barbecue chicken. On the top half of the roll, spread a generous layer of guacamole.

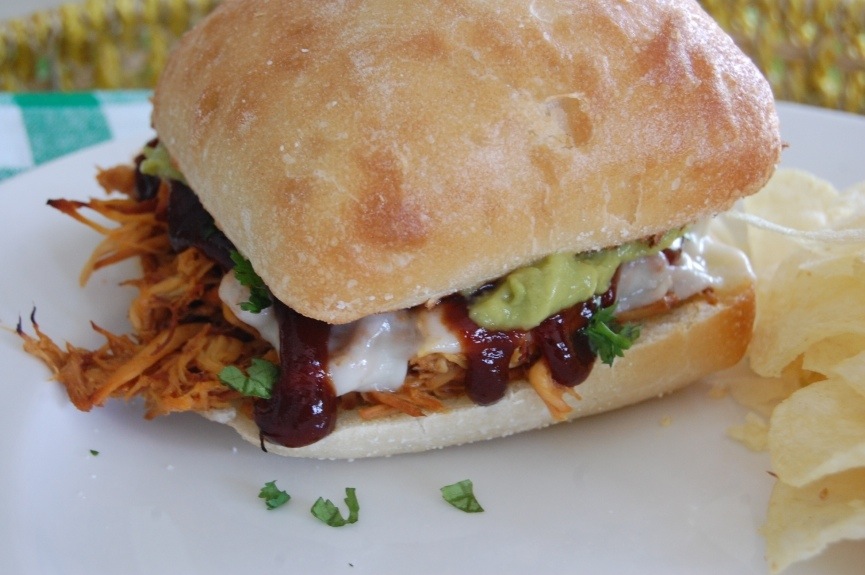
Put the guacamole top bun onto the bottom bun that is covered in barbecue chicken.

20140502-185756.jpg

Serve.

And listen to your happy thighs humming.

Oh, yum! Enjoy!

Barbecamole Chicken Sandwiches are my favorite.

I will be making this recipe instead of traditional shredded barbecue chicken sandwiches from this point forth.

Now I’m off to raid my refrigerator. What else can I combine? What do we think of ham and feta?

Hafeta?

Nah.

What about Jenni and McConaughey?

McJenniahey?

“Hey! Hey! Hey! Hey!”

I like the sound of that.

20140512-231512.jpg

P.S. I shared this on Cozy Little House.

And Savvy Southern Style.

And My Romantic Home.
Peanut Butter Nutella Cookies

20140403-110323.jpg

Be still my heart. Girdle my belly. Cinch in my thighs.

‘Cause I am about to share a cookie recipe that has become my new favorite.

And I cannot stop making them.

And I cannot stop eating them.

This is a humble cookie. It is simple. I find I like cookies with those two descriptions the best.

Most cookies are best the very first day you make them. These cookies stay soft and yummy for at least two and a half days (this is the longest length of time they have ever lasted in our house).

When I was eight, my grandmother gifted me a cookbook called, “For Good Measure: A Cookbook For Children” (I highly recommend this cookbook for children. Heck, I still use it myself). In it, was a peanut butter cookie recipe. I have never made or had a peanut butter cookie as good as the peanut butter cookies made from that recipe. I have been making those peanut butter cookies for twenty eight years. Sometimes I change it around by adding new ingredients. This recipe is adapted from that one. Because that recipe is so simple, this makes these cookies a cinch to put together.

Here is a little poem my thighs threw together for you, in honor of these cookies:

The faster to make.
The easier to bake.
My mouth will wake.
And my thighs shall quake.
For goodness sake.
This poem shall take.
The cake.

For being the worst…

The cookies take first.

On to the recipe!:

Ingredients:

1/4 cup smooth peanut butter
1/4 cup of Nutella (chocolate hazelnut spread)
2 Tbsp. Milk
1 stick of softened salted butter (8 Tbsp.)
1 egg
1/2 tsp. vanilla extract
Caviar from 1 vanilla bean (if you do not have this, you can increase your total vanilla extract to 1 1/2 tsp.)
1/2 cup granulated sugar
1 cup organic brown sugar (it makes a difference)
1 3/4 cup flour
1/2 tsp. salt
1 tsp. baking soda

This recipe makes twenty four cookies.

Preheat oven to 350 degrees. If you have a convection oven, preheat oven to 325 convect bake.

Pour the 1/2 cup granulated sugar in a separate bowl and set aside while you work on the following.

In a bowl with a hand mixer or in your bowl on your stand mixer, beat butter and brown sugar until light. Stop mixer and add in your vanilla and vanilla bean caviar. Mix.

20140403-173745.jpg

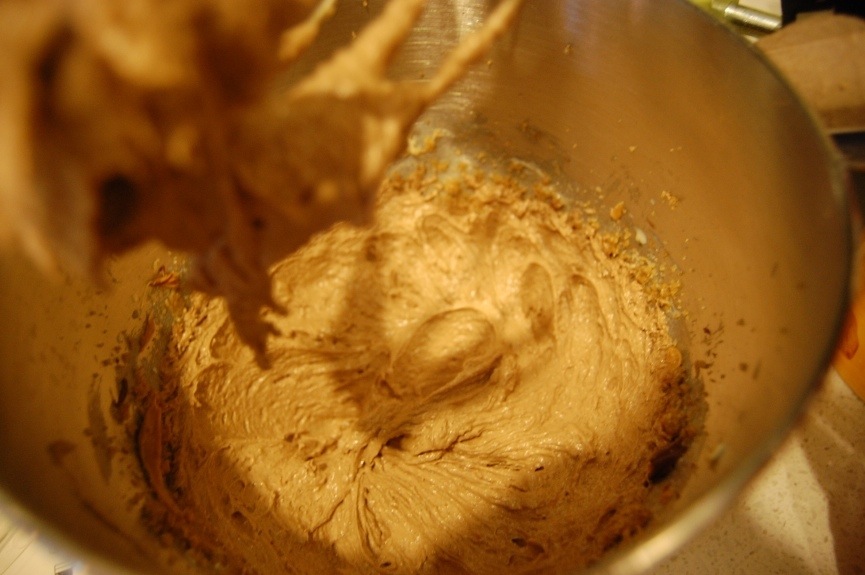
Now add peanut butter and Nutella and mix together until completely incorporated.

20140403-110411.jpg

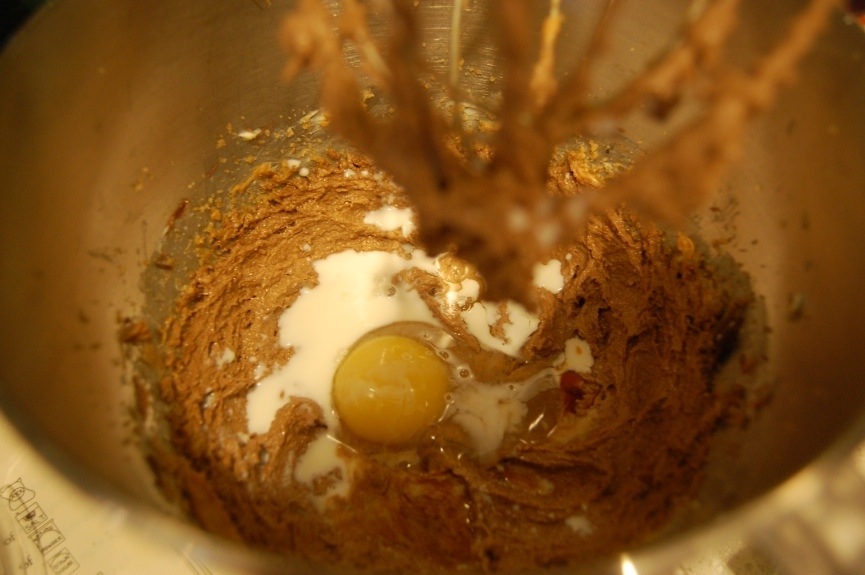
Add the milk and egg and mix until light and fluffy.

Turn mixer to low and add in salt and baking soda. Mix until incorporated.

20140403-110503.jpg

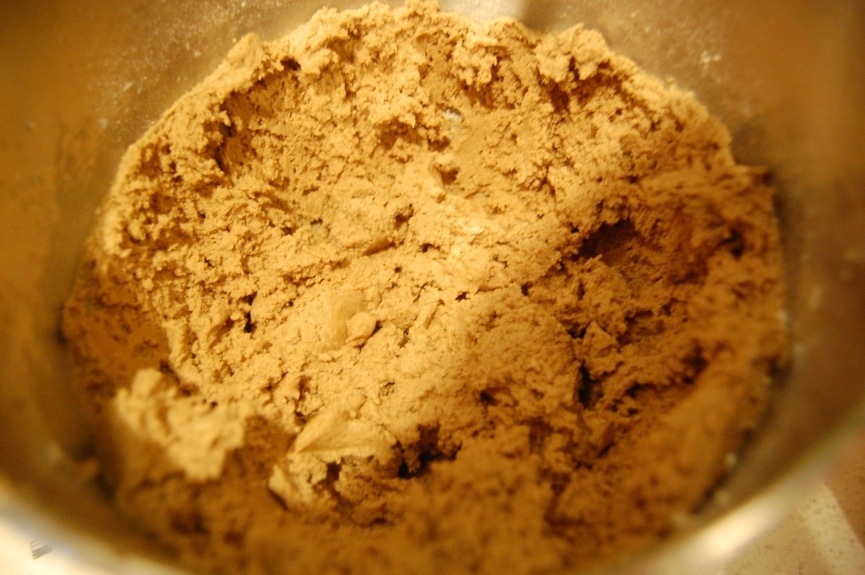
Add flour and mix.

20140403-110541.jpg

20140403-110614.jpg

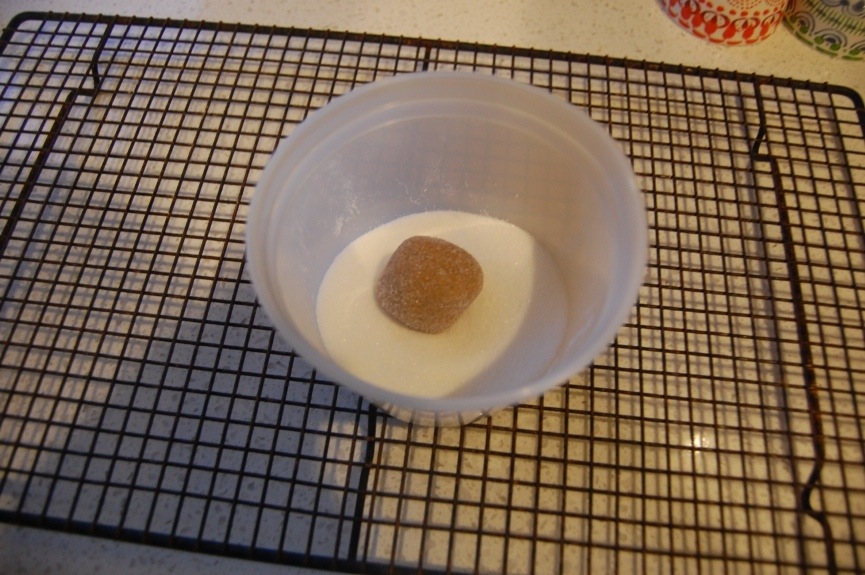
Turn off mixer. Now take a small ball of cookie dough and roll it on your hands. Drop the ball into the bowl of granulated sugar and gently roll it around.

20140403-110652.jpg

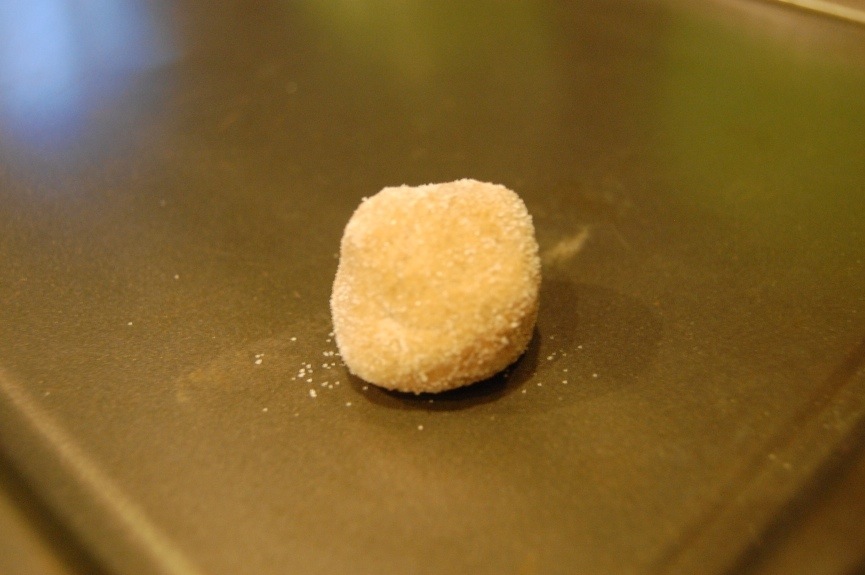
Place the ball of dough on a baking sheet. Repeat this step until your baking sheet is filled with cookie dough balls evenly spaced apart.

20140403-110820.jpg

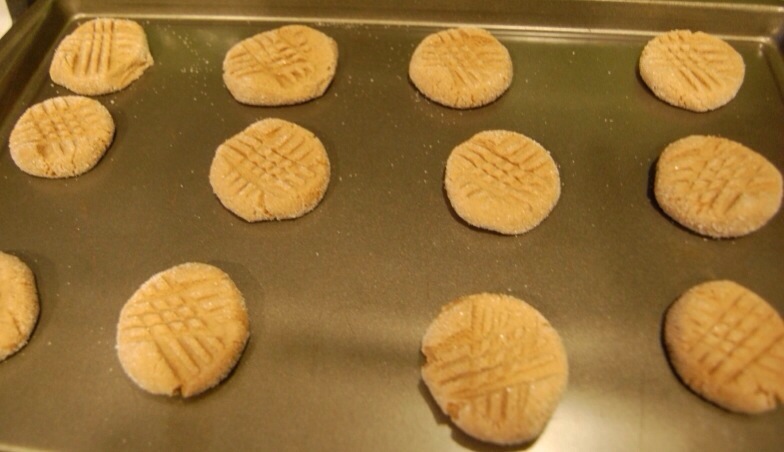
With a fork, make two flat indentations onto each cookie.

20140403-110946.jpg

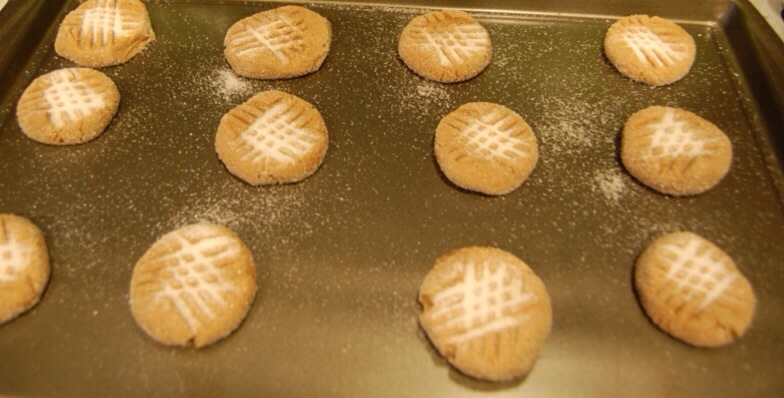
With a spoon, scoop up some of the granulated sugar and pour a little sugar over marks left from the fork.

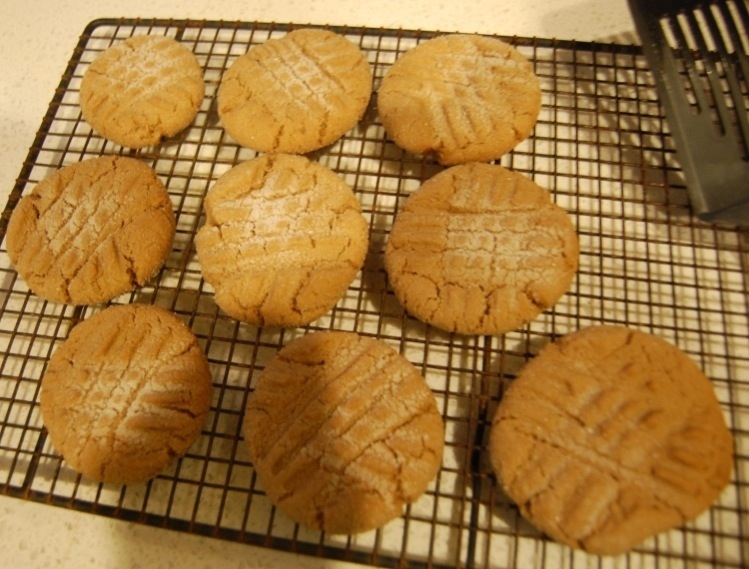
Place baking sheet into the oven and bake for 10-11 minutes until edges are just a little brown. Do not cook longer. You do not want these overcooked.

20140403-111046.jpg

Transfer baked cookies to a cooling rack.

Repeat with remaining dough. Turn oven off. Enjoy!

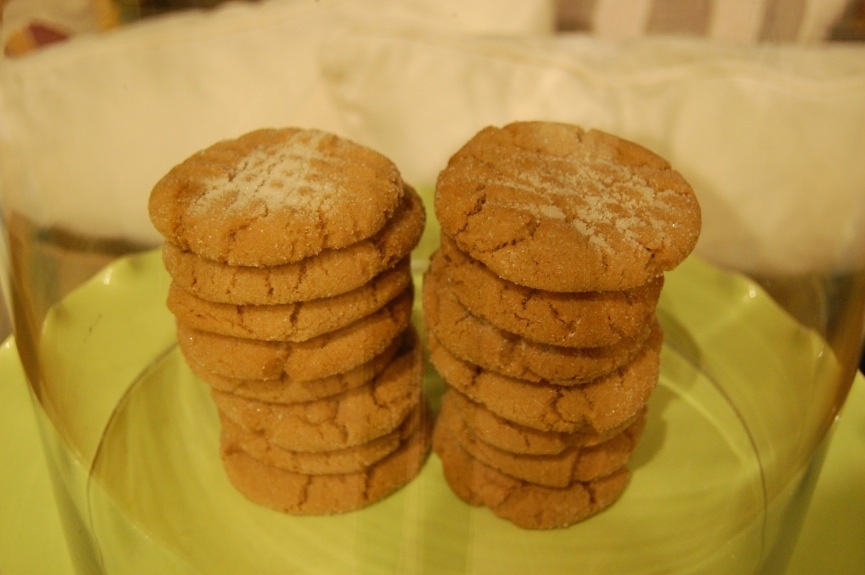
20140403-111449.jpg

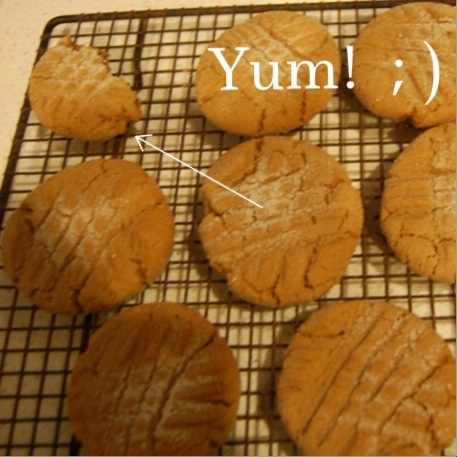
I think these cookies are better completely cooled down. There is just somethin’ that happens to the Nutella and peanut butter when they blend together at that time.

Now I’m off to make these guys.
My thighs…
They sighs.

20140408-165252.jpg

P.S. I shared this on Savvy Southern Style.

And My Romantic Home.