More Sweet Margarita

recipe is for one drink

IMG_2808.JPG

Ingredients:

1/3 cup silver tequila
1 tablespoon triple sec
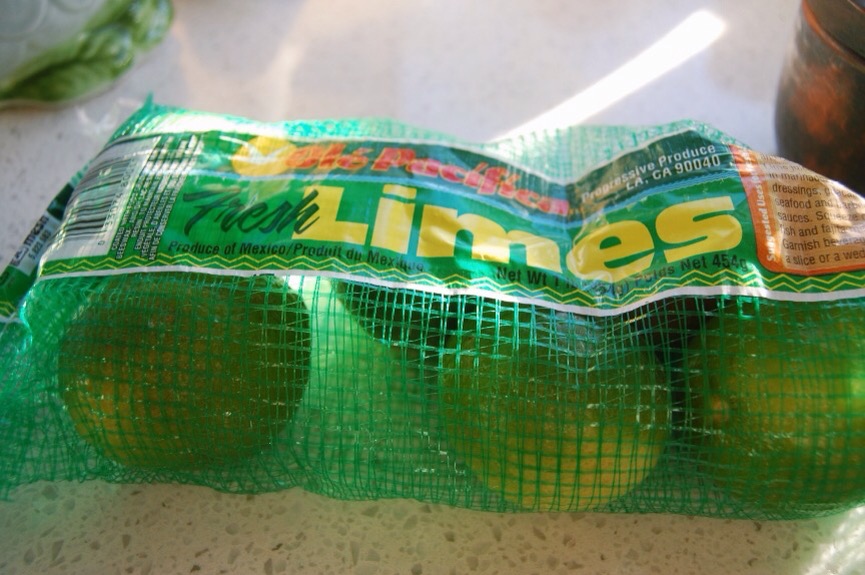
1/4 cup lime juice (about three limes per drink)
1/4 cup + 1 Tbsp. simple syrup

IMG_2809.JPG

Schlooppo. i made a margar-ita. Note to self. Do not type an alcohol lic recipe after consuming the alcoholic drink. Makes snese right?

You would think so.

But sense has never been my middle name.

I was making my chicken tacos (do you know that if you misspell tacos with a “c” for the “a” as tchos, autocorrect will not guess tacos? Nope. It suggests you must be thinking of “tc how.” Which makes as much sense as tchos. I decided to look up acronyms for “tc.” Spoiler: there are a lot of them. My favorite is “take care.” Which really makes total sense. Maybe autocorrect was looking out for me. But then I scrolled further down the list to “Tom Cruise” and then “top cat” and I realized autocorrect was just drunk on margaritas… too). Anyhoo, I decided what would make the meal perfect. Just perfect. Would be a margarita. So, I made two based on this recipe from The Food Network. But it was much too much too tart for the likes of me. If you like your margaritas more authentically tart, I definitely recommend using the original recipe in the link.

I changed it up just a bit and from now on, this is the only way I shall make my margaritas.

Or type a recipe.

Autocorrect never had it so good.

Directions:

IMG_2807.JPG

Make your simple syrup. In a small saucepan boil one cup of water and one cup of sugar until sugar dissolves. Whisk occasionally to make sure sugar does not stick to bottom of pan. Set aside. This would be better made in advance and chilled in the refrigerator. It keeps for one month in the refrigerator.

Squeeze limes into a clear 2 cup measuring glass until you have the appropriate measurements for the amount of drinks you are making.

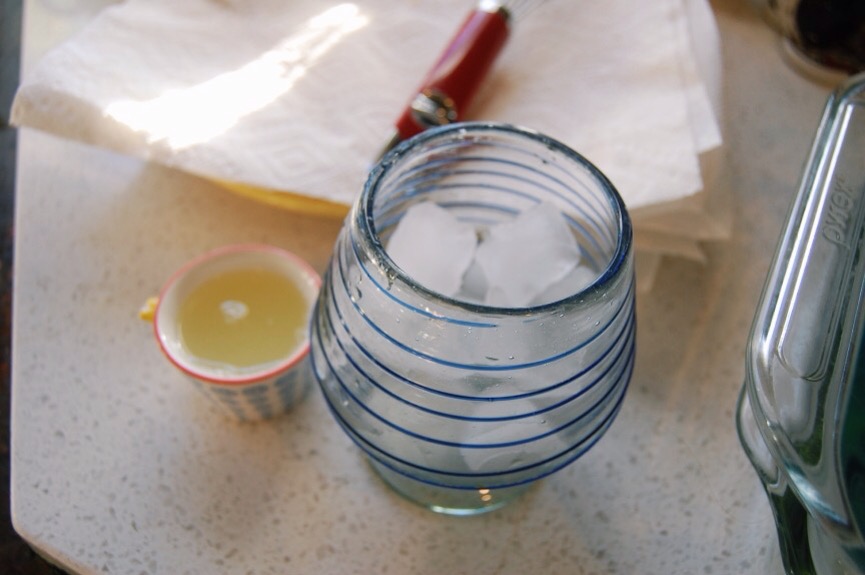
Fill a glass with ice.

You may brush the rim with simple syrup and stick it in sea salt or sugar if you like that sort of thing. I do not. Too Coarse.

Pour your tequila, triple sec, lime juice and simple syrup into the glass. Mix.

IMG_2815.JPG

Drink.

Try to type a coherent recipe.

I dare you…

Take Cover.

‘Cause

You’re Too Cool

To Calculate

The Charges.

Now Toast… and Cheers.

IMG_2810.JPG

“To Crazy.”

Jamie Oliver’s Milk Chicken

IMG_1434.JPG

I realize it is odd to write about roasting a chicken when everyone is talking about roasting turkeys. Well, I will not be doing a turkey post, because Ina Garten has the best roasted turkey recipe. I have used it every single year, varying the ingredients slightly or not at all, and it is always excellent. I do take additional herbed butter and massage it under the skin. Anyway, that is what I recommend, maybe I will do a post about it one day, probably around The Fourth of July, because that is how organized I am. But let’s talk about chickens for today…

Pinterest is killing me.

I want to make all of the goodies. I want my house magically cleaned. Organized. And I want to do it all whilst wearing a caftan and simultaneously beading an area rug. Has anyone ever beaded a rug? Could you walk on it? Would it roll? Is it slippery? These are all the questions that Pinterest brings to mind. What does this have to do with chicken? Nothing. Except, I found Jamie Oliver’s Milk Chicken Recipe on Pinterest and I was intrigued.

I did not do Pinterest proud here.

My pictures are bad.
This made my heart sad.
I am not a type A.
Is there a type Z?
It’s a good thing…
I am not Martha Stewart.
Amen.

I have made roasted chickens before, but I don’t like having to deal with the roasting pan. It cannot be put in the dishwasher. Everything I use must be able to be put in the dishwasher. I wanted something easy. Something perfect for my lazy heart.

This chicken is it.

I do need to say that this chicken is cooked in milk. The milk becomes curd in the pan. This does not bother me. It does bother some people. Some people being my husband. My husband hates cottage cheese. So looking into the pan and seeing that I pretty much made my own cottage cheese chicken for dinner was basically his worst nightmare. And my perfect tear-laughing moment. But he did like the chicken. He agreed it had great flavor. He just would not touch the marvelous sauce the chicken cooked in because of this.

His loss.

This recipe is relatively inexpensive, especially since I made enough to have leftovers. There are not a lot of leftovers. However I can stretch them enough for one more dish the next night. I turned the leftovers into chicken noodle soup, chicken spaghetti and even just throwing it into a store-bought curry sauce. You can usually find a whole chicken on sale for around $1 a pound. This recipe called for a three pound bird. Dude. If I am going to be roasting a whole chicken and using up ingredients, I am going to make a bigger bird than that. I have used anywhere from a 4 pound bird to a 6 pound bird. I increased the cooking time around ten minutes per additional pound for the recipe (a la Julia Child but factoring in a lower cooking temperature than she uses). When I made the four pound bird, I just followed Jamie Oliver’s cooking time exactly.

Because this is not my recipe, I usually would not the write ingredients and directions, but according to the comments on The Kitchn (where I also learned to cover the chicken resulting in a more braising than roasting technique), Jamie Oliver made this chicken differently on his show. I tried to piece together the best way people said to make this and combined the advice here:

Ingredients:

1 whole chicken (4-6 pounds)
2 lemons
1/2 stick cinnamon
2 1/3 cup whole milk
7-10 cloves of unpeeled garlic (the recipe calls for ten. I am cheap. I am not spending fifty cents for an additional head of garlic, so cut out as many cloves as you can from one head and use it. A great tutorial for removing the garlic cloves can be viewed here)
A handful of fresh sage
1 tsp salt + some sprinkled on chicken
1/4 tsp. ground pepper + some sprinkled on chicken
1/2 stick salted butter
3 Tbsp. Clarified butter (I buy mine in a jar at Trader Joe’s. Or you can use half butter and half olive oil)

Directions:

IMG_1432.JPG

Preheat oven to 375 degrees F.

You can, if you are of the mind to, truss your chicken if you would like. I do not. Type Z, and all of that. But you can if you choose. Type Z doesn’t judge.

In a large pot (one that comes with a lid), heat clarified butter (or 1 1/2 Tbsp. Butter and 1 1/2 Tbsp. Olive oil) on medium high heat.

Remove giblets from the cavity of the chicken with tongs. Throw them away. Don’t gag.

Season one side of the chicken. Add seasoned side of chicken down into the pot and sear for three to five minutes until it has a nice golden color to it. Season other side and and very carefully rotate the chicken to the other side (I use two pairs of cooking tongs). Sear for three to five minutes. Remove chicken to a plate and carefully discard cooking oil.

Zest the lemons.

Place the chicken back into the pan. Cut the lemons in quarters and push them up into the chicken’s cavity. Place the garlic cloves around the pan. I really want to say, “riddle the garlic cloves around the pot,” but I feared it would not make sense. Plus every time I say the word, “riddle,” I think of Tom Riddle and then I get sidetracked daydreaming about Harry Potter.

Mix the milk and salt and pepper with a fork. ‘Cause you’re fancy. Pour in pan around chicken. Add cinnamon stick. Riddle the sage around the pan. Sprinkle the lemon zest over everything. Add 1/2 stick of butter into the pot.

Cover the pot and place into the oven for forty five minutes for a three-four pound bird. Increase cooking time ten minutes per pound for a larger bird.

After your cooking time has passed, remove lid. Cook an additional forty five minutes. And as Jamie Oliver says, “baste when you remember.”

IMG_1433.JPG

Remove pot from oven. Check your chicken to make sure it is cooked thoroughly.

Remove chicken to a plate to rest for five minutes. Carve chicken. Serve. I serve a little bowl of the delicious sauce to dip it in. I serve my chicken with either baked potatoes, mashed potatoes or rice depending upon the laziness of the cook that day.

Pinterest, you win this round.

Because this chicken recipe was amazing. Of course, I made this in my pajamas, in a messy house, whilst browsing the Internet. But Pinterest doesn’t need to know that. Besides It’s too busy researching the next new thing… I’ve heard it’s beaded rugs. Be careful. I’ve also heard they’re slippery.

It’s Marvolo-us!

Root Beer Chocolate Cake

IMG_9702.JPG

Mmmmm. Hmmmmm. Ohhhhhh. Yeeeeeaaaaaaa. That is what I thought to myself when I watched Carla from The Chew (I love that show. And I love her. Anthropologie lovers, Carla wears a lot of clothes from there, on the show) make her chocolate root beer cake. I went online to get the recipe and I was disappointed to see that the recipe for the cake part differed from the one she made on t.v. I gave it up until I saw that someone in the comments had geniusly used a boxed cake mix and substituted the water it called for for root beer.

I can do that, I thought.

But then I didn’t.

I drank the root beer and ate some chocolate cookies and considered the flavor craving dealt with.

I had forgotten that I know myself well enough to have purchased two bottles of root beer. So when I came across the other bottle sitting unsuspecting on the shelf. Minding its own business. Not knowing that soon it would be meeting its soul mate, chocolate. No need to tell it about the part involving the oven. And then my mouth. Let’s be kind… I had to make the cake.

IMG_9694.JPG

This is my new favorite cake. I am so excited to share this recipe. The best part about it is that it is incredibly easy to make. Well, and it tastes good. Our cake was gone in two days. We are a family of four. Two days. The math adds up to gluttony deliciousness.

Time to unite the star-crossed lovers…

Cake Ingredients:

1 devil’s food boxed cake mix
3 eggs
1/3 cup melted butter
1 cup root beer plus 3 Tbsp. root beer reserved for cooled cake rounds

Frosting ingredients:

1 cup root beer
1 1/2 cups powdered sugar
1 cup white chocolate melted (I used Merckens melting chocolates because I had it but she said to use white chocolate chips. Either will work)
A pinch of salt (I just added three shakes of my salt shaker)
1/2 cup (1stick) softened salted butter
1 tsp. vanilla extract

Directions:

Preheat oven to 350 degrees F. If you have a convection oven, preheat at 325 degrees F convect bake. Generously spray two nine inch round cake pans with nonstick cooking spray.

IMG_9695.JPG

In your mixer or with a hand mixer in a bowl, beat together melted butter, eggs, cake mix, and one cup of root beer until mixed together. This is about one minute.

Pour cake mix evenly into the two cake pans. Give them each a gentle tap on the countertop to rid them of extra air bubbles. Put the cake pans in the oven and bake cake according to directions on box. Because of the fluffy mix produced from the root beer, my cakes needed two minutes longer than the longest baking time on the package (I baked mine thirty one minutes on convect bake).

Remove cake rounds from the oven. Let cool for five minutes in cake pans.
IMG_9704.JPG

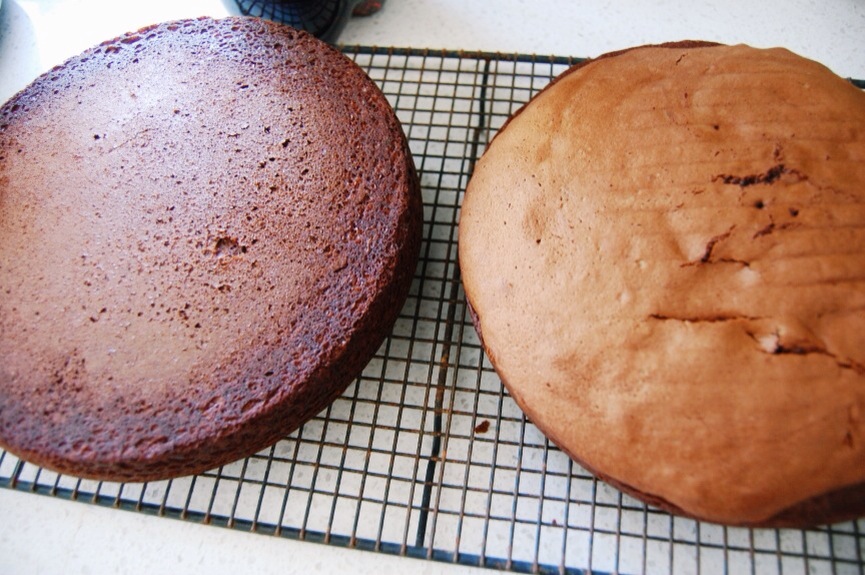
After five minutes, run a butter knife gently around the edge of the cake and the cake pan. Flip cake over onto cooling rack. Repeat with other layer. Allow to completely cool.

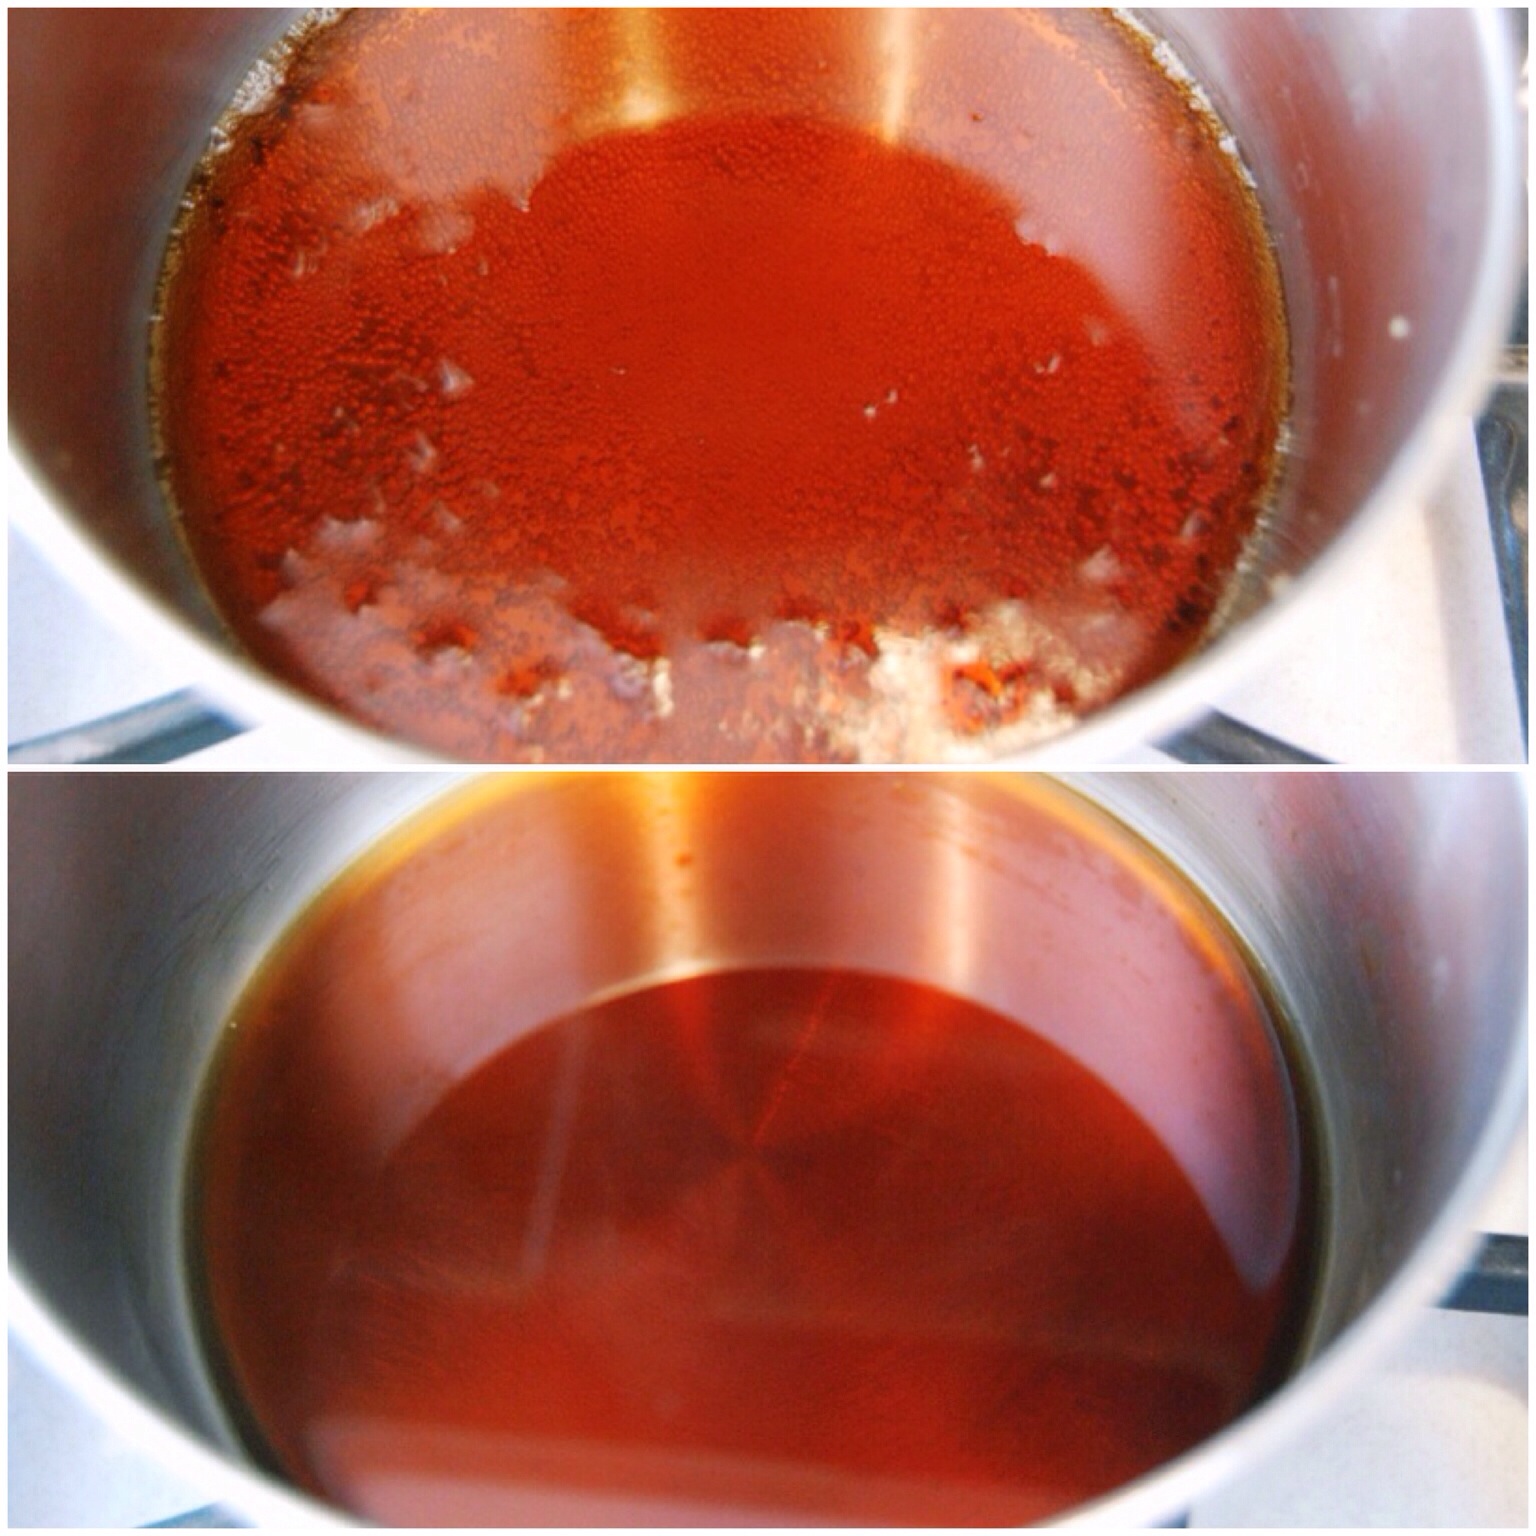
In the meantime, pour the one cup of root beer for the frosting into a small saucepan. On medium low heat simmer the root beer until it reduces to a third of a cup. I actually was overzealous with my simmer and reduced it to a quarter cup. This still worked out fine. This should be about five to seven minutes to reduce.
IMG_9708.JPG

It will look like this. Turn off burner. Allow to cool.

IMG_9699.JPG

Now that the cakes are cool, you are going to brush the cake layers evenly with the 3 Tbsp. of reserved root beer (not the reduced stovetop product! That is for the frosting) with a basting brush. Yep. Give the two lovers a wet root beer kiss.

Melt white chocolate (I put mine in a bowl and microwave for thirty second intervals, stirring each time. Usually takes 90 seconds to melt).

In your stand mixer or with your hand mixer in a bowl, beat together softened butter and powdered sugar until fluffy about two minutes. Add salt and mix. Add white chocolate and beat for a few seconds until incorporated. Add reduced stovetop root beer, and vanilla extract and blend until smooth.

I, very helpfully, do not have a picture of this part. I do, however, have a picture of me posing with the frosting. Which I have been told has nothing to do with is very important when baking a cake.

IMG_9705.JPG

Place one cake round with basted root beer side up on a cake stand. Spread one third of the frosting on the layer towards the middle, leaving a little room at the edges because when you put the other cake layer on top, it will push the frosting further out.

IMG_9696.JPG

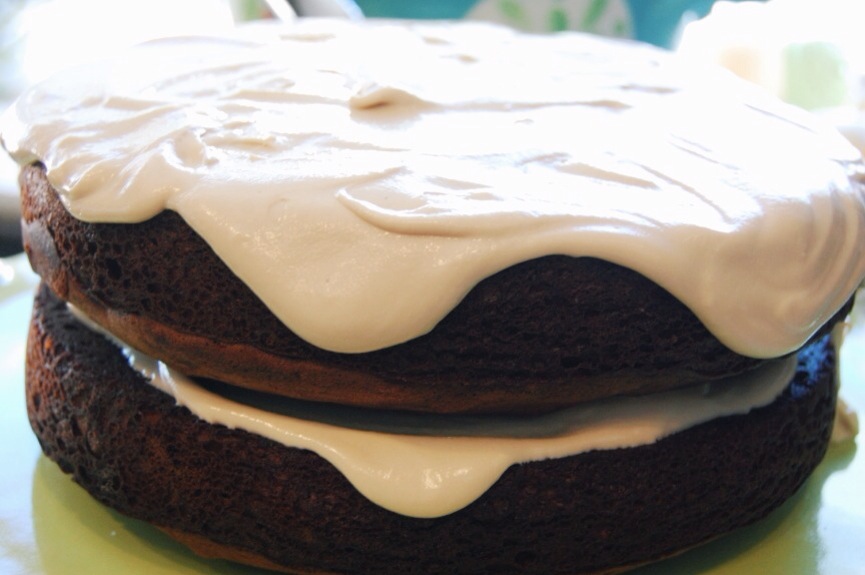
Place the other cake layer on top of the frosted bottom layer. Frost top with remaining frosting. I like to place it in the middle and then gently ease it towards the edge until it barely goes over.

Cover or immediately serve.

Now eat the mingled lovers. Why does something that sounds so wrong taste so right? Don’t try to analyze it, just enjoy.

IMG_9703.JPG

My daughter has requested this cake as her birthday cake coming up in October. She doesn’t even usually like cake. My husband woke me up the day after I had made this at 9:00 in the morning holding a plate with a half eaten large slice of the cake that he could not resist for breakfast (this is not a breakfast cake. He just has as much self control as his wife). Maybe he was feeling the ingredient love.

IMG_9678.JPG

I promise, a bite of this cake , and you will feel the romance, too.

P.S. My Giveaway ends tonight at 9:00 PST. Please do not forget to enter.

The Lord Of The Pizzas

20140525-191548.jpg

No. This pizza is not really “Lord of the pizzas.” Nor am I, “Lord of the pizzas.” In fact, the title was simply in reference to some silly movie quotes throughout this post.

Blame my thighs. They lord over everything around here.

One of my favorite things to make at home is homemade pizza. We take the term “homemade” a little loosely in our house. We made it in our house. But everything is bought and put together. As in pre-made. And put together.

As in my lazy soul continues to be happy.

And my thighs continue to rule them all.

Isn’t that how the saying goes?:

“One thigh to rule them all. One thigh to wine them.
One thigh to eat it all and in the kitchen dine them.”

Or somethin’ like that.

I have tried almost all of the different store’s pre-made pizza dough. And I know which dough is my favorite. Safeway’s pizza dough can’t be beat. And I will not use any other pizza sauce except for Pastorelli. As for the cheese, I use whatever I can get on sale.

So, my ingredient list has my preferred labels for the pizza I make at home.

With school being out for the summer soon, I know my kids will want to be in the kitchen cooking more. I wanted to post this in case you, too, want to trick get your kids to cook dinner for you this season.

This would be great for second breakfast, too.

20140525-191619.jpg

Ingredients for two pizzas:

2 Safeway Select Traditional pre-made (but not precooked) pizza balls of dough (usually found next to their pre-made take and bake refrigerated pizzas and usually $1 each)
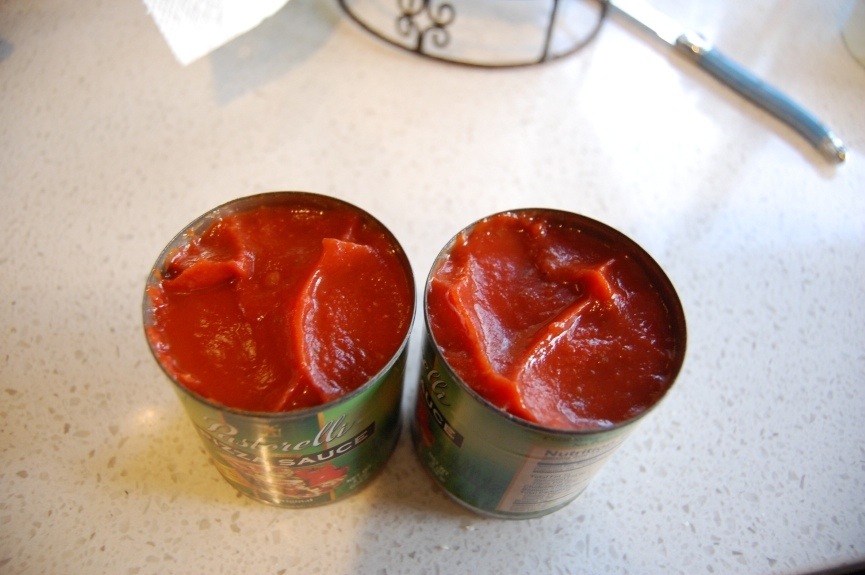
2 8 oz. cans of Pastorelli Pizza sauce (you can use a 15 oz. can and split it in half. I buy the two little cans so each child has their own can to work with)
4 cups shredded mozzarella cheese

Optional:

We use:

1/2 cup feta cheese
1/2 bag pepperoni
1/3 cup chopped sun dried tomatoes

Any other topping you like. Maybe Po-ta-toes.

Directions:

Let refrigerated pizza dough rest on counter for thirty minutes before using.

Preheat the oven to 425 degrees.

Since I have two children, I let each of them roll out one ball of dough. Stretch the dough. Pull the dough. You really cannot hurt it. The more you work pizza dough, the better it gets.

20140525-191704.jpg

My kids do all of the following instructions. What do I do? Well, somebody has to drink the wine.

I always have them make it in a rectangular shape. This is so the finished product fits on my baking sheets.

The baking sheets should be lightly oiled with olive oil.

Once the dough is made into the desired shape, place each pizza dough on a baking sheet.

20140525-205838.jpg

20140525-191801.jpg

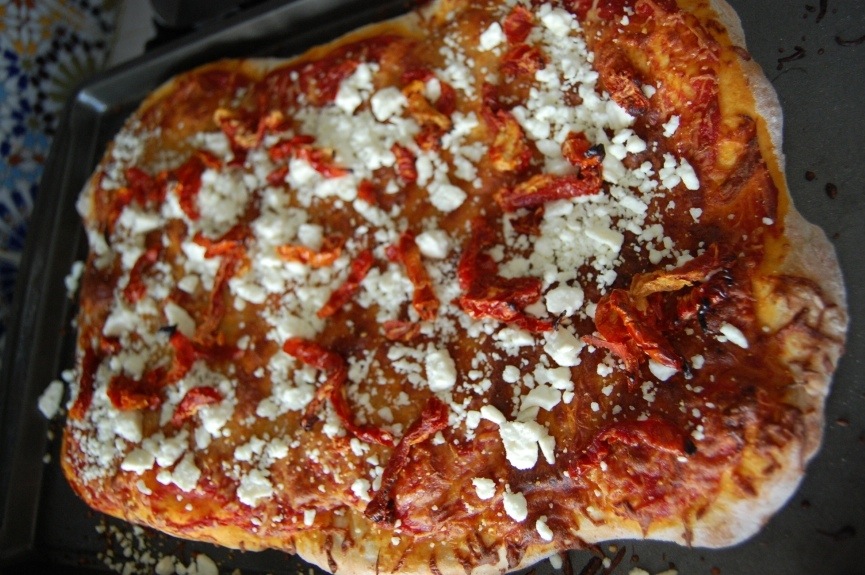
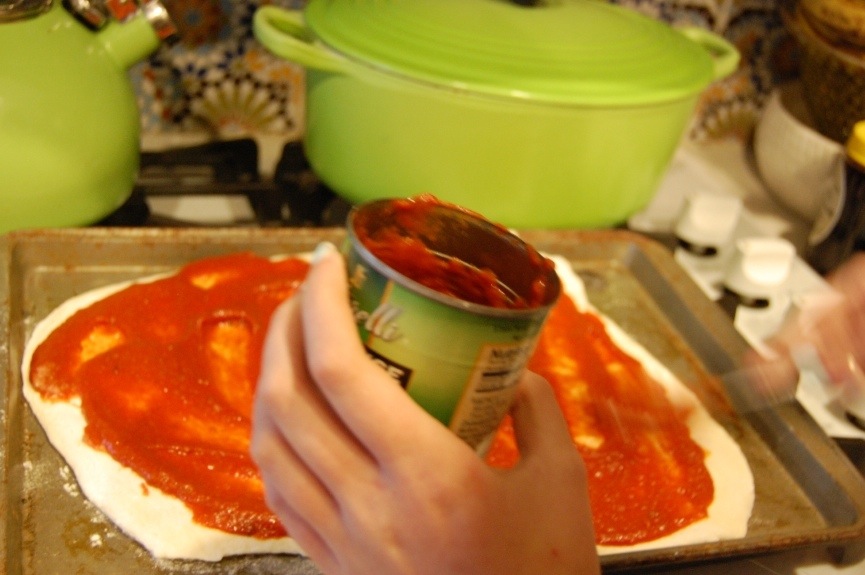
Pour one can of pizza sauce on to each pizza dough. Sprinkle two cups of cheese onto each pizza. Then top with your ingredients. One of our children likes plain cheese. The other, pepperoni. And our whole family likes sun dried tomatoes and feta.

20140525-192131.jpg

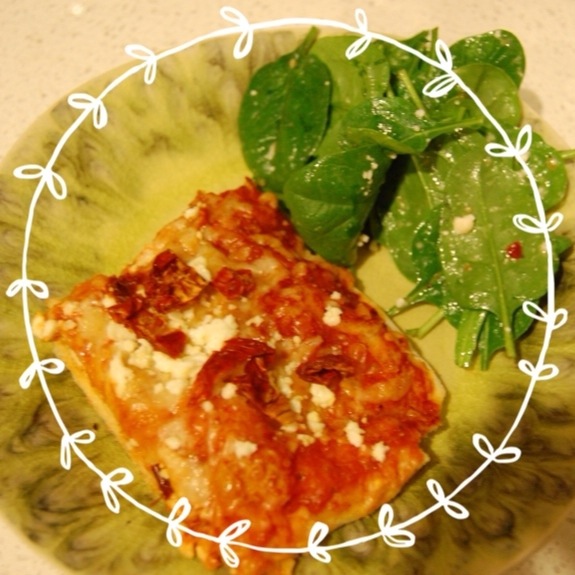
Those last two ingredients are not added until there are only two to three minutes left to the baking time. I want them warmed up but sun-dried tomatoes burn very quickly, so you can not put them on at the beginning. I feel like feta dries out if I put it on for the entire baking period because the flakes are so small. But you can definitely add it for the entire baking time if you prefer.

20140525-192026.jpg

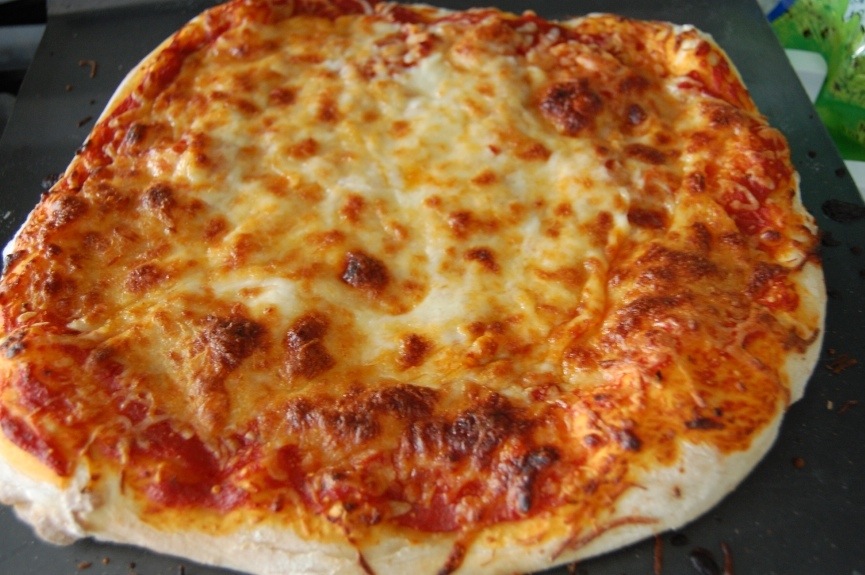
Bake pizzas for 13-15 minutes. The cheese should be melted but not brown.

Let the pizza rest for 3-5 minutes. Cut the pizza into slices.

Plate the pizza.

Serve the pizza with salad. I use this easy recipe.

20140525-192554.jpg

Homemade pizza. Spinach salad. Red wine.

It doesn’t get any better than that.

Isn’t that right, my precious?