Easiest Tortellini Recipe

20140105-224901.jpg

My friend, Kerri, made this for me awhile back. It is a recipe from Southern Living. I have adapted it just a bit. I loved it so much at her house.

I memorized what was in it so I could search the internet for the recipe. This is such an easy and delicious dish. I like to make it on nights I don’t have a lot of time to cook, but still want my family to have a homemade meal. It takes about fifteen minutes to make start to finish.

I added just a few things.

As I do. But if you want to follow the original recipe, just click the link above. I like it both ways.
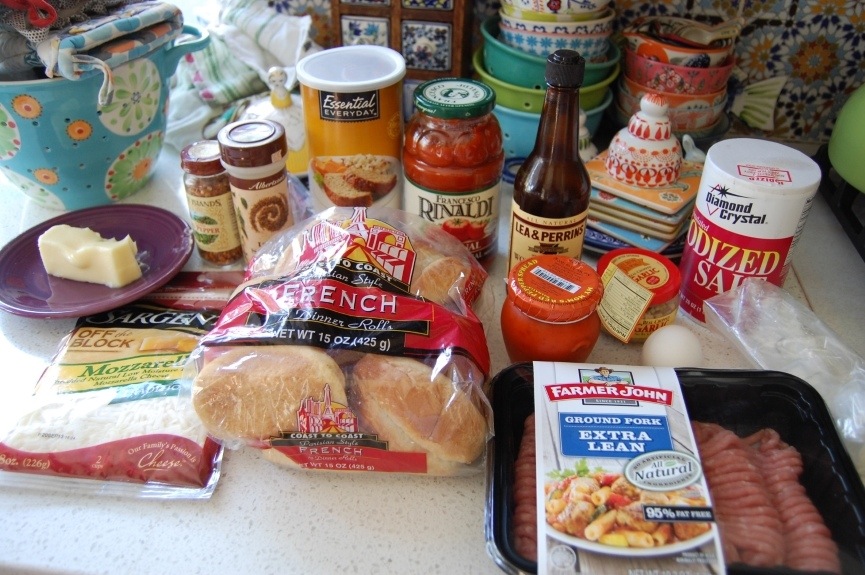
20140105-230422.jpg

Ingredients

20 oz. package of tortellini (I use Costco’s 24 oz. package and I use the whole thing)
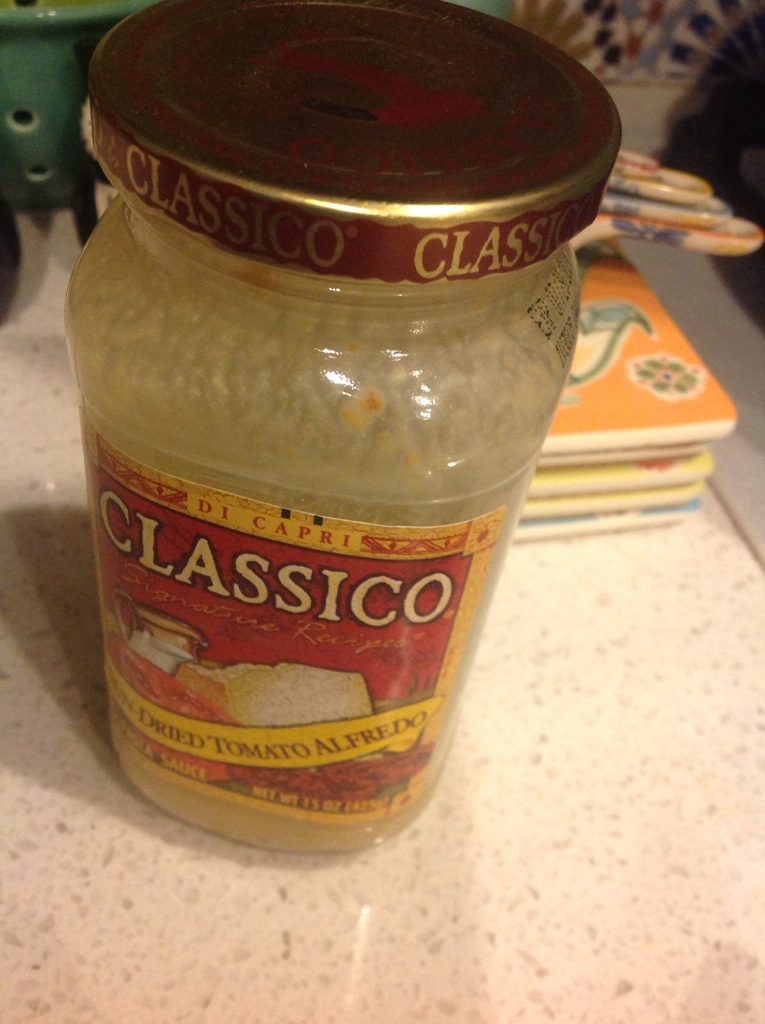
1 16 oz. jar of Alfredo sauce with sun dried tomatoes (I believe Classico is the only brand that makes this)
1/4 cup white wine
1 14.5 oz. can drained petite diced tomatoes
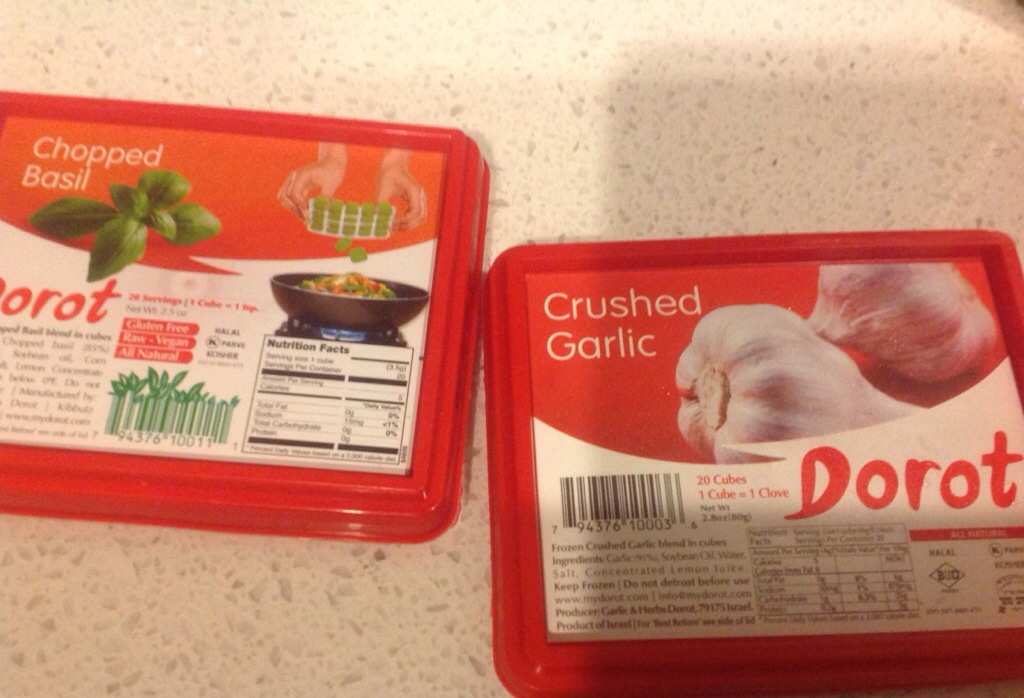
1 clove minced garlic (I use one packet from the frozen pack)
1/4 cup chopped fresh basil (I use one packet from the frozen pack)
1 pinch of dried red pepper flakes (1/8 tsp.)
3 Tbsp. Olive oil
1/3 cup grated parmesan cheese

Optional:

2 cooked diced chicken breasts
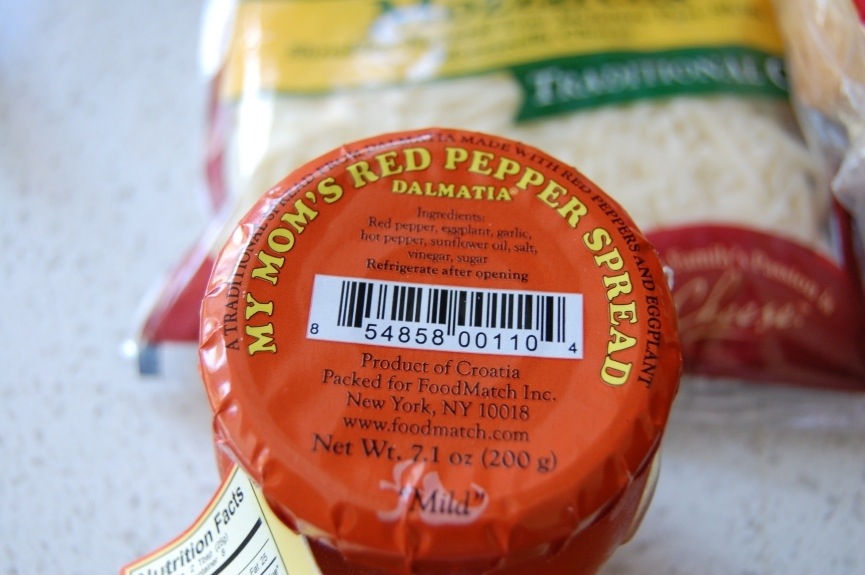
1 Tbsp. Red pepper spread

20140105-224421.jpg

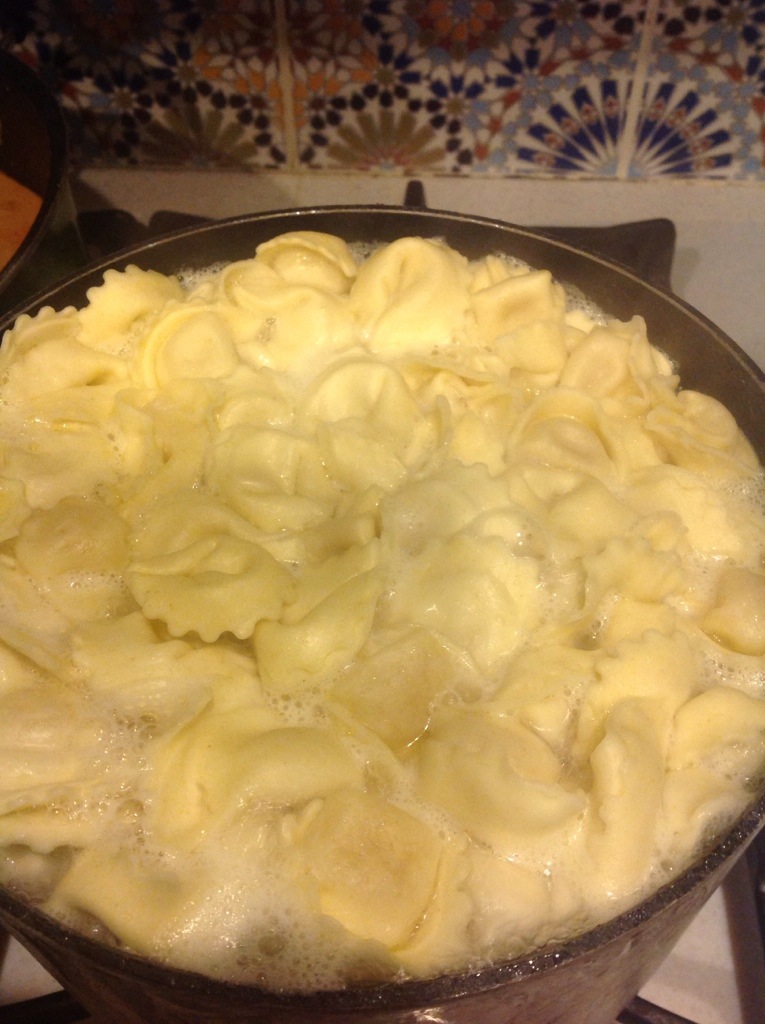
First, boil water in large pot. Add tortellini and 1 Tablespoon of olive oil to the boiling water and cook pasta according to directions on package. Before draining, carefully reserve 1/3 cup water.

20140105-224258.jpg

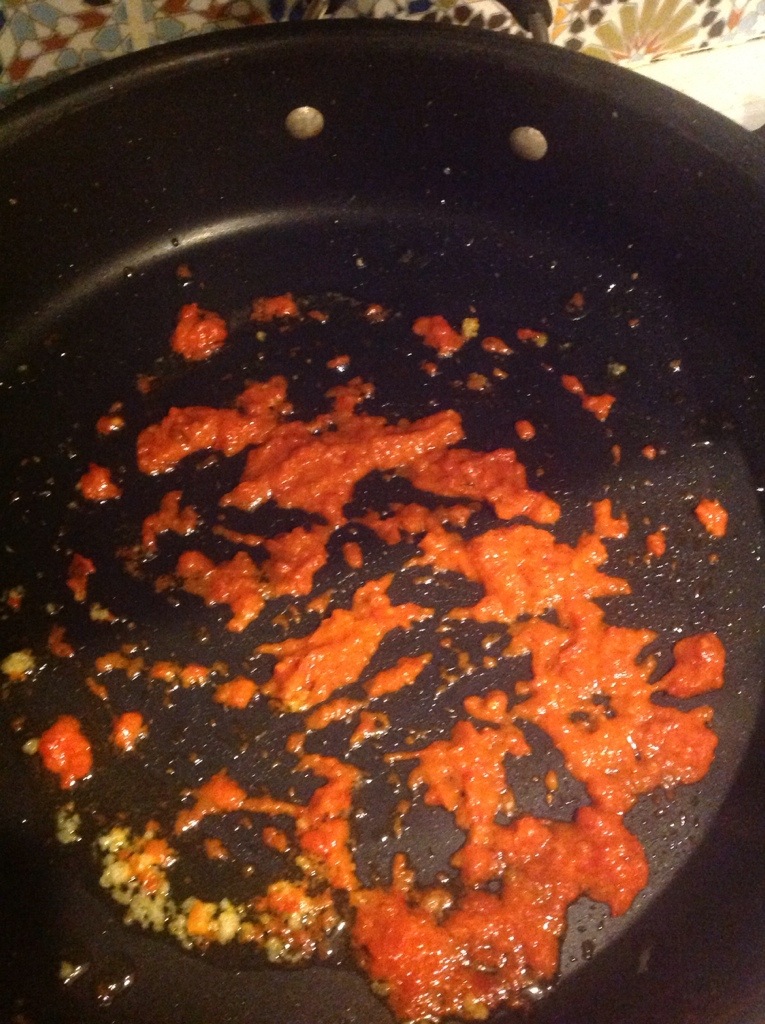
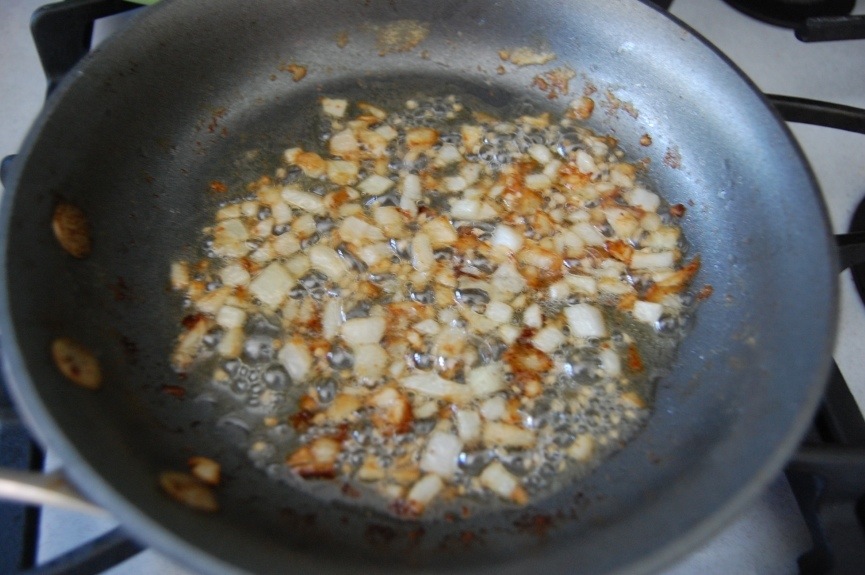
In a large skillet, heat remaining 2 Tbsp. of olive oil over medium low . Sauté garlic for one minute (if you are using red pepper spread add this with the garlic).

Add Alfredo sauce to skillet.

20140105-224343.jpg

Add wine to empty Alfredo sauce jar. Gently shake. Pour wine into skillet.

20140105-224502.jpg

Add tomatoes and basil to skillet. Let mixture simmer five minutes.

Add chicken with the tomatoes and basil if you are using this.

20140105-224545.jpg

Add drained tortellini. Mix in pepper flakes, reserved water, and parmesan cheese.

Stir.

Heat for one minute. Turn off heat.

20140105-224945.jpg

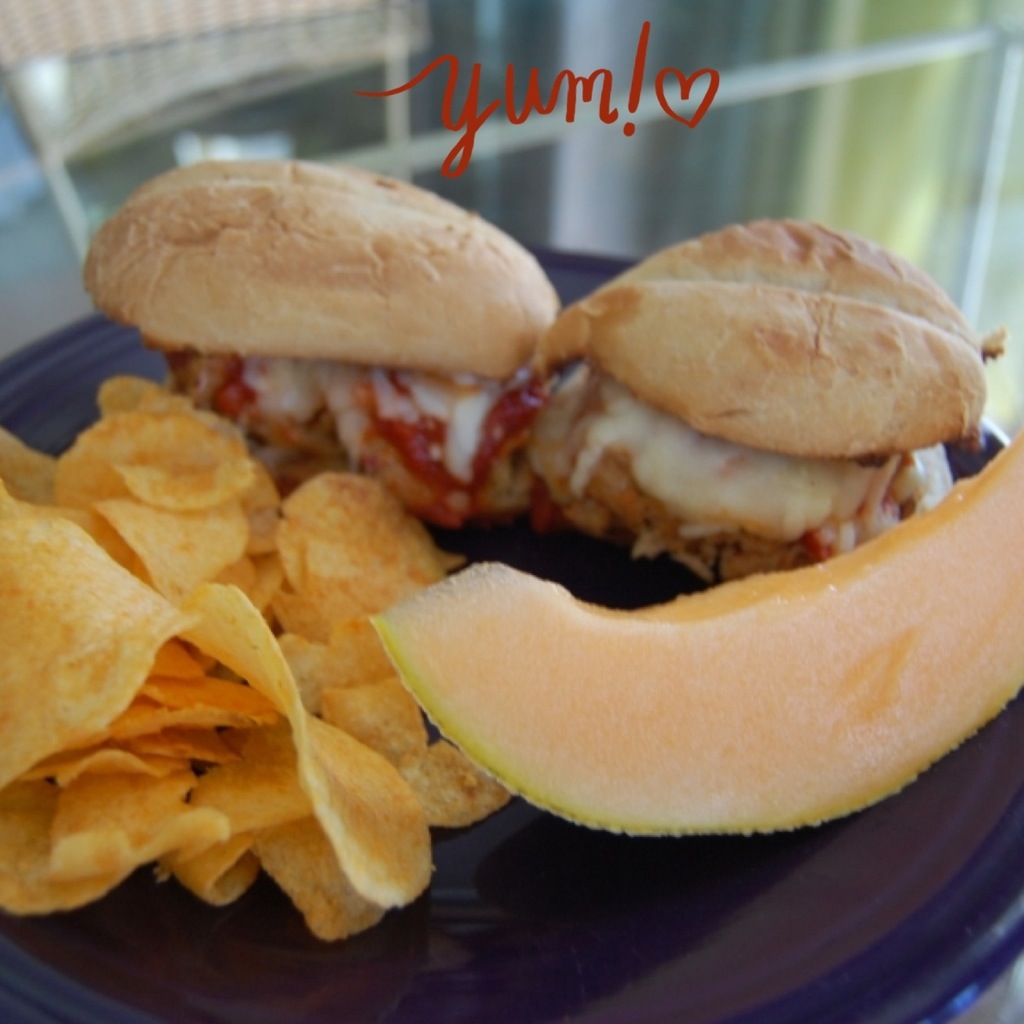
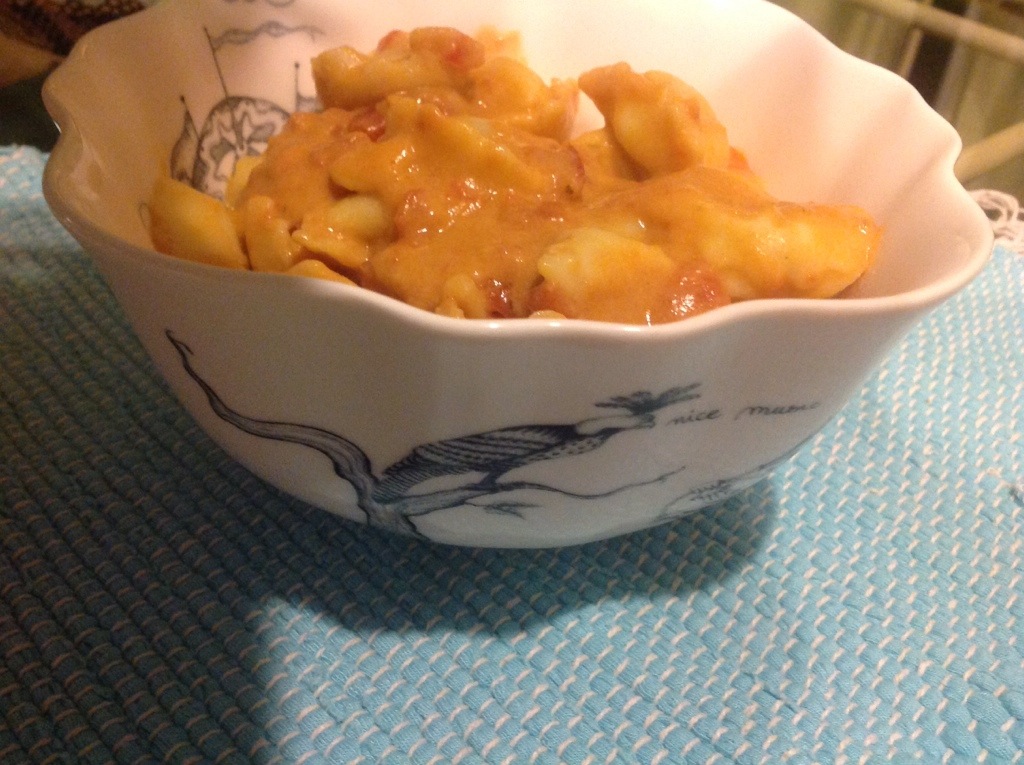
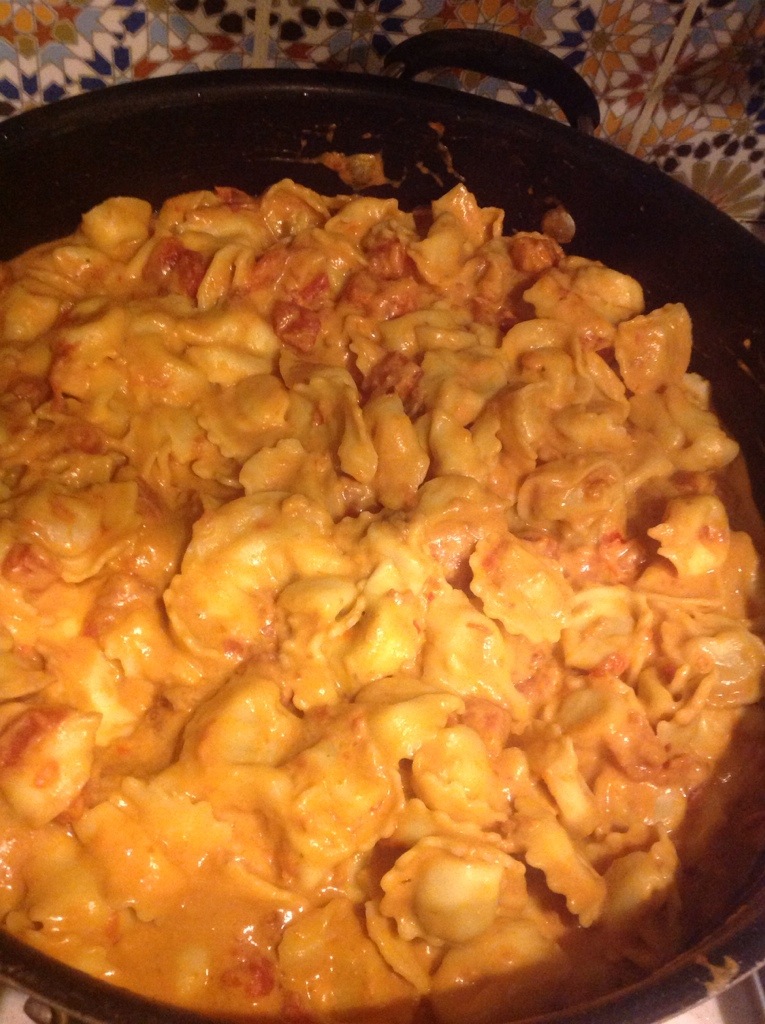
Serve up this easy meal. And enjoy!

Thanks Kerri for making me this. It was so good! My family absolutely loves it.

Holiday Spaghetti Wreaths

20131217-220105.jpg

It wouldn’t be Christmas without spaghetti. Wait. What?

Let me start over.

It wouldn’t be Christmas without me trying to make some kind of crazy fun dish that the kids can remember. This one beats tuna fish sandwiches dyed red and green…

But just by a bit. ; )

I wanted to do something special with my leftover spaghetti the other night. Well, as special as leftover spaghetti can be. With Christmas here, I had a fun idea. I wanted to make individual Christmas wreath ramekins filled with…spaghetti leftovers.

Frugal and fun?!

Happy day!

20131217-215548.jpg

Ingredients:

Leftover spaghetti (I would say this is 2 jars pasta sauce with 1/2 pound cooked ground meat, 1/2 package spaghetti noodles)
1/8 tsp. crushed red pepper flakes
1/2 diced red bell pepper
1/4 cup red wine
3 Tbsp. Olive oil
1 clove of minced garlic (I use 1 tablet from frozen packet)
1/2 block (4 Tbsp.) softened cream cheese
1/2 of a real mozarella cheese ball sliced into 1/2″ slices

Topping:

5 Tbsp. Butter
1/2 cup + 2 Tbsp. Bread crumbs
1/4 tsp. italian seasoning

Optional:

Anything green to use as filler on plate around your round ramekin. I used broccoli. It makes another pretty wreath.

Preheat oven to 350 degrees.

20131217-215638.jpg

In a small bowl, mix up your melted butter, bread crumbs and italian seasoning.

I sautéed my bell pepper in the olive oil for approximately seven minutes. Then I added the garlic and cooked the mixture for another minute. I added the wine and let that simmer for a minute.

20131217-215858.jpg

I mixed the cream cheese, leftover spaghetti sauce and noodles, and bell pepper mixture together. I plated the ingredients into individual round ramekins.

20131217-215825.jpg

20131217-220018.jpg

I placed a slice of mozzarella cheese on top. Then I placed the bread crumbs into a circle around the cheese.

20131217-222327.jpg

Place the ramekins onto a baking sheet and bake for 20-25 minutes until cheese is melted.

Turn oven to broil. Broil for approximately one minute until bread crumbs are golden brown. Be careful! You do not want your cheese to burn!

20131217-221835.jpg

Serve up on plates.

20131217-221129.jpg

You can also add an additional wreath of green vegetables of your choice around the ramekin for an extra wreath layer. And an extra opportunity to fill your kids tummies (or your own) with an extra vegetable.

I won’t tell if you don’t.

Enjoy!

Waste Not, Want Yes: Tacos and Taco Casserole

20130930-115706.jpg

Okay. Who doesn’t have tacos in their regular menu rotation? It is a staple, right?

I like my tacos finely ground. I also like to make a casserole with the leftover meat the next day. The casserole recipe is from my lovely friend Bridgette! Thank you Bridgette! You’re the best.

Tacos

Ingredients:

1.5 lbs. ground meat (I prefer 93/7 ground beef)
White corn tortillas (I buy the 30 count package and make home made tortilla chips with the rest.)
3 cups shredded cheese (I like the Mexican four cheese. It is approximately 1 cup for tacos and 2 cups for casserole, but feel free to use less.)
Taco seasoning (I use around 1/2 more than they recommend. So, for this batch, 1 and 1/2 packets of taco seasoning. I just buy the large jar at Costco and measure it out.)
Water according to taco packet directions
10 oz. green enchilada sauce
1 Tablespoon Worcestershire sauce
1 tsp. Garlic powder
Pinch salt
1/2 cup vegetable oil

Optional Extras:

Shredded lettuce
Diced tomatoes
Sour cream
Chopped Cilantro

Optional Sides:

Salad
Mexican rice
Refried beans

20130930-114613.jpg

Heat vegetable oil in a small skillet on medium heat. Cook corn tortillas until slightly crispy. Fold over after thirty seconds in hot oil. Let simmer in oil on each side until lightly crisp.

Remove tortilla to paper towel lined plate. Repeat until you have enough taco shells that you need. Make a layer with paper towels every four-five tortillas. For my family of 4, I fry up 9. Turn off heat.

Cover tortillas with paper towel. Set aside.

20130930-115001.jpg

In a large skillet, brown meat over medium high heat. Add Worcestershire sauce, pinch of salt and garlic powder at this time.

20130930-114705.jpg

Mix taco seasoning and water.

20130930-115115.jpg

20130930-115232.jpg

Break meat up with spatula until crumbly and brown. Turn heat to low. Add taco seasoning/water mixture. Use a potato masher to get meat more finely crumbled. Let simmer for 8-10 minutes repeating with the potato masher as needed.

20130930-203618.jpg

Turn off heat. Serve meat in taco shells with cheese and optional toppings. And serve with optional sides. I served these with rice and salad.

Now, save the rest of your taco meat for the next day in the refrigerator. You could also prepare the following recipe the same night and just refrigerate the whole casserole until the next day. I vary what I do based on how tired I am.

Taco Casserole

This is my sweet friend Bridgette’s recipe:

The next day,

Preheat oven to 350 degrees. If you have a convection oven, 325 degrees.

20130930-115356.jpg

Take a small casserole dish and pour a small amount of enchilada sauce into the bottom. I prefer green.

20130930-115429.jpg

Layer tortillas on top of the sauce. I just tear mine to fit into the pan.

20130930-115458.jpg

20130930-115526.jpg

Layer half of your leftover taco meat on top of the tortillas. Pour 1/3 of your enchilada sauce on top. Top with 1/3 of your cheese.

Repeat with the next layer, starting with tortillas.

20130930-115622.jpg

For the final layer. Start with tortillas. Pour remaining enchilada sauce on top. Pour remaining cheese on top.

Cover with aluminum foil and bake covered for 25 minutes. Uncover. Bake 5-10 minutes longer until cheese on top is completely melted and the edges of the casserole are bubbling.

Remove from oven. Turn off oven.

20130930-120319.jpg

This is how I served it up. Thank you Bridgette for this recipe! I love it!

Enjoy!

Meatball Sliders

20130915-112624.jpg

The situation is: I hate meatballs. Or at least I thought I hated meatballs. The very name grosses me out. I do not like how dry they can be. How very meaty they can taste. They sometimes can feel like an obstacle on your plate.

However, my husband loves meatball sandwiches. And I love my husband. I decided to branch out. I decided to have a “ball.” Turns out, I do not hate meatballs. I just never had one I really liked. Until now.

Of course, I still hate the name. But that is for another day. Here is how I made my meatball sliders.:

This recipe makes 8 sliders. This is perfect for my family of four. However, I would double this for any larger crowd.

20130915-112727.jpg

20130915-112808.jpg

Meatball Ingredients

1 pound ground pork
1/2 tsp. salt
1/4 cup dried unseasoned bread crumbs
1 egg
1/4 cup diced Onions
2 Tbsp. butter
Pinch chili flakes
2 Tablespoons of Dalmatia My Mom’s Red Pepper Spread (I found mine at Vons in the refrigerated section. I know Amazon also carries it if you absolutely cannot find it, but the shipping price is crazy)
1 tsp. worcestershire sauce
1 clove or 1/2 tsp. of minced garlic (I use the pre-chopped kind)
1/4 tsp. dried italian herbs

Other ingredients:
1 jar pasta sauce
8 oz. mozzarella
8 Small rolls or buns

Preheat oven to 400 degrees.

20130915-112657.jpg

Pour pasta sauce into small saucepan. Simmer on low heat, while you move onto the next step.

20130915-112838.jpg

Sauté onions for eight minutes in butter on medium-low heat until soft. Stirring occasionally. During the last minute, add minced garlic and then turn off burner. Put in mixing bowl. Allow to cool for five minutes.

20130915-112912.jpg

20130915-112948.jpg

Mix all of the meatball ingredients in a large bowl with your hands. And, yes, say it with me, “Ewww!” Remember to take off any rings.

20130915-113020.jpg

Scoop meatballs onto parchment lined baking sheet with ice cream scoop or one of these handy dandy large cookie scoops.

20130915-113054.jpg

Line ’em up.

20130915-113143.jpg

Put in the oven and bake for 20 minutes. They should no longer be pink inside.

Set meatballs aside.

Turn oven to broil.

Open rolls. Lightly butter each side. On a separate baking sheet, line them up. Mine took two batches.

Broil for 30 seconds to one minute until lightly toasted.

20130915-113228.jpg

Remove from oven. Place the tops of the rolls aside.

Turn pasta sauce burner off.

20130915-113309.jpg

20130915-113343.jpg

With the other bottom half: Take a meatball. Smoosh it with your tongs. That’s right. Get all up in there. Remember how messy it made your hands and give it heck. Place it on a roll. Cover it with pasta sauce. Cover it with cheese. Repeat.

20130915-112146.jpg

Place in oven and broil for approximately thirty seconds to one minute until the cheese is melted and just starting to brown. Watch this! It can get burned very quickly!

20130915-112227.jpg

Remove from oven. Turn oven off. Cover meatball creation with the other half of the bun. Plate it. Now, this is the part where you serve it with salad and feel better about the meal you are about to eat. Except, I had no salad. So, I served it with chips (um, potatoes) and melon slices.

20130915-113551.jpg

And oh my goodness! These are one of my new favorite things to make! Easy! Delicious! My husband said they were the best meatball sandwich he has ever had. I love when that happens!

Enjoy!