It’s The Little Things: Magazines

20140117-162011.jpg

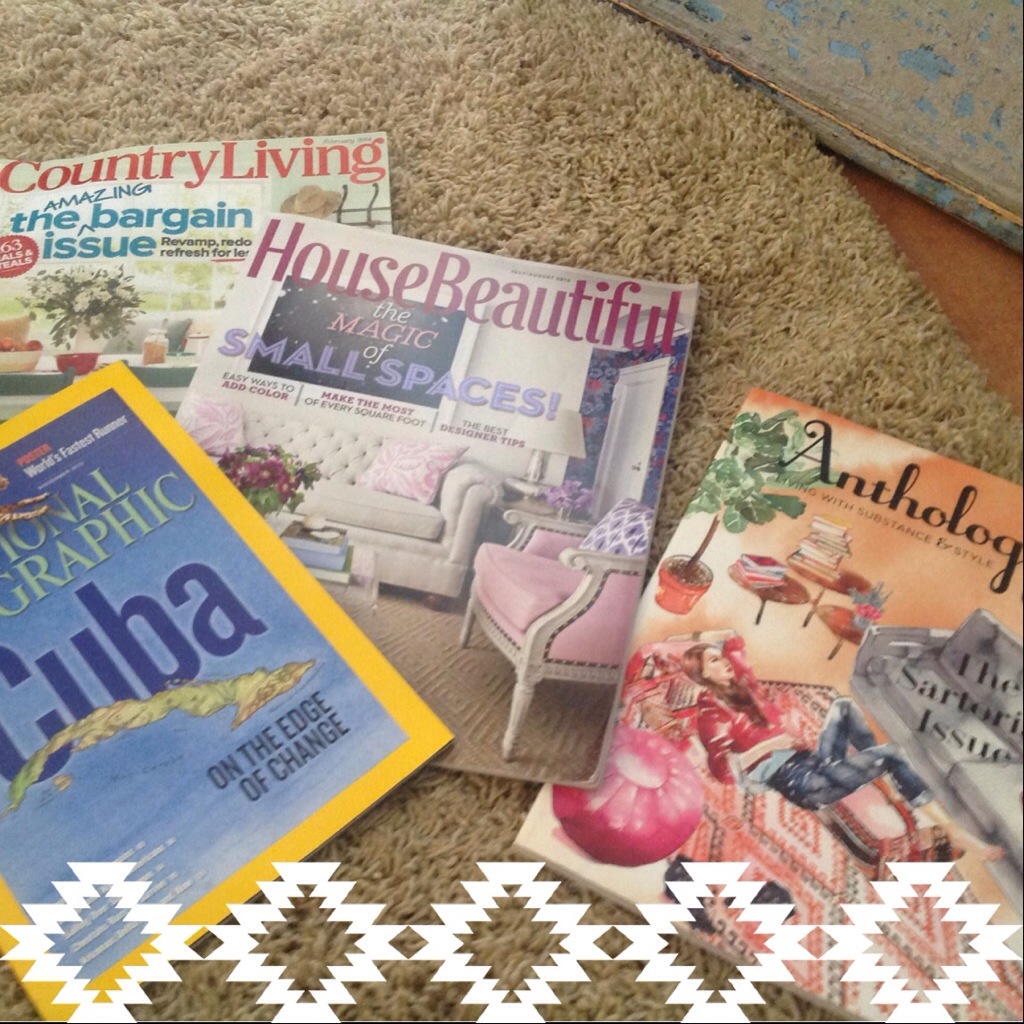
There is nothing… And I mean nothing… Better than getting a new magazine in the mail. I used to receive many. Now my magazine choices have been narrowed down to four-five.

Here is the crazy part. There are no fashion magazines in the mix.

Gasp!

I just have not gotten into them. I could never afford to purchase most of the things in the magazine. I get that it is about ideas and pretty pictures, but there are so many fashion blogs showing me the same concept for less, I don’t buy them.

Lately I have been bombarded with medical bills from both of my children’s recent ER visits. Getting a magazine mixed in with the crazy treatment costs has helped ease the pain.

A little.

I purchase most of my magazines from Amazon. Here is what you need to be careful of: do not check the automatic renewal price, if you do not want to automatically renew for the next year. I just purchased Elle Decor last night, because I had a magazine credit to use up. It was $10 for a year, but at first the button was checked for auto-renewal. I checked the simple one year subscription box instead, for the same price. I dislike auto-renewal. I want to decide if I will continue receiving something I am paying for…or not.

20140117-162556.jpg

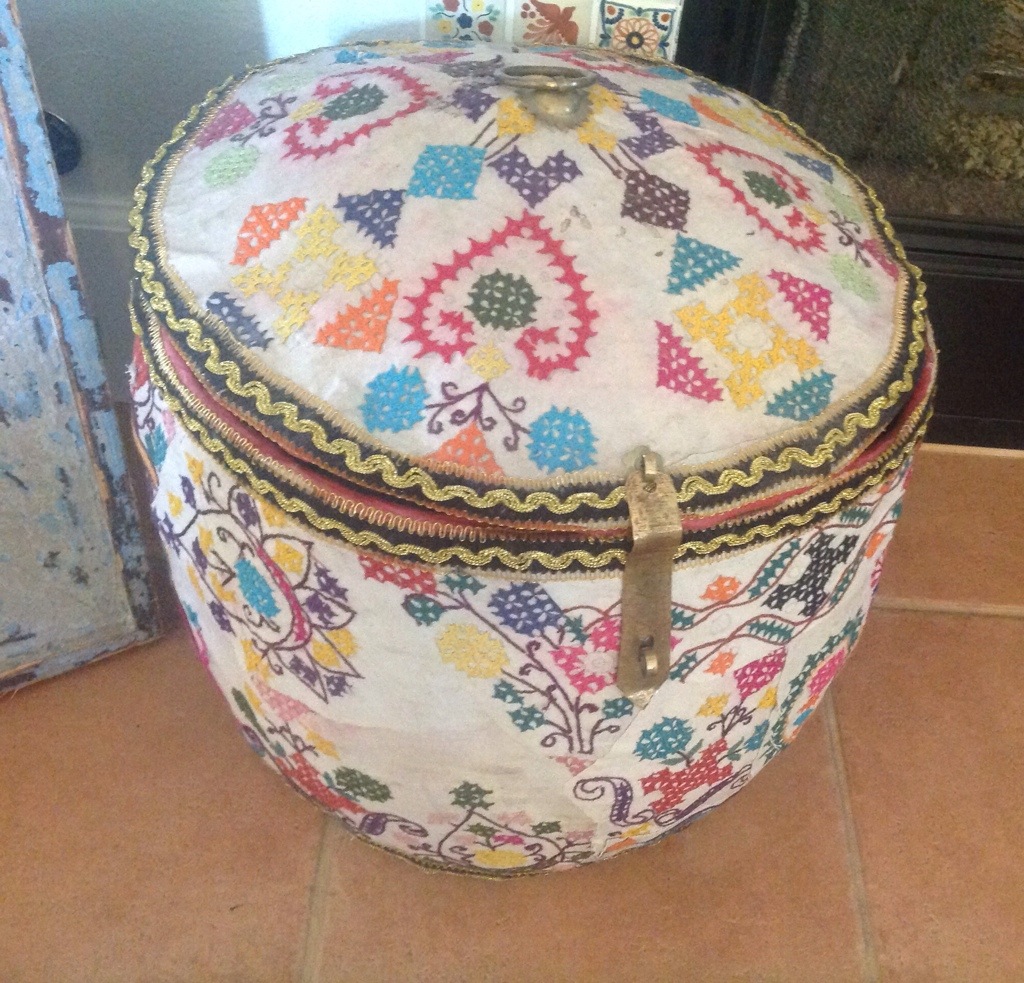
I store all of my magazines in this antique Moroccan fabric chest.

20140117-162116.jpg

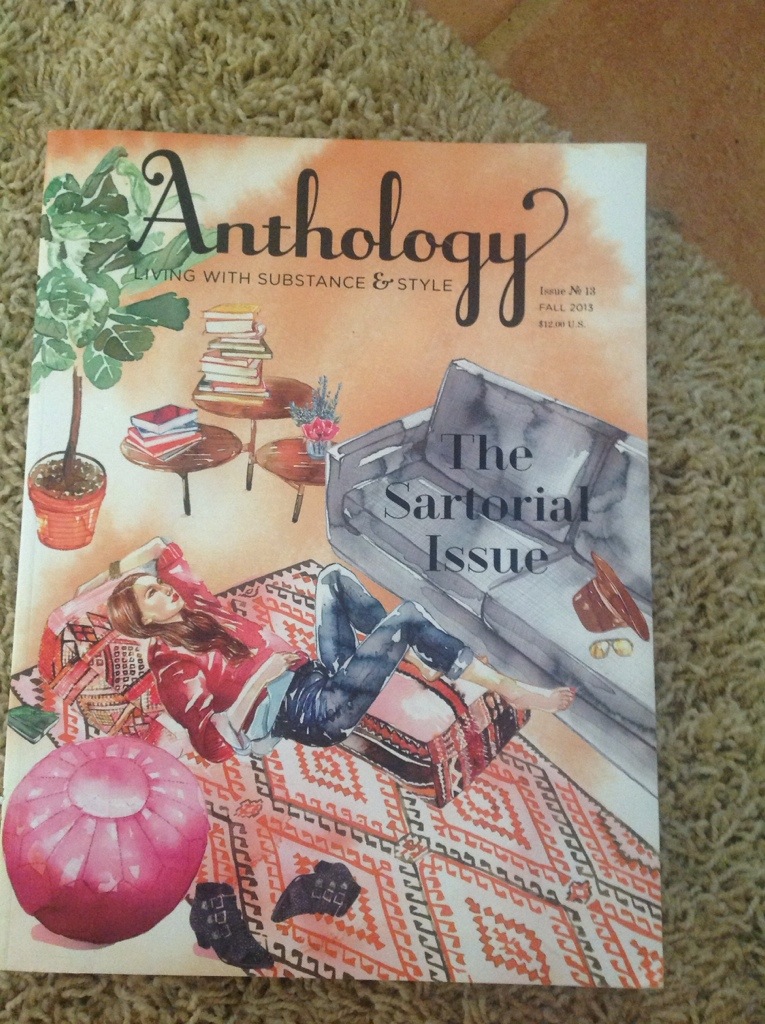
My favorite magazine of all time is Anthology Magazine. It is expensive at $38 for a one year subscription (four magazines). I treat these magazines like books. They are so beautiful. The pages are thick, almost like card-stock. I love the different people and artists they feature. It is mostly a home decor magazine. It features funky different houses. I get so many amazing ideas from this magazine. Getting one in the mail is like finding treasure.

They feature a lot of people that buy or work for Anthropologie. They also feature some of the contributing artists. They have the neatest collections.

20140117-162347.jpg

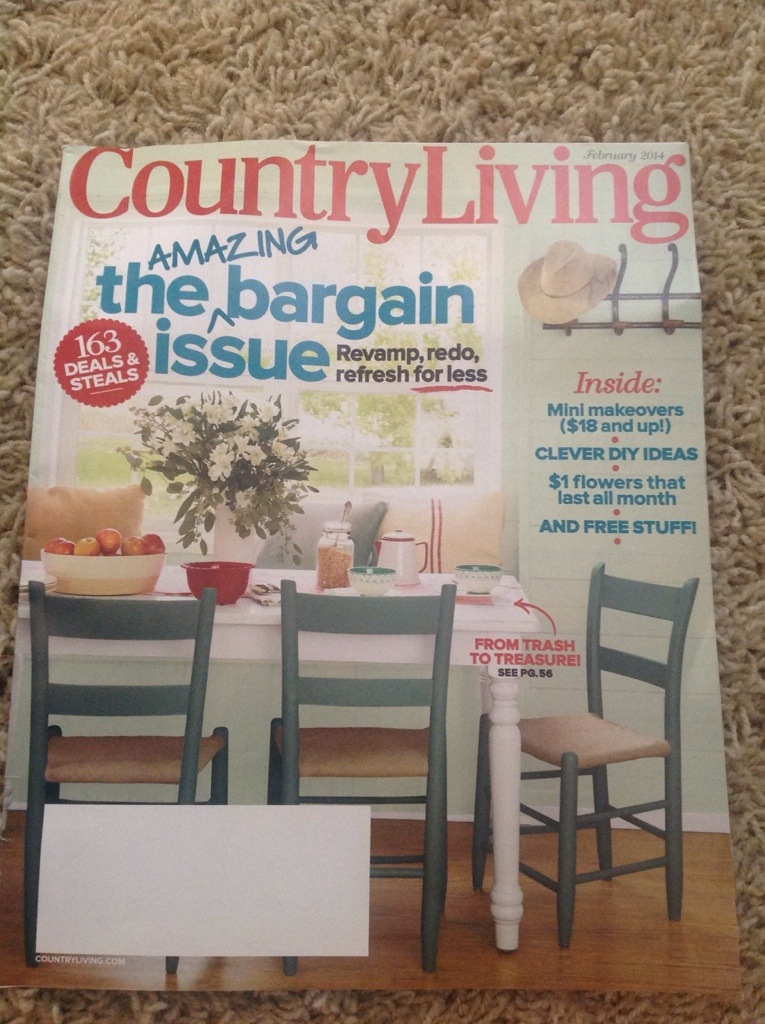
I have subscribed to Country Living Magazine for as long as I can remember. This ain’t the country style people fear. Oh, wait. Is that just me? It is fun. Lots of bright colors and ideas. Very inexpensive magazine. I think I paid $20 for a 2 year subscription.

20140117-162051.jpg

National Geographic. Okay. I admit it. Most of the time these magazines will stay in their plastic pouches for a solid couple of weeks before I get to them. But I love history. I love stories from around the globe. There are a few writers that are amazing in their story-telling for this circulation. I love being transported to a different place. Amazon has some fantastic deals on magazines sporadically throughout the year. I got my subscription for $15.

20140117-162317.jpg

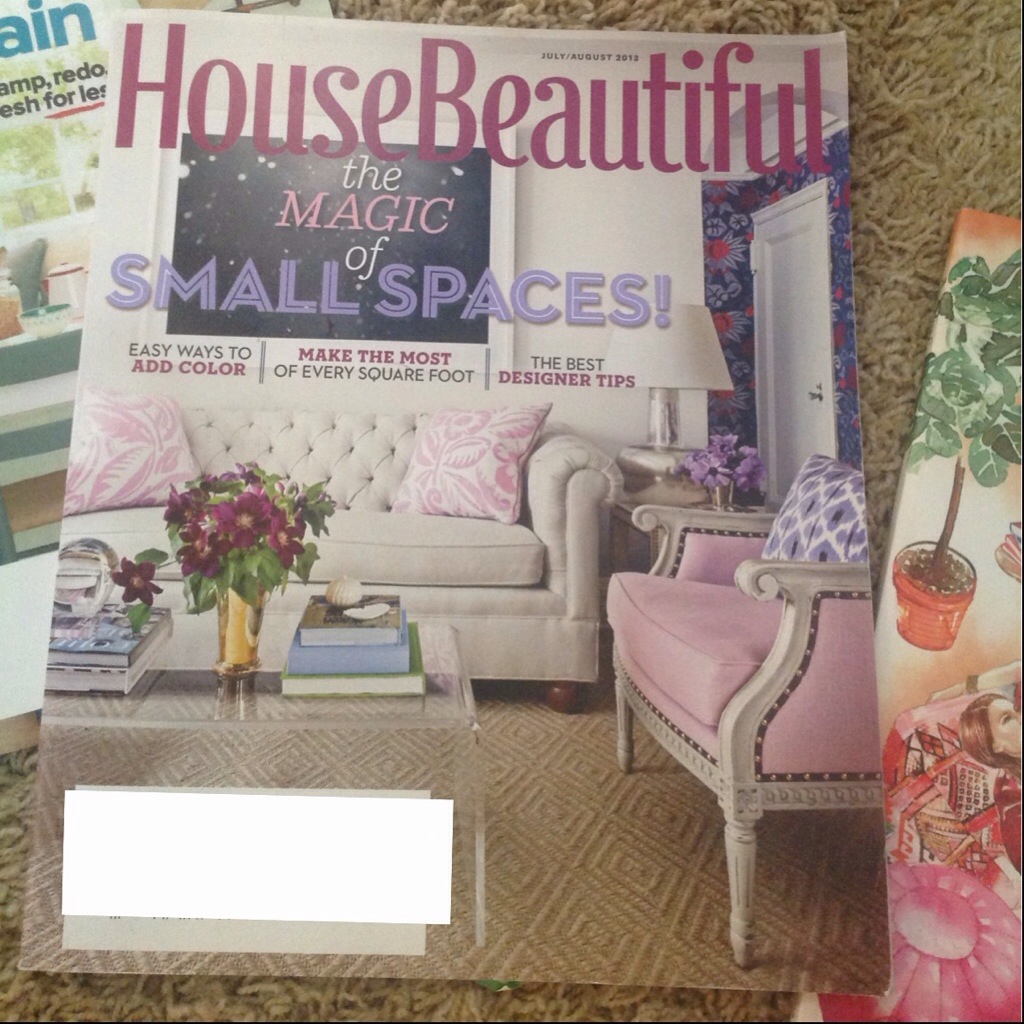
And House Beautiful. You know how I don’t buy the fashion magazines because I cannot afford anything in them? In my contrary way, the same could be said about the items and homes in this publication. However, because I have spent longer decorating than styling, I am more comfortable relating ideas from this magazine into my home than I am clothing onto my body. Perhaps as the years go by, I will find the fashion magazines less boring and intimidating, too. Plus, this magazine was $8-10 for a year’s subscription (I cannot quite remember exactly the small price I paid).

It’s The Little Things: Paying a small price to send yourself something fun instead of an endless supply of bills? Sign me up.

What magazines do you subscribe to? Do you receive any of the same ones I do?

“It tastes like yellow”: Sloppy Joe Pie

I have had this recipe in my mind for years. I used to make sloppy joe empanadas, but they were missing a little somethin’ somethin’. I decided that “somethin'” was breakfast potatoes. As it always is.

But after I made this, I had my doubts when my son turned to me while dinner was cooking in the oven and said:

“Mom. Our dinner smells soggy.” Since this is what I had feared would happen with the potatoes in the pie, my heart raced. All I could smell was raw pie crust cooking.

Thankfully my husband made me laugh when he replied, “Really? I think it smells yellow.”

20131111-211645.jpg

Ingredients:

2 Tbsp. Diced onions
1/2 diced red bell pepper
1/2 diced green pepper
1 tsp. worcestershire sauce
1 tsp. garlic powder
1 clove minced Garlic (or a frozen pouch or 1 teaspoon from a jar)
1 pound ground meat (I used turkey)
2 cups water
3 Tbsp. Butter
1-2 Tbsp. Olive oil (check as you are cooking your potatoes to see if they need more)
Sloppy joe mix
3 Tbsp. Ketchup
10 oz. tomato paste (1 and 1/2 small cans)
Pie crust package
8 oz. shredded cheese (2 cups) (I used shredded Mexican from Costco, but cheddar would work just as well)
1/2 package frozen country potatoes

Preheat oven to 375 degrees.

20131111-211728.jpg

20131111-211807.jpg

20131111-211835.jpg

20131111-211908.jpg

Heat butter and oil in a large skillet over medium heat. Add onions, bell peppers and garlic. Add frozen country potatoes in a single layer around the pan. Salt and pepper according to taste. I hate when recipes say that, but in this case it is true. Cook about twelve minutes, stirring occasionally so potatoes brown evenly.

20131111-211936.jpg

Transfer potato mixture to a small dish.

Take refrigerated pie crust out of refrigerator.

20131111-212019.jpg

Add ground meat (I used ground turkey) to the pan. Sprinkle with salt, pepper, garlic powder and worcestershire sauce. Cook and break up until brown and crumbly. Add sloppy joe packet. Add water. Stir. Add tomato paste. Stir. Add ketchup. Stir.

Cook on low heat for five minutes.

20131111-212053.jpg

Add potatoes mixture and shredded cheese. Gently mix together.

20131111-212155.jpg

Place one pie crust sheet into bottom of pie pan. Pierce with fork.

20131111-212225.jpg

Fill pie pan with sloppy joe filling.

20131111-212653.jpg

This part is optional: Lay other pie crust sheet onto a plate. Pierce center with a small cookie cutter shape.

20131111-212257.jpg

Lay pie crust sheet so that the cut out shape is in the middle. Pinch edges together all the way around the pan. Gently pierce the top with a fork. I try to do mine evenly.

Place in preheated oven. Cook for 45-50 minutes.

20131111-212730.jpg

Turn off oven. Let pie cool for ten minutes before cutting.

Serve it up!

And hope it tastes neither soggy or yellow. My husband and I both loved this. My son had talked himself out of it and would barely eat it. He could not get past the idea of store cut potatoes. Imagine that. I think if he would have seen me chopping up the potatoes myself it might have made a difference. But he saw the bag, and that was that. Who knew he had this aversion?

When my husband exclaimed upon his first bite, “It does taste yellow!”

My son replied, “Do you mean disgusting?”

I gasped and said, “That’s not nice!”

My son tried to recover by saying, “It’s just that yellow is my least favorite color. When dad said, ‘it tastes like yellow,’ it sounded to me like he was saying it was disgusting.”

So there you have it folks. I made yellow. Let me know if you try this! For the record: I like yellow. I like this pie. Both of them tasted great!

I shared this on Savvy Southern Style

And My Romantic Home

Tangy Biscuits

20131029-214902.jpg

I read an article in Country Living Magazine about the most amazing looking biscuits. I knew I had to try them. This is not my recipe and I did not change it one bit. So I am not posting the full directions. To see the super easy directions, click here.

I have made biscuits before. But I cannot remember them being this simple. I am now sold on making them from scratch.

But only with this recipe.

This biscuit is tangy through the incorporation of cream cheese and buttermilk. I made it two times in the last week. Once with parchment paper in a pan. Another time in my cast iron skillet. The skillet was easier and the biscuits got a nicer color with it. This is the method I would recommend. For some reason, the first time I made these I got ten biscuits from the dough. The second time, 12.

Ingredients

2 cups of self rising flour (plus more to sprinkle when rolling out and on top)
1/2 stick softened salted butter cut into small pieces
1/2 stick (1/4 cup) softened cream cheese cut into small pieces
3/4 cup buttermilk (Mine was room temperature)
1 Tablespoon melted butter

20131029-214953.jpg

20131029-215028.jpg

20131029-215109.jpg

20131029-215201.jpg

20131029-215236.jpg

20131029-215322.jpg

20131029-215402.jpg

This is what I went through to make my biscuits.

20131029-215520.jpg

20131029-215547.jpg

Whenever I serve any type of bread or roll, I usually place the pieces in a bowl draped with kitchen towels. This keeps the bread dry and warm. Plus, I just think it adds a pretty rustic touch on the table.

I did not have a square cutter, so I just used a plain old biscuit cutter. I mentioned above that the first time, I used parchment paper in a baking dish. This worked out fine. My biscuits ended up taking 19 minutes to cook with the parchment method. And 17 minutes in the skillet method.

This was so easy. Probably five minutes to make, roll out, and cut. And then it is just the baking time.

Enjoy! Please let me know if you try these. My family adored them.

* Also, I do not know how long they keep their recipes up. If you like these, I would print it just in case.

I have to eat my biscuits with a bit of jelly and no butter. Although, my grandmother would be so ashamed. She loved butter on her biscuits. And, of course, honey. How do you like yours?

I shared this on Savvy Southern Style

And My Romantic Home